8-frame Rose beehive boxes
These are Rose “one-size” beehive boxes. The National or Commercial hives typically used in the UK & Ireland have at least 2 different box depths (and thus different frame sizes); Rose hives instead have the same frame throughout. This appeals to the engineer in me (which is most of me …) so they’re the hive I use.
The standard Rose hive has the same external dimension as a National or Commercial - 460mm square. Mine are an odd shape because instead of 12 frames per box, I’m using 8 - this is to accommodate my daughter (10), who will get her first colony in spring. I don’t mind having less to lift per box either. :o) My impression is that using 8-frame “medium” Langstroth boxes - i.e. all of one size - is fairly common in the US for hobby beekeepers like me.
The trade-off is that I need to make all the pieces, including rooves & floors. I don’t mind - it’s a good opportunity to have fun with wood working, which I enjoy but haven’t done much of. It ends up a bit cheaper too, if we allow that my labour is “free”. ;o)
As it works out, the 8-frame Rose hive is quite a nice/easy to understand size in terms of comb area:
- 1 box (1.04m²) is ~a National super (1.09m²);</li>
- 2 boxes (2.08m²) is ~a National brood box (1.69m²) + 2 National brood frames;
- 3 boxes (3.12m²) is ~a National brood-and-a-half (2.78m²) + 2 National brood frames (and just 2 National brood frames short of a National double brood box (3.38m²).
See Tim Rowe’s website for more details on the ideas behind Rose hives.
My tools are simple and cheap, mostly bought in Woodies using Christmas gift cards from work.
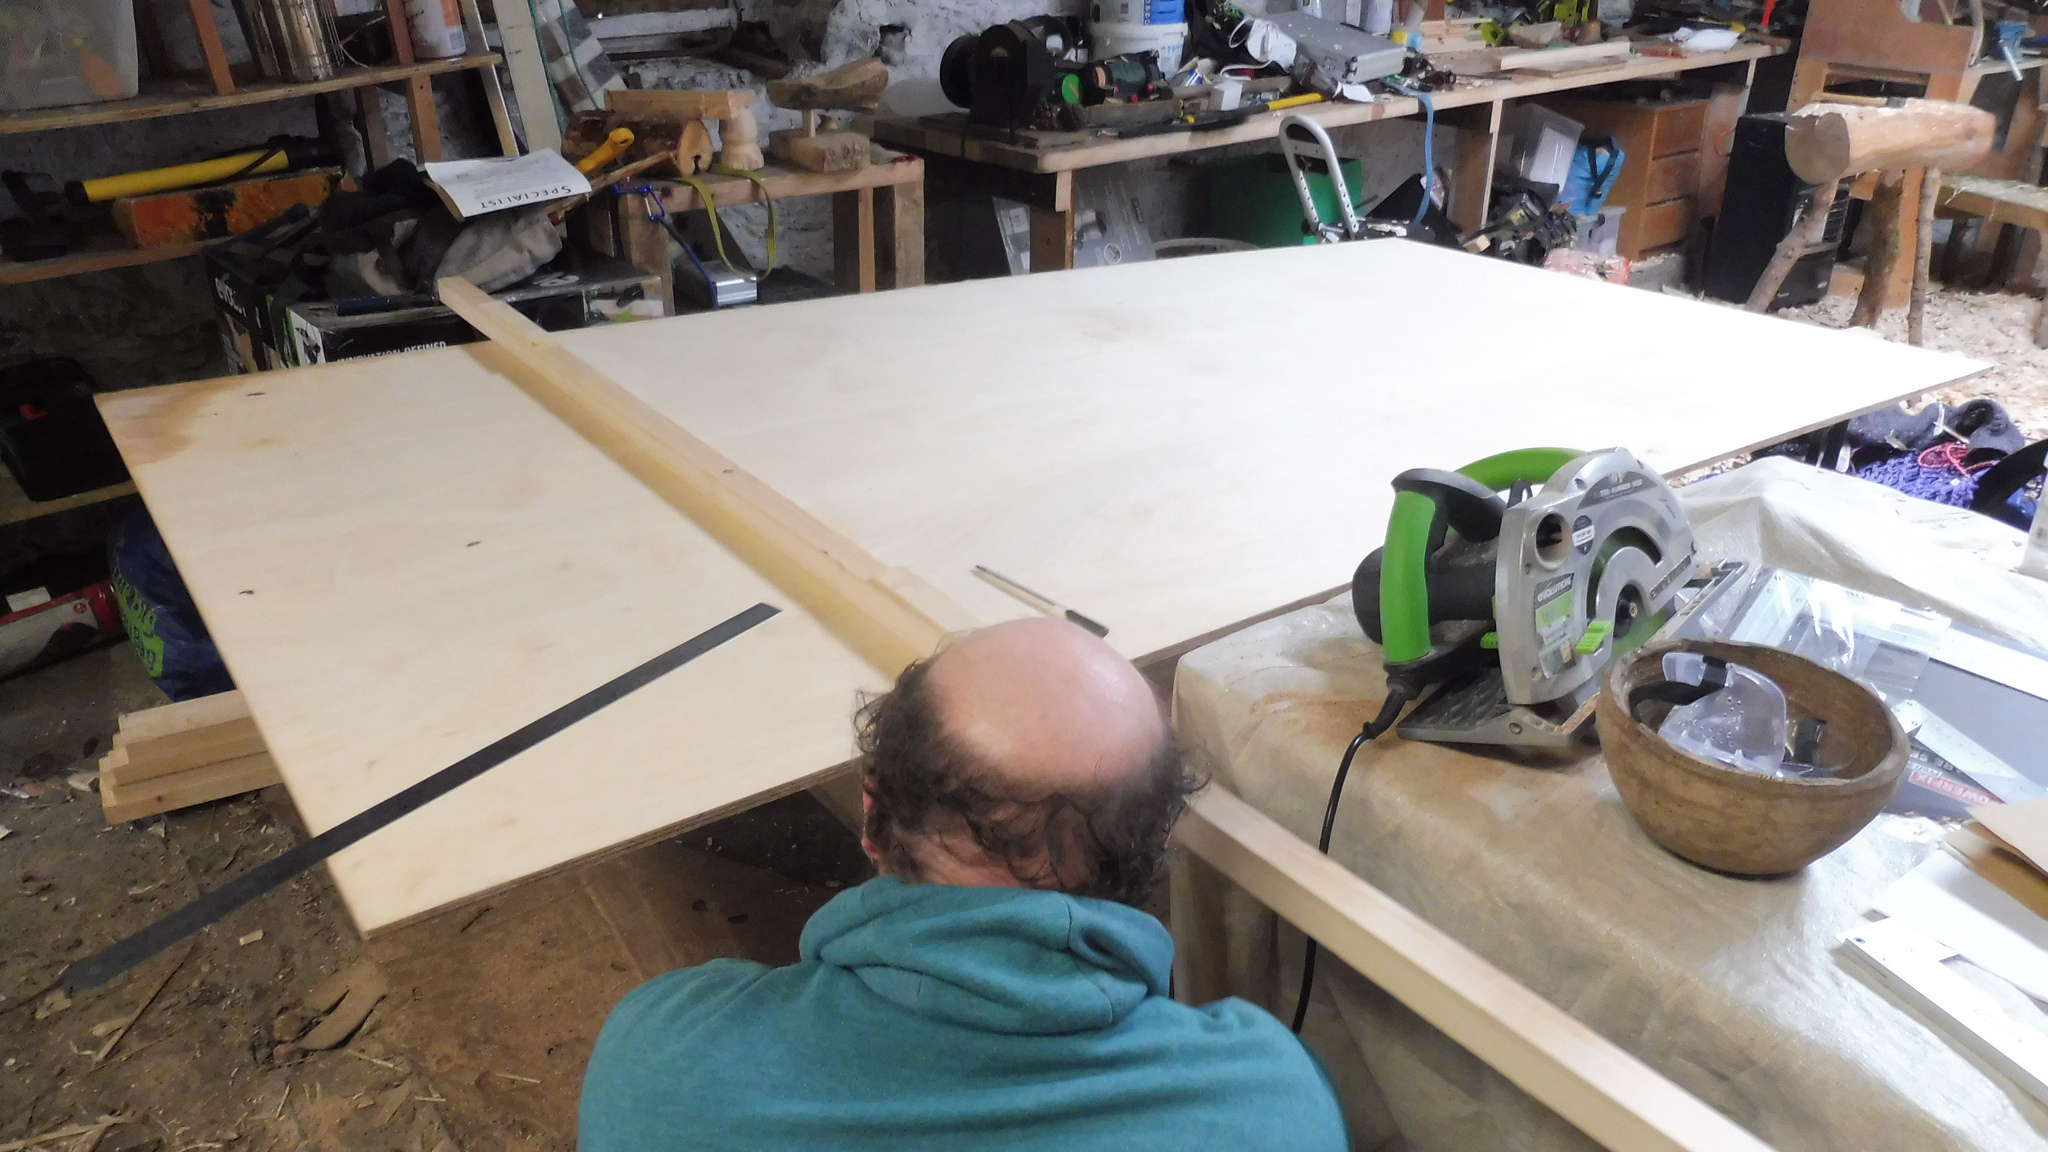
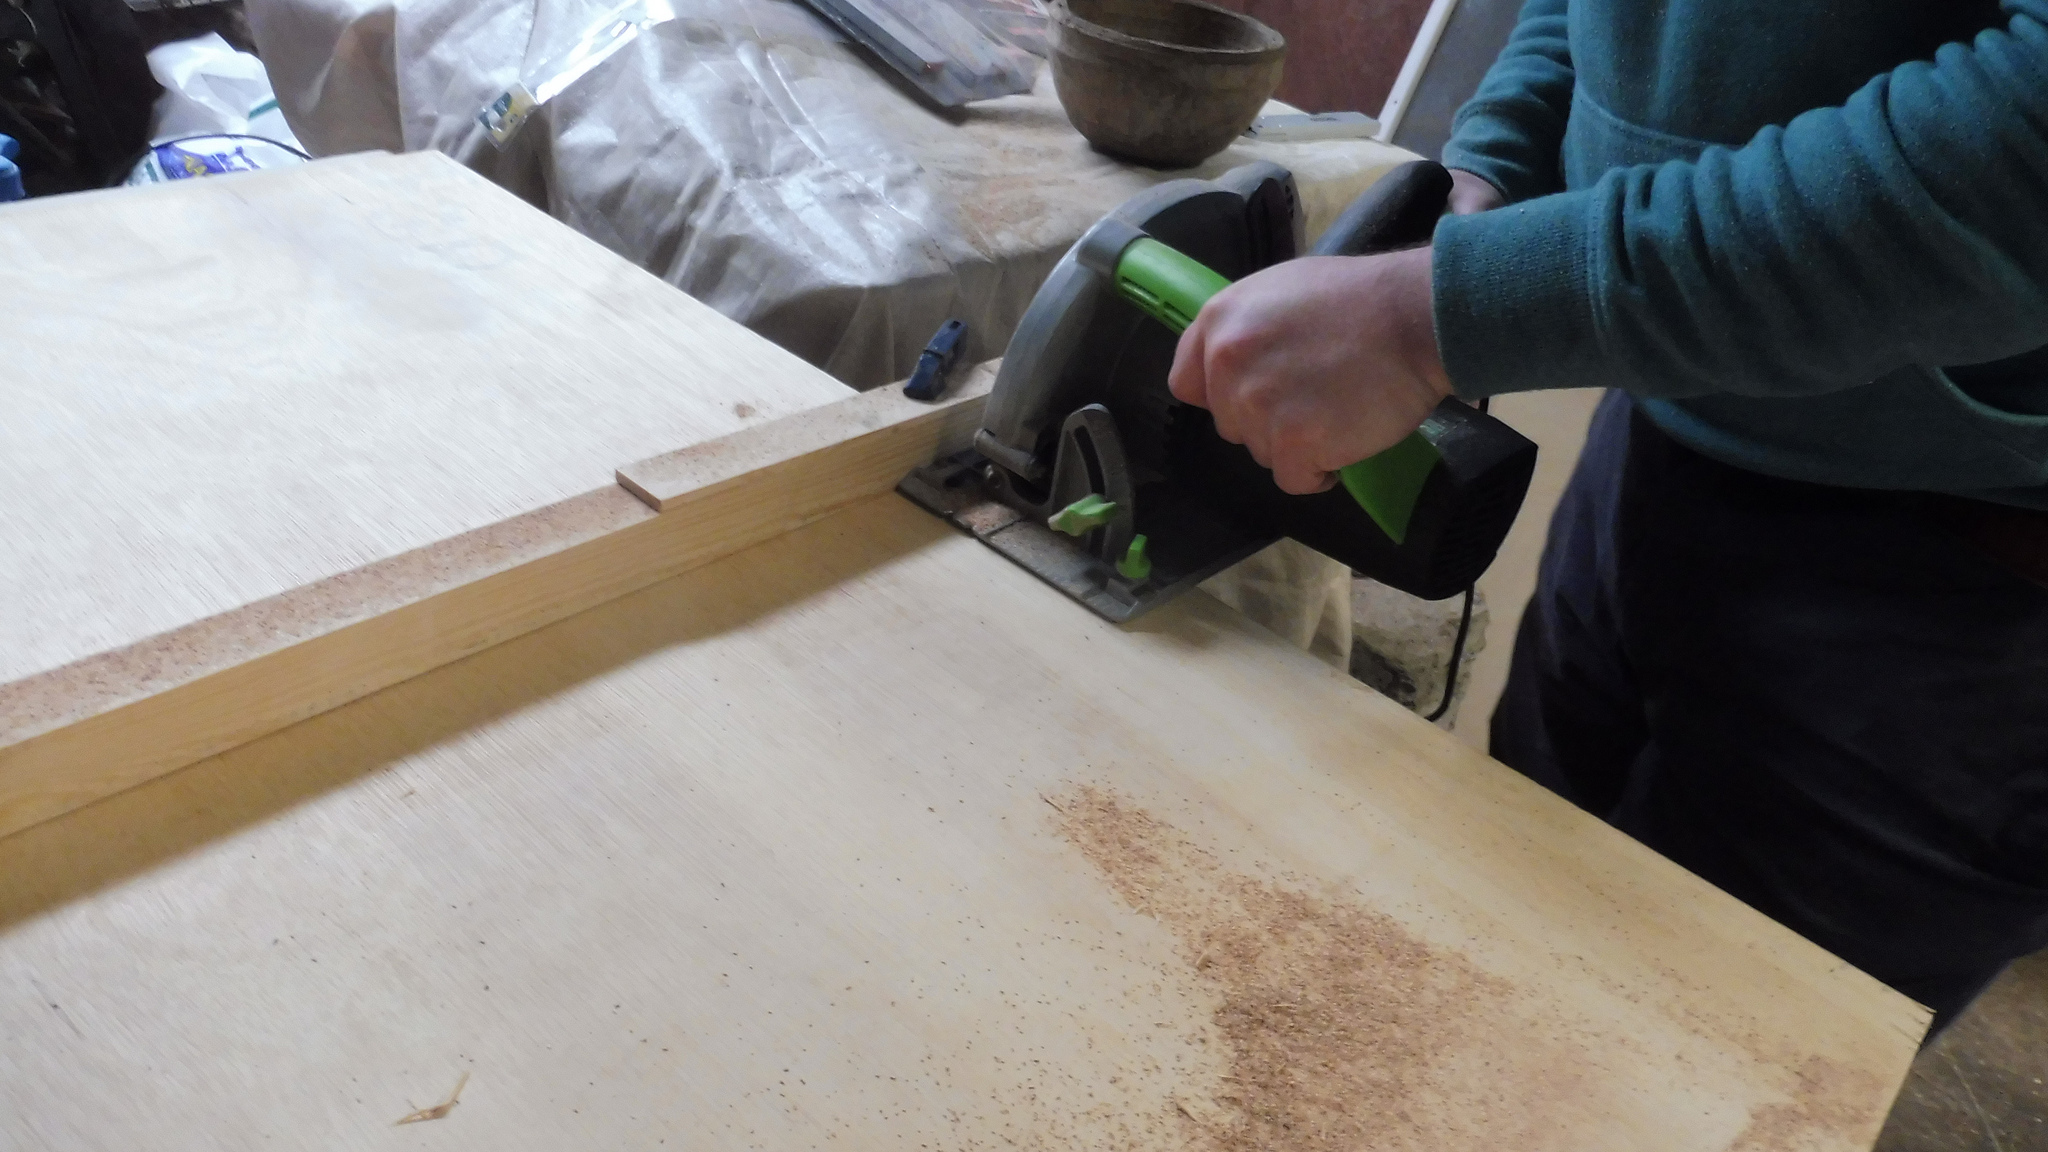
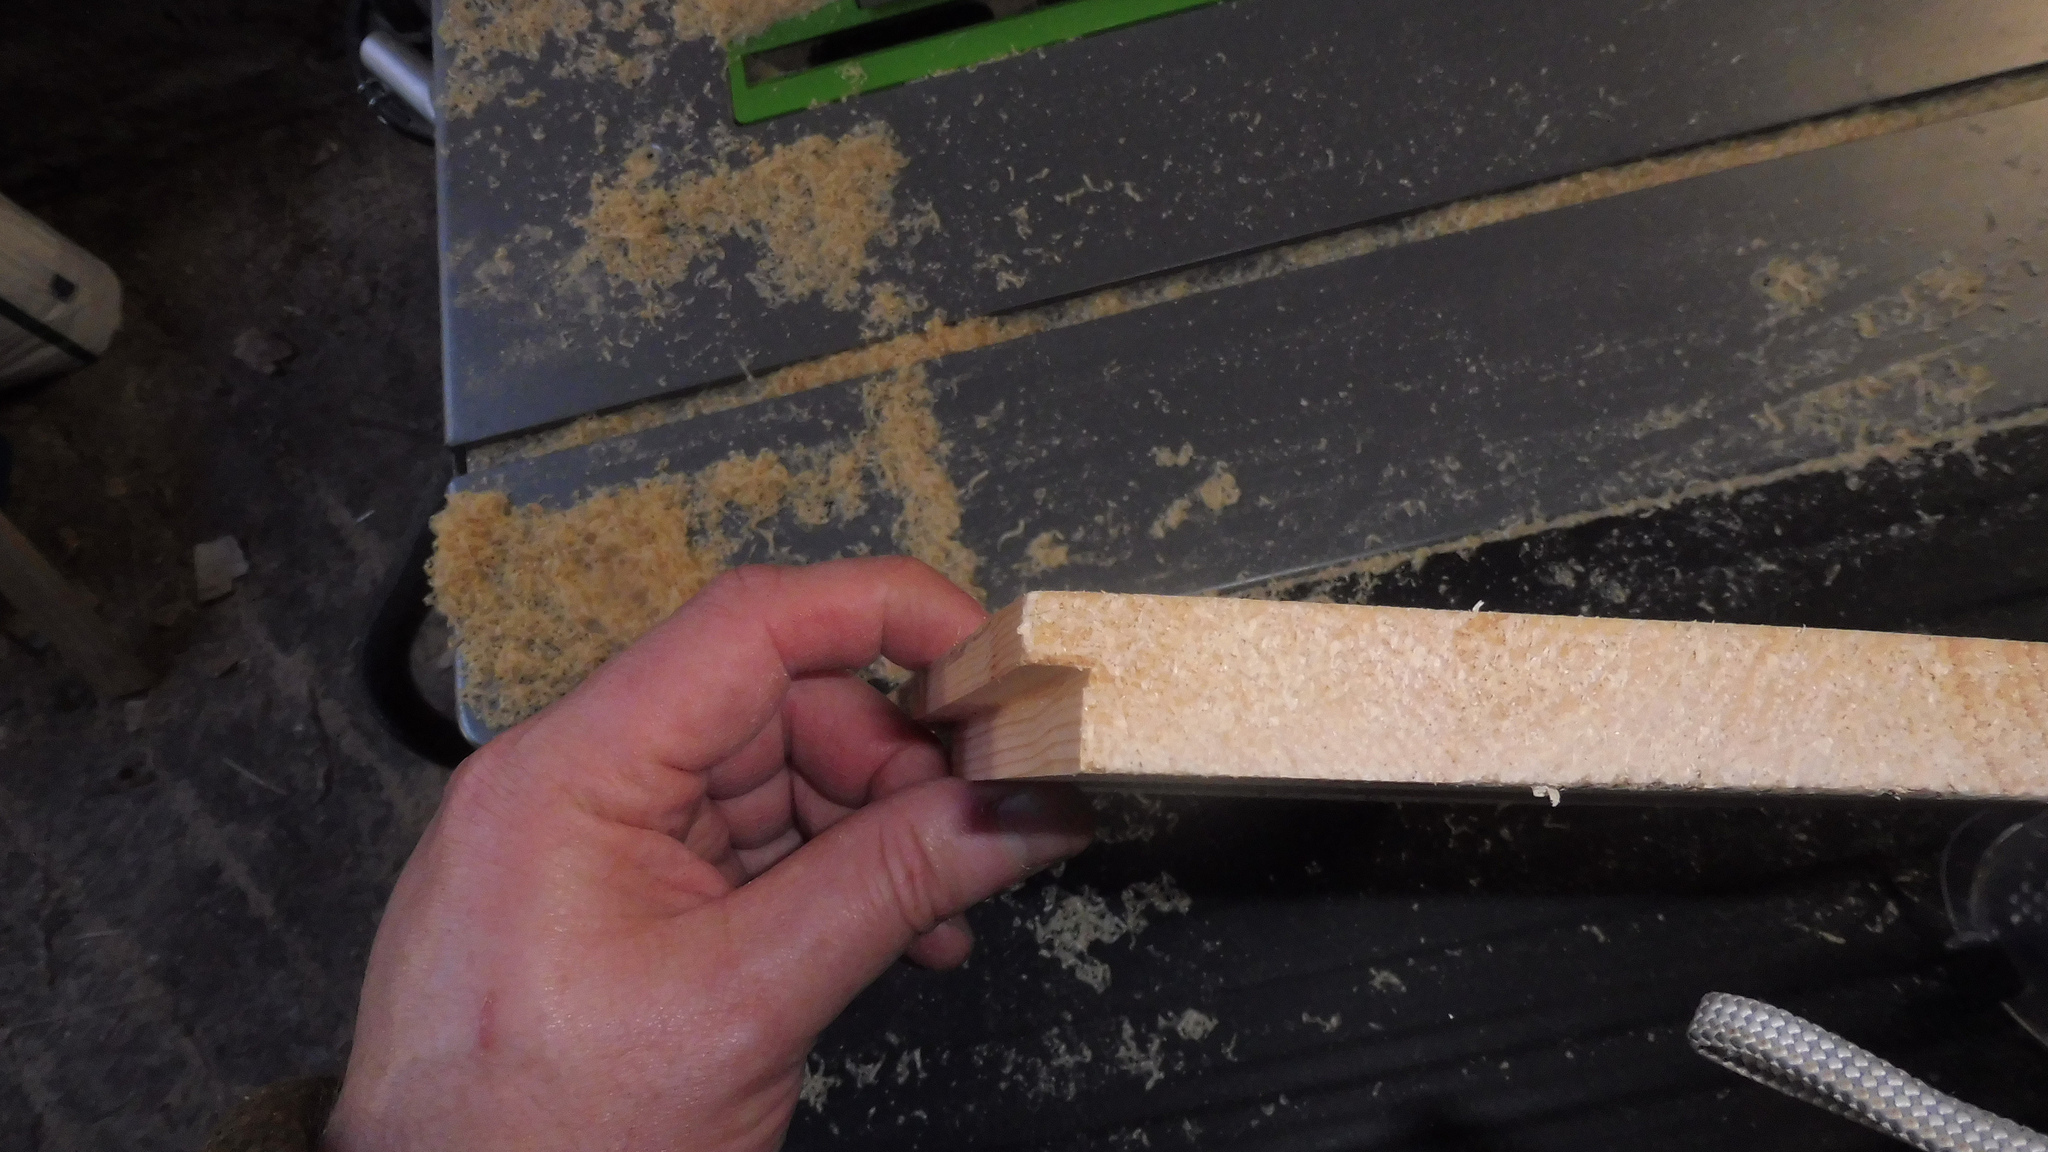
The first parts to make are 460mm x 190mm side panels in 12mm marine ply. Given that my little table saw is not up to managing 2.4m x 1.2m sheets, I had to come up with a way to cross-cut these (fairly) precisely.
I used a clamped rail arrangement + a circular saw.
Measuring from the rail to the far side of the cut on some rough pieces gave me 39mm, so I was able to just add that to the width I really wanted (460mm) and get on with it. Worked a treat.
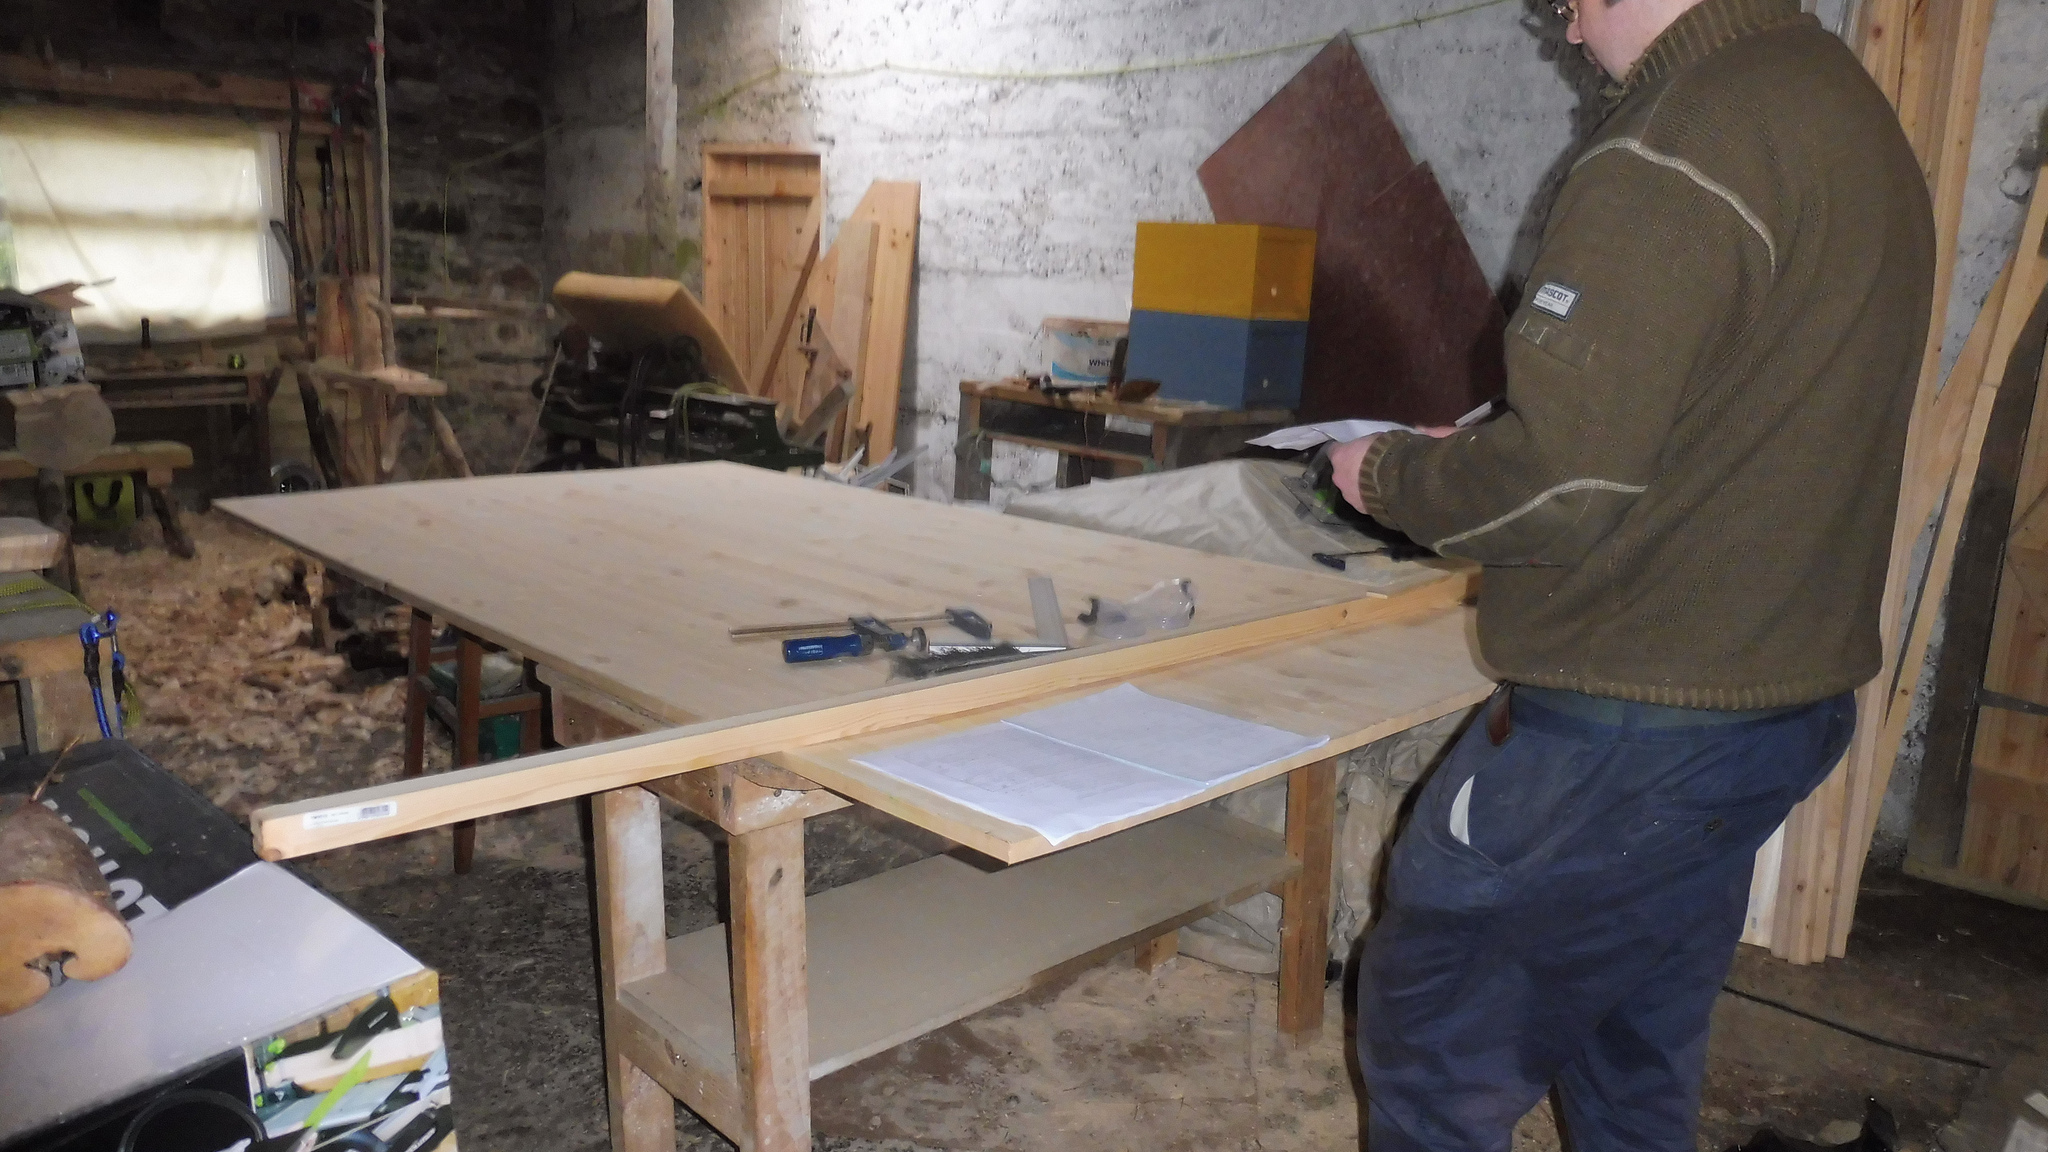
Measure twice, cut once. I had a lot of help from Mags for these big parts.
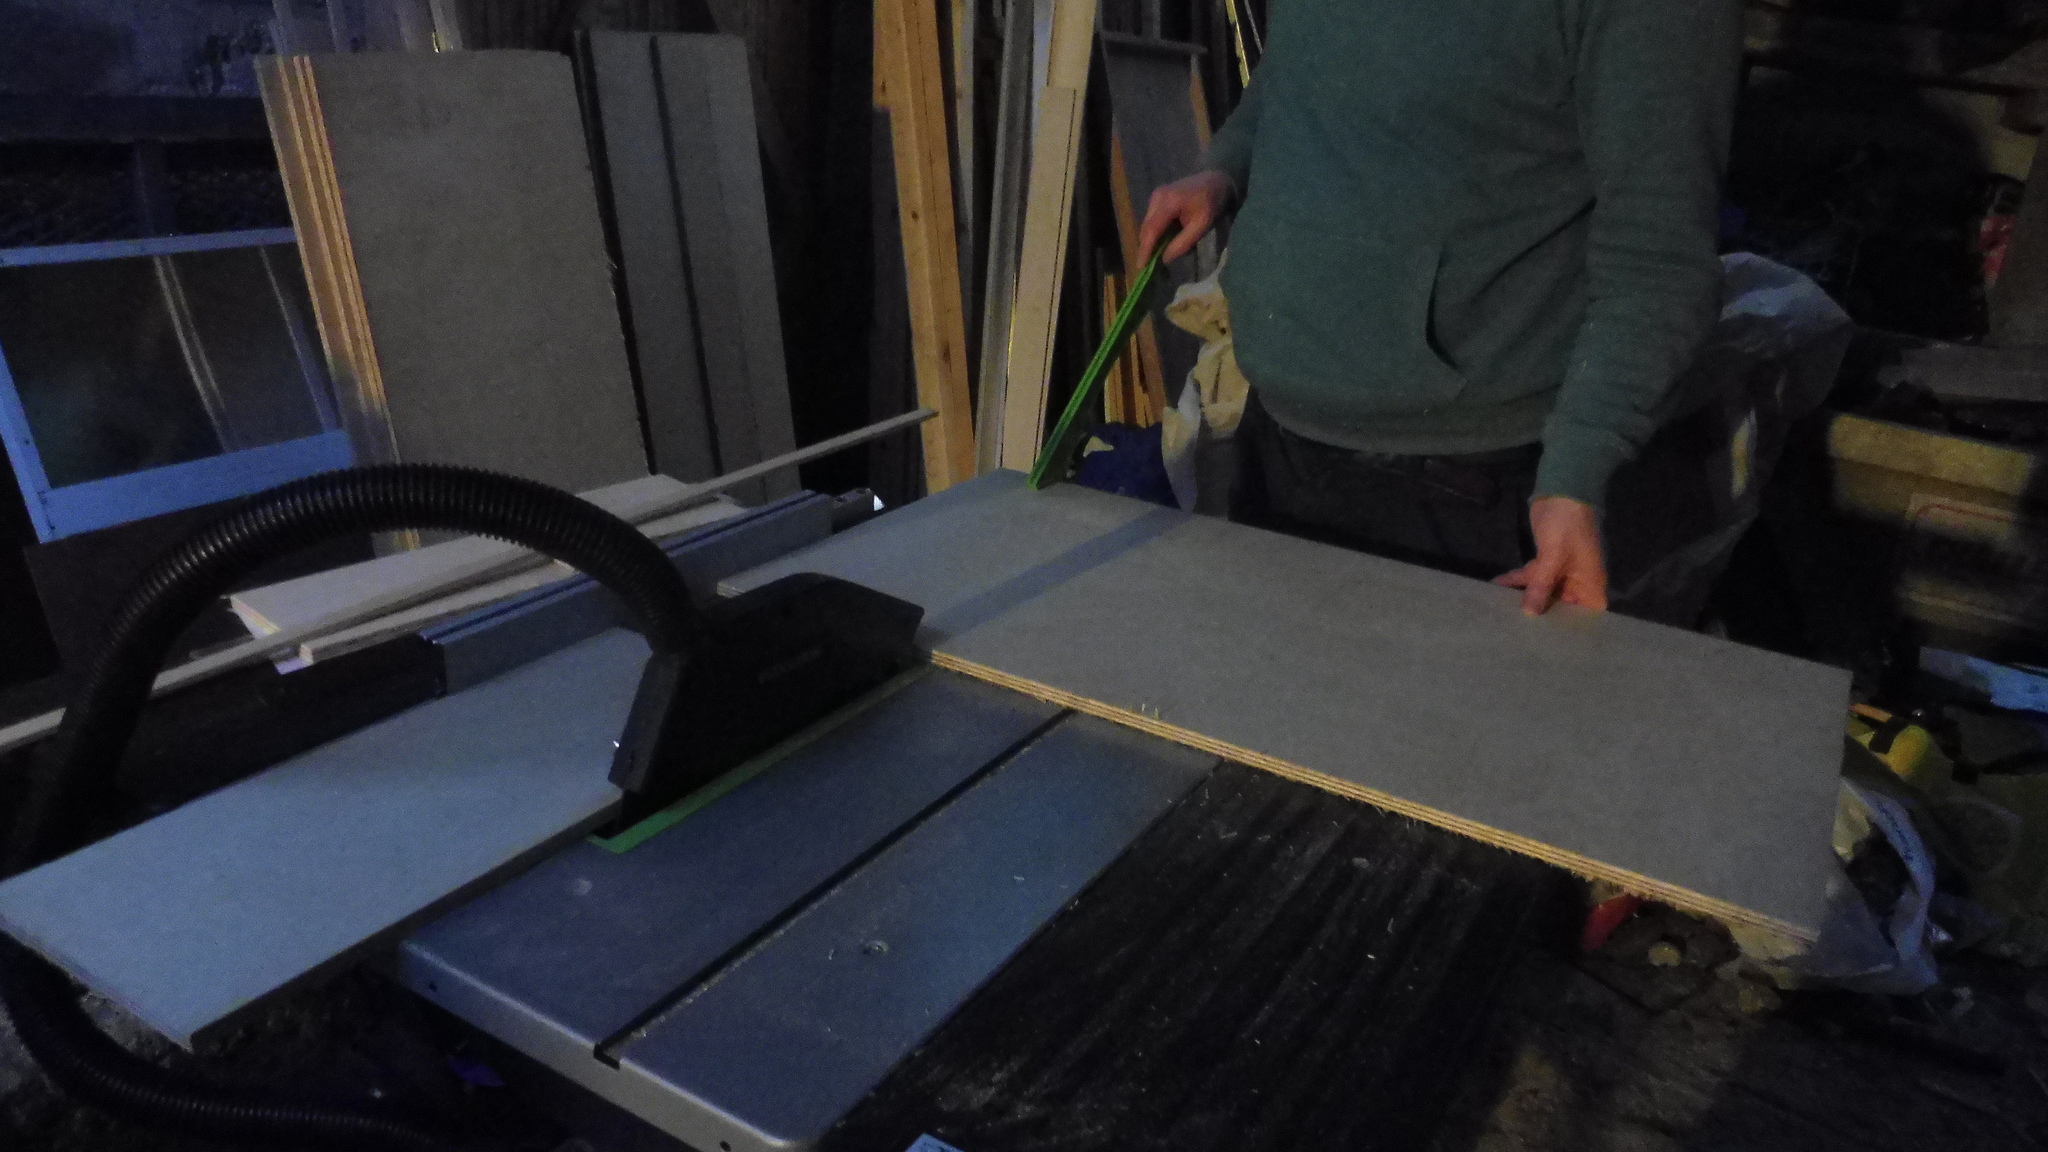
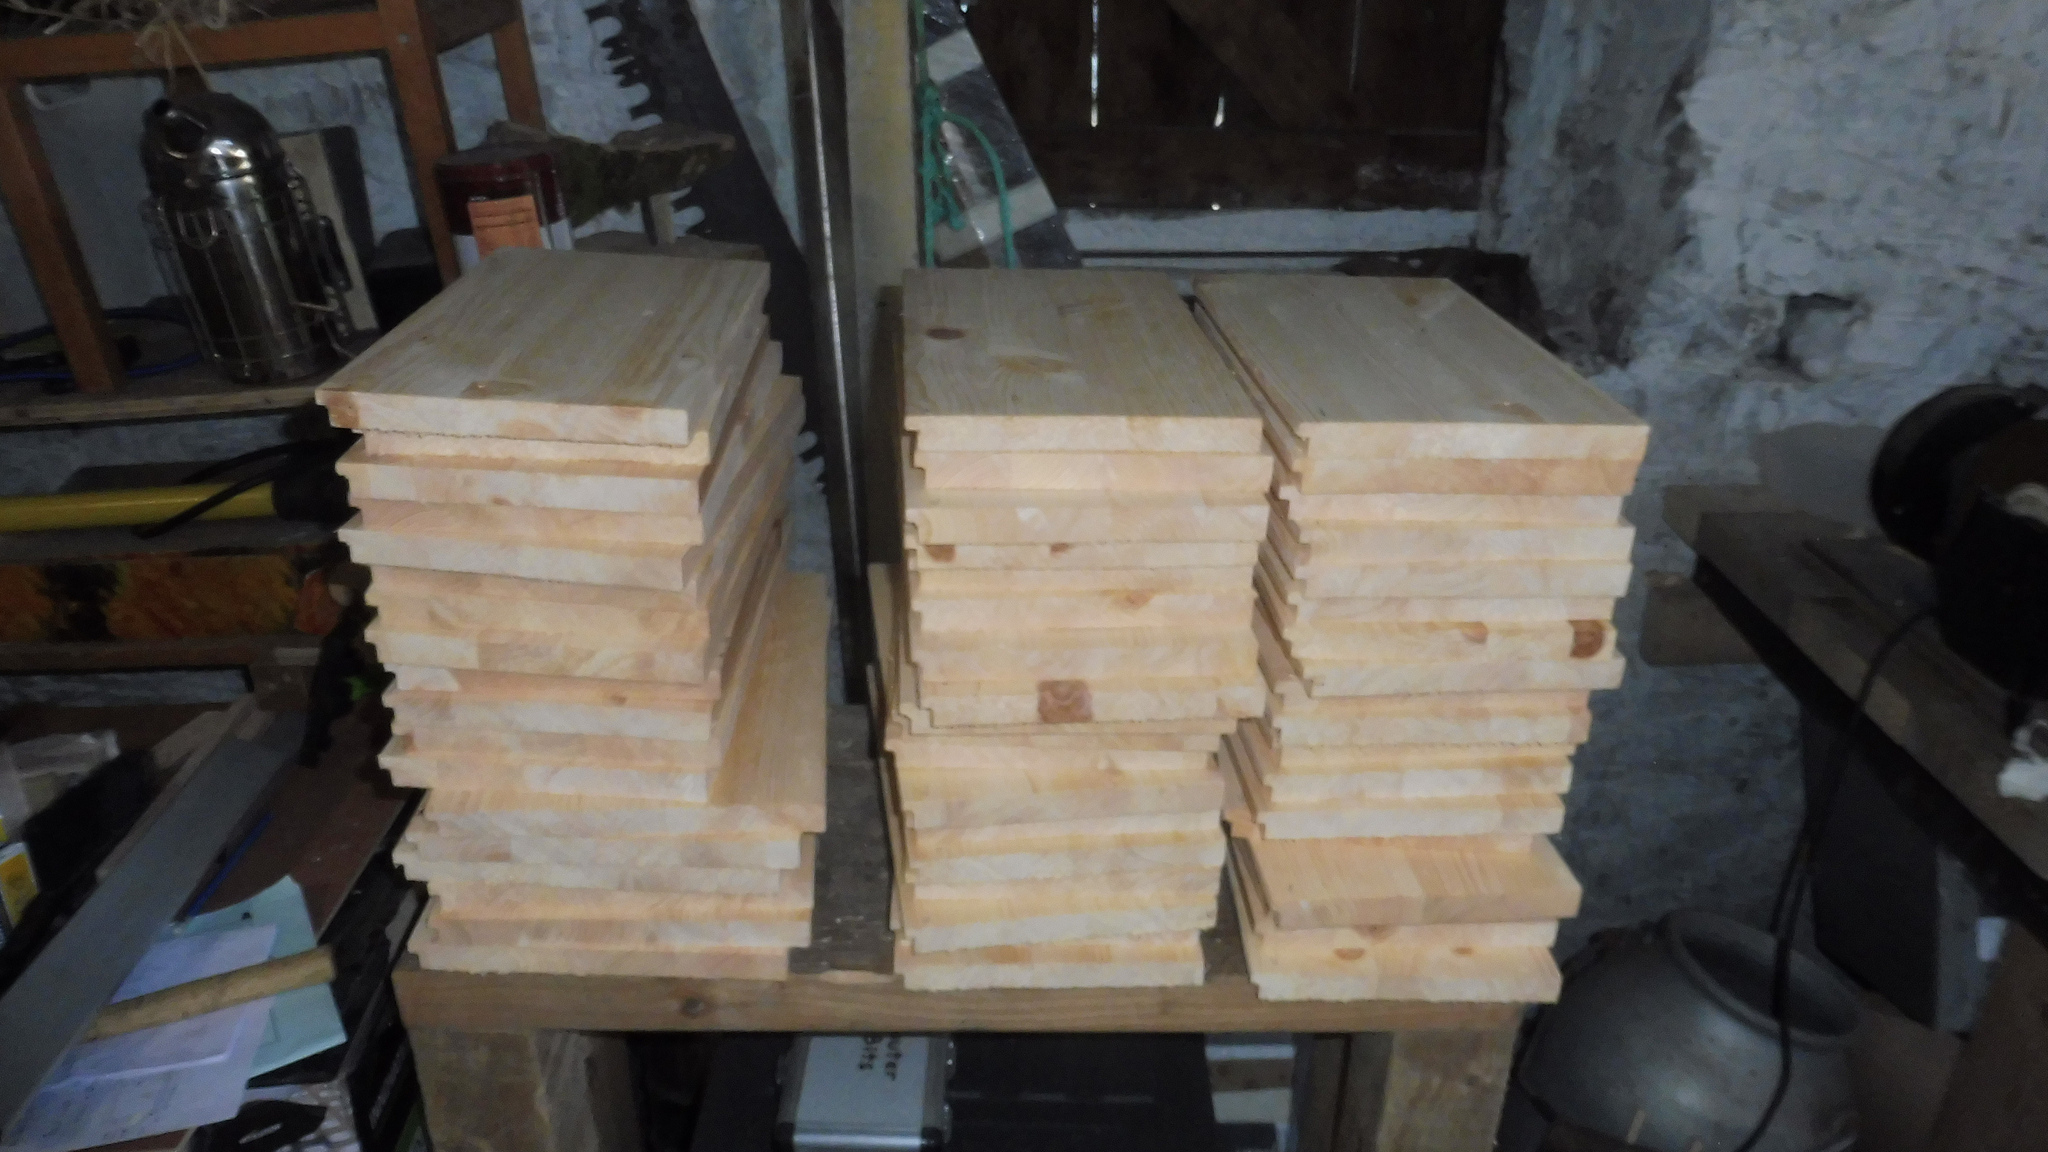
Once I had the 460mm-wide panels, I was able to finish them on the table saw.
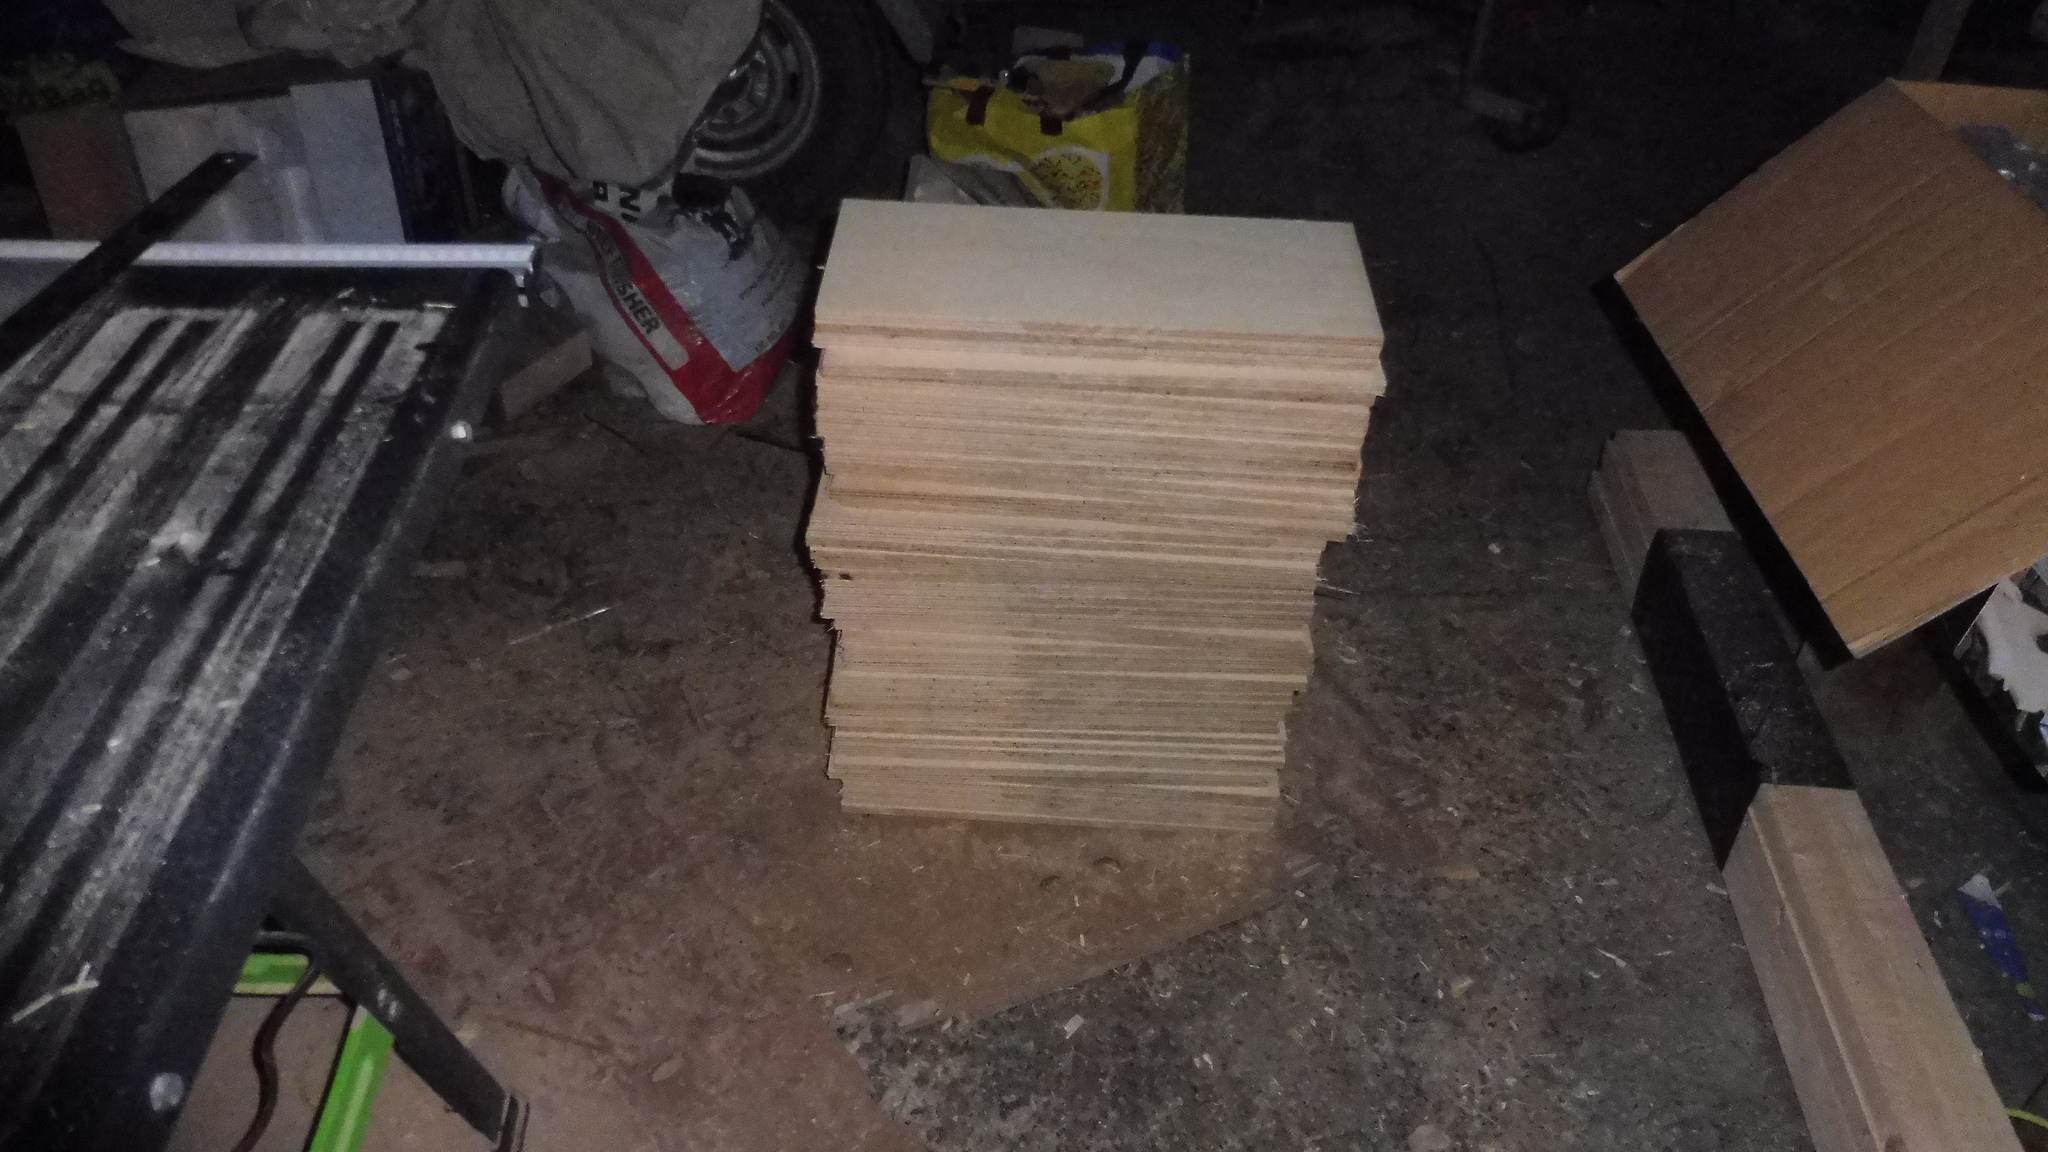
The stack of finished panels. This is enough for about 24 190mm Rose boxes, and I also cut deeper panels - 225mm - for 3 National-depth boxes. Bees are typically sold in National-depth nucleus hives in Ireland, so we need “conversion” boxes for our hives.
Next up, the end pieces. I looked into various ways to make profiled pieces the way Tim Rowe does, but I don’t have access to the machinery I’d need to do it right (a planer/thicknesser + a spindle moulder).
So, I went with a National-style end piece, which is a bit finicky but easy enough to do with the equipment I have. Each is made up of an 18mm-thick panel with “fillets” providing a hand-hold and space for the frames at the top, and space for bees to get out of the way at the bottom.
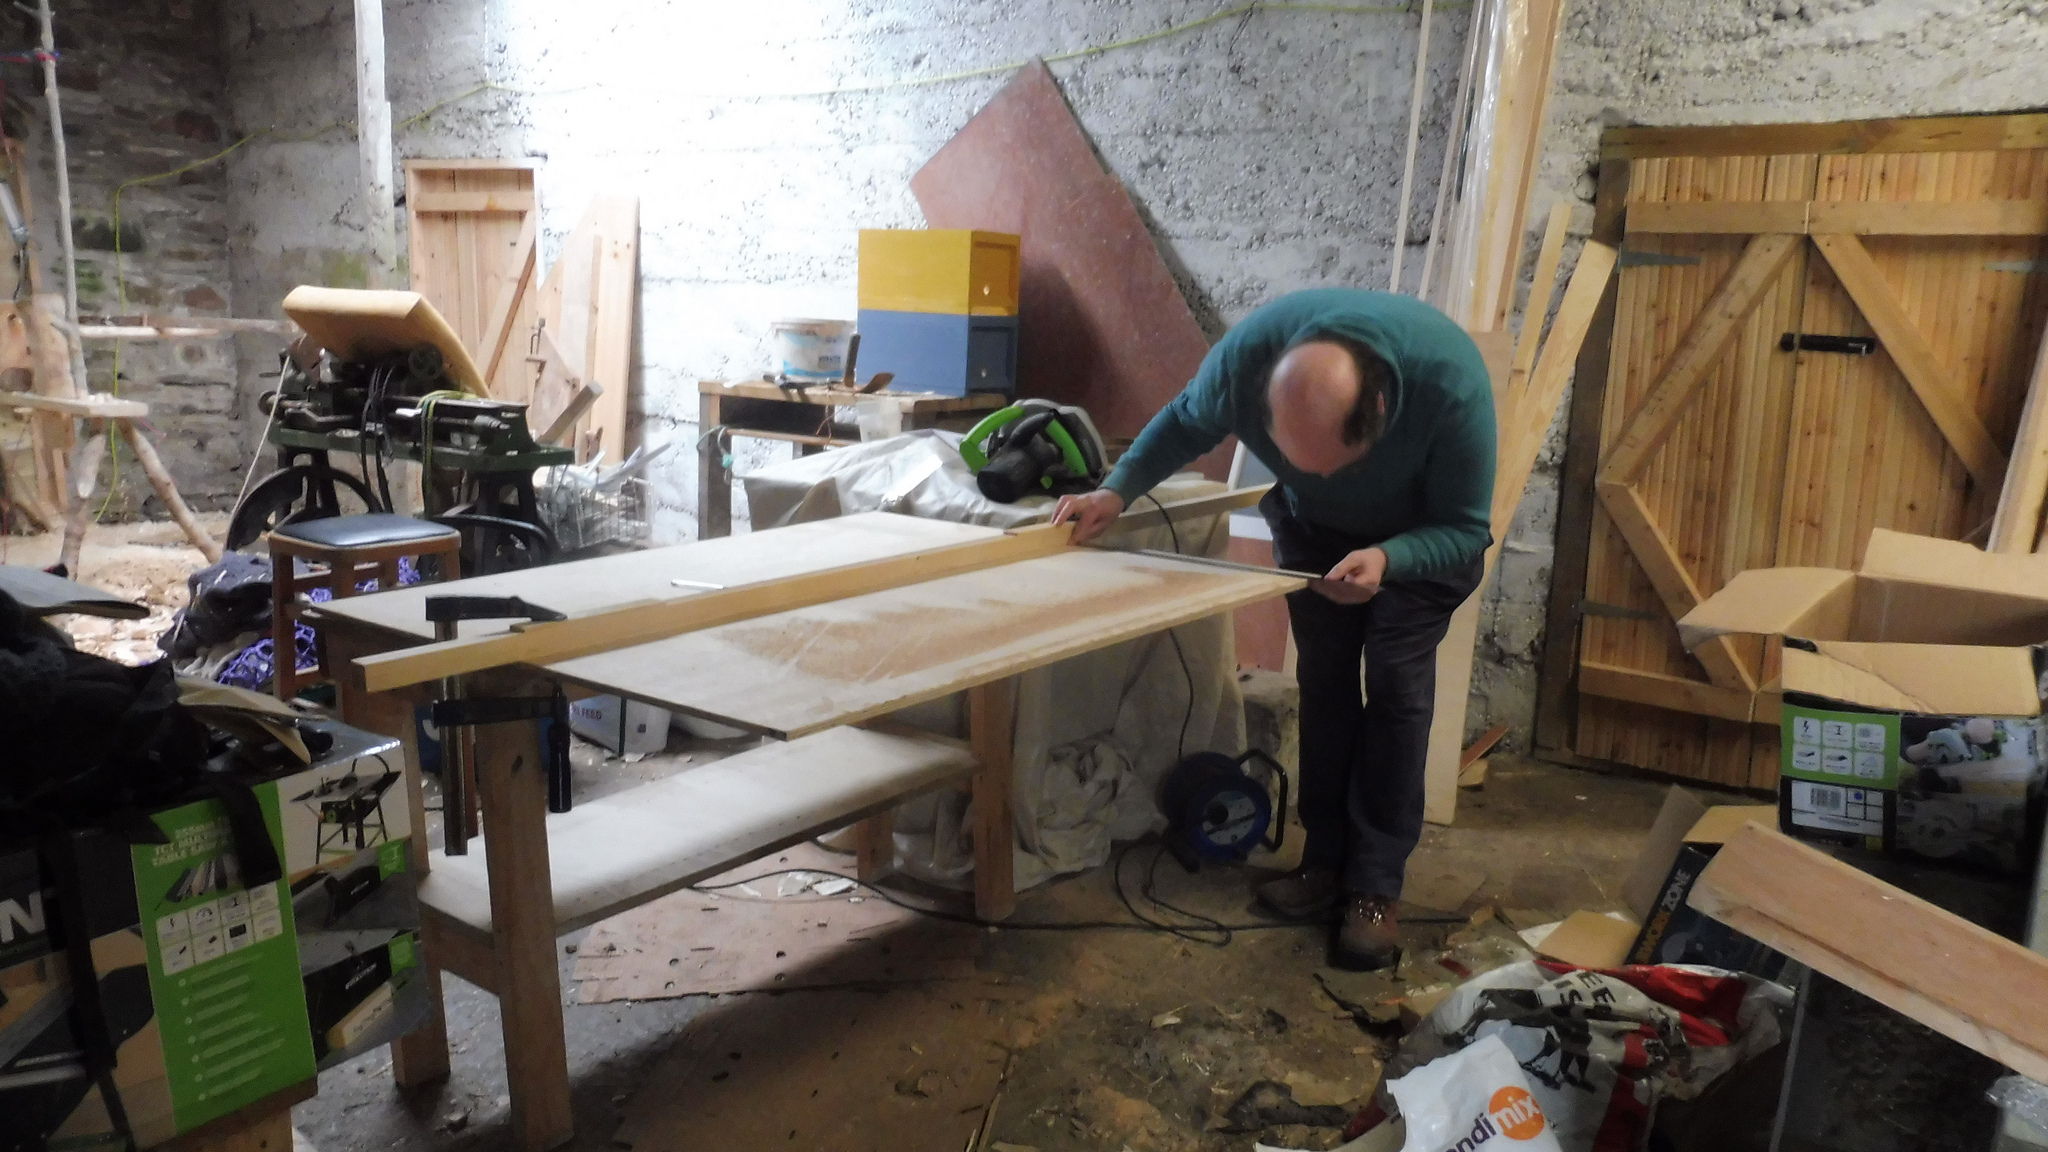
First up, I cross-cut the 18mm laminated pine board with the rail & circular saw setup from the 12mm ply side panels.
See Tim Rowe’s video for how he makes his hives, and National hive drawings at Dave Cushman’s website.
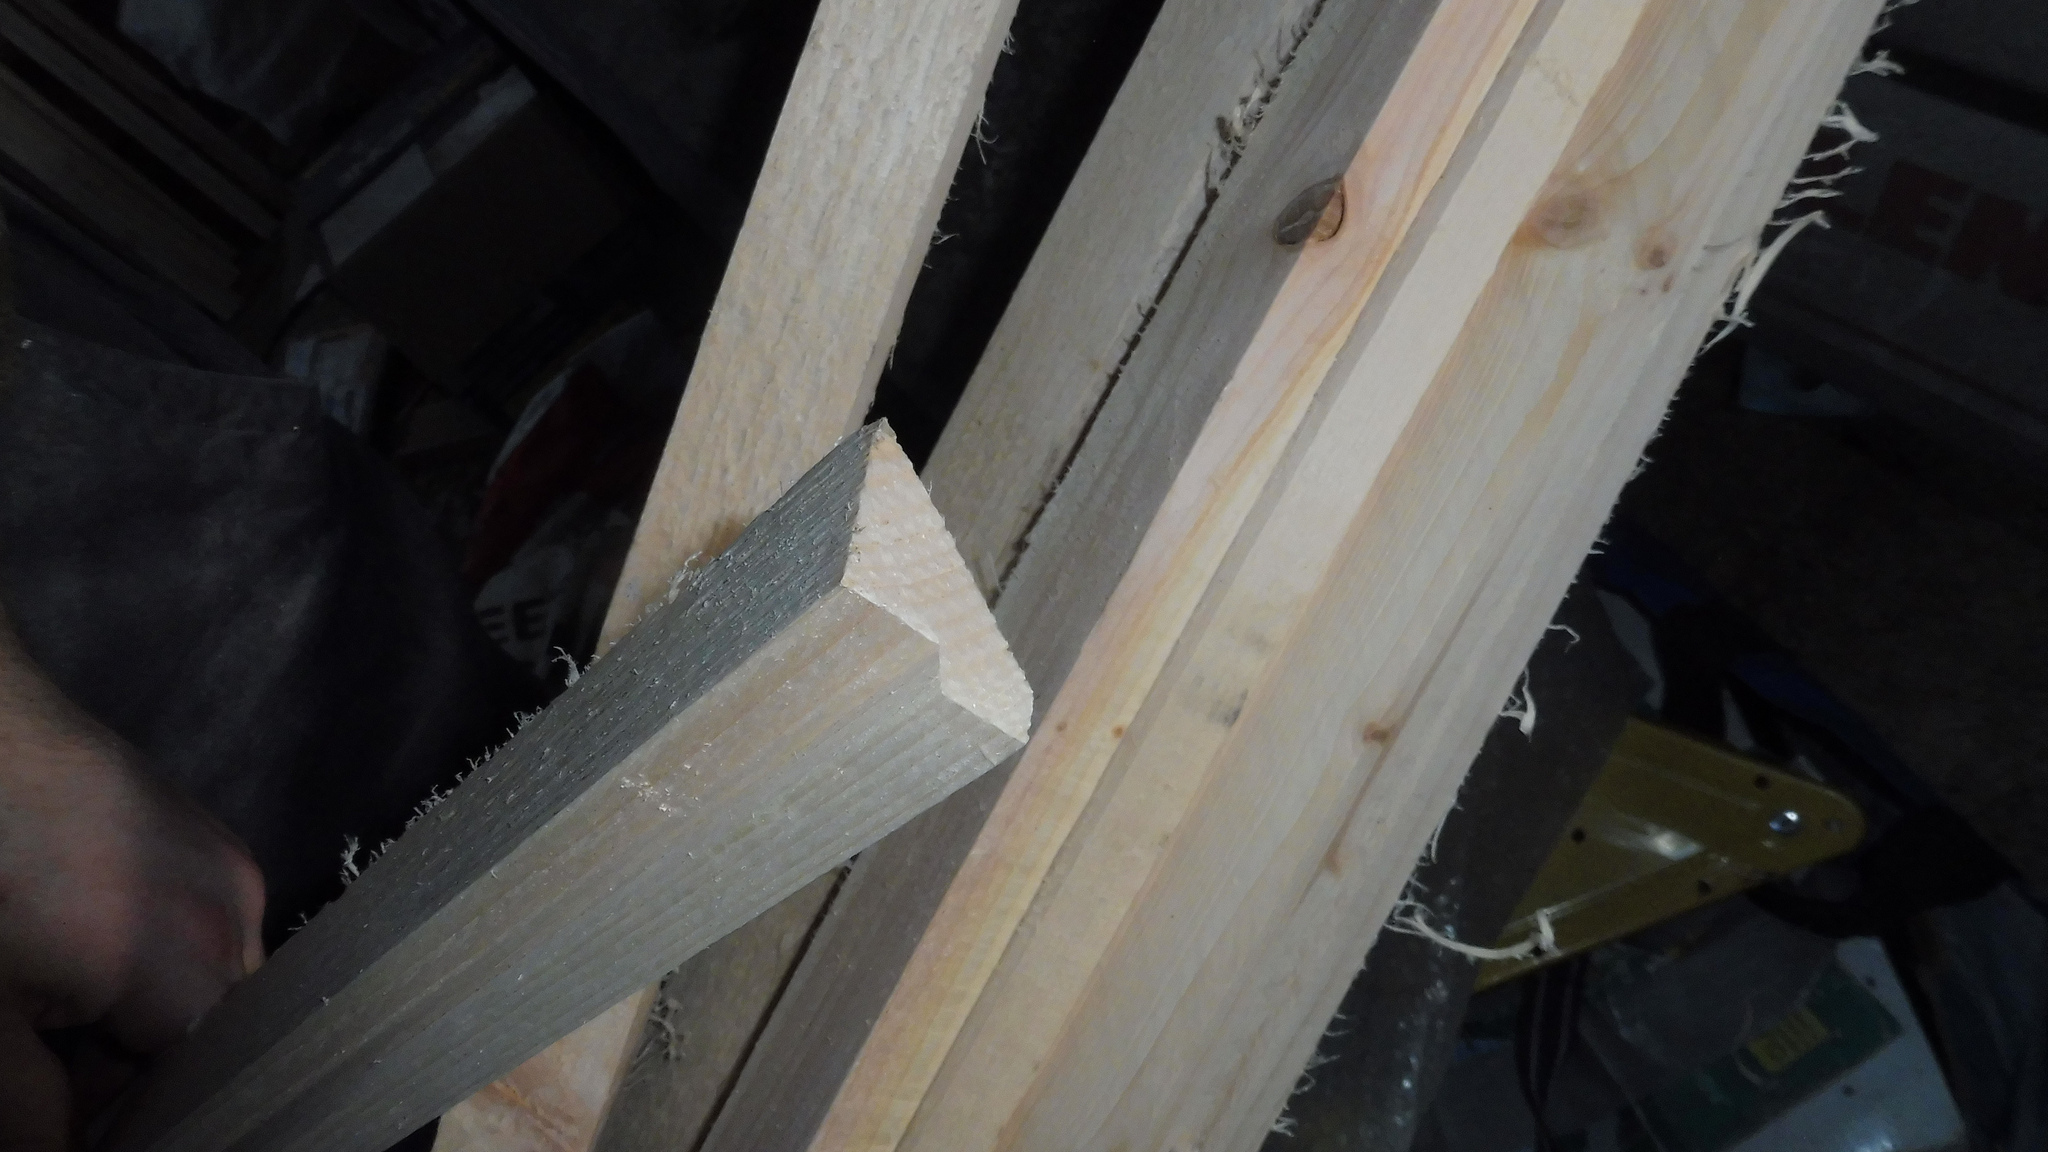
Next I snipped those cross-cut pieces into the panels for the end pieces. In the picture here is one of the deeper pieces for the National “conversion” boxes.
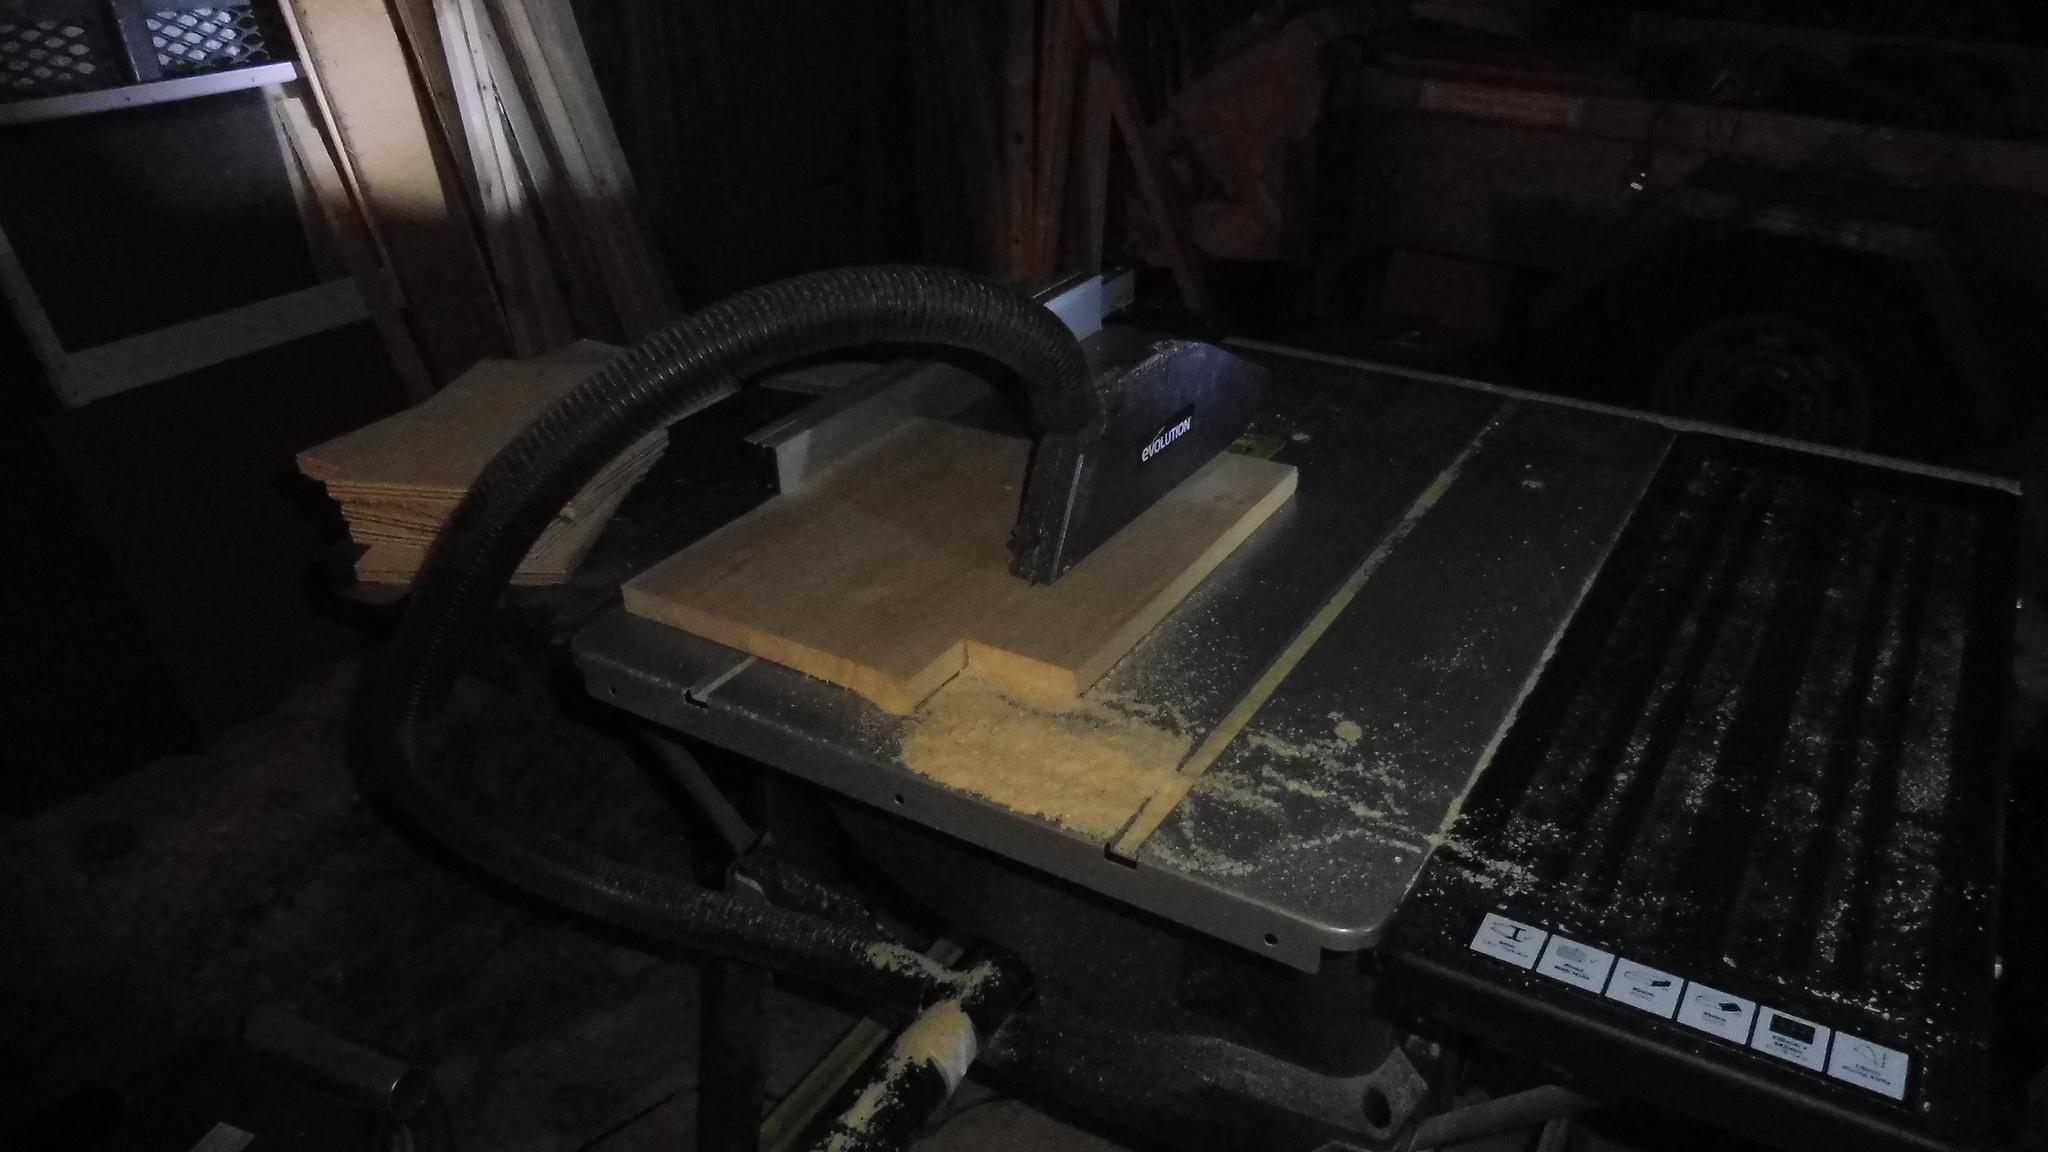
Each of these panels needs a place to rest the “lug” of the frames; the little rebate beneath allows bees to easily escape squashing. I cut these out with some careful table sawing.
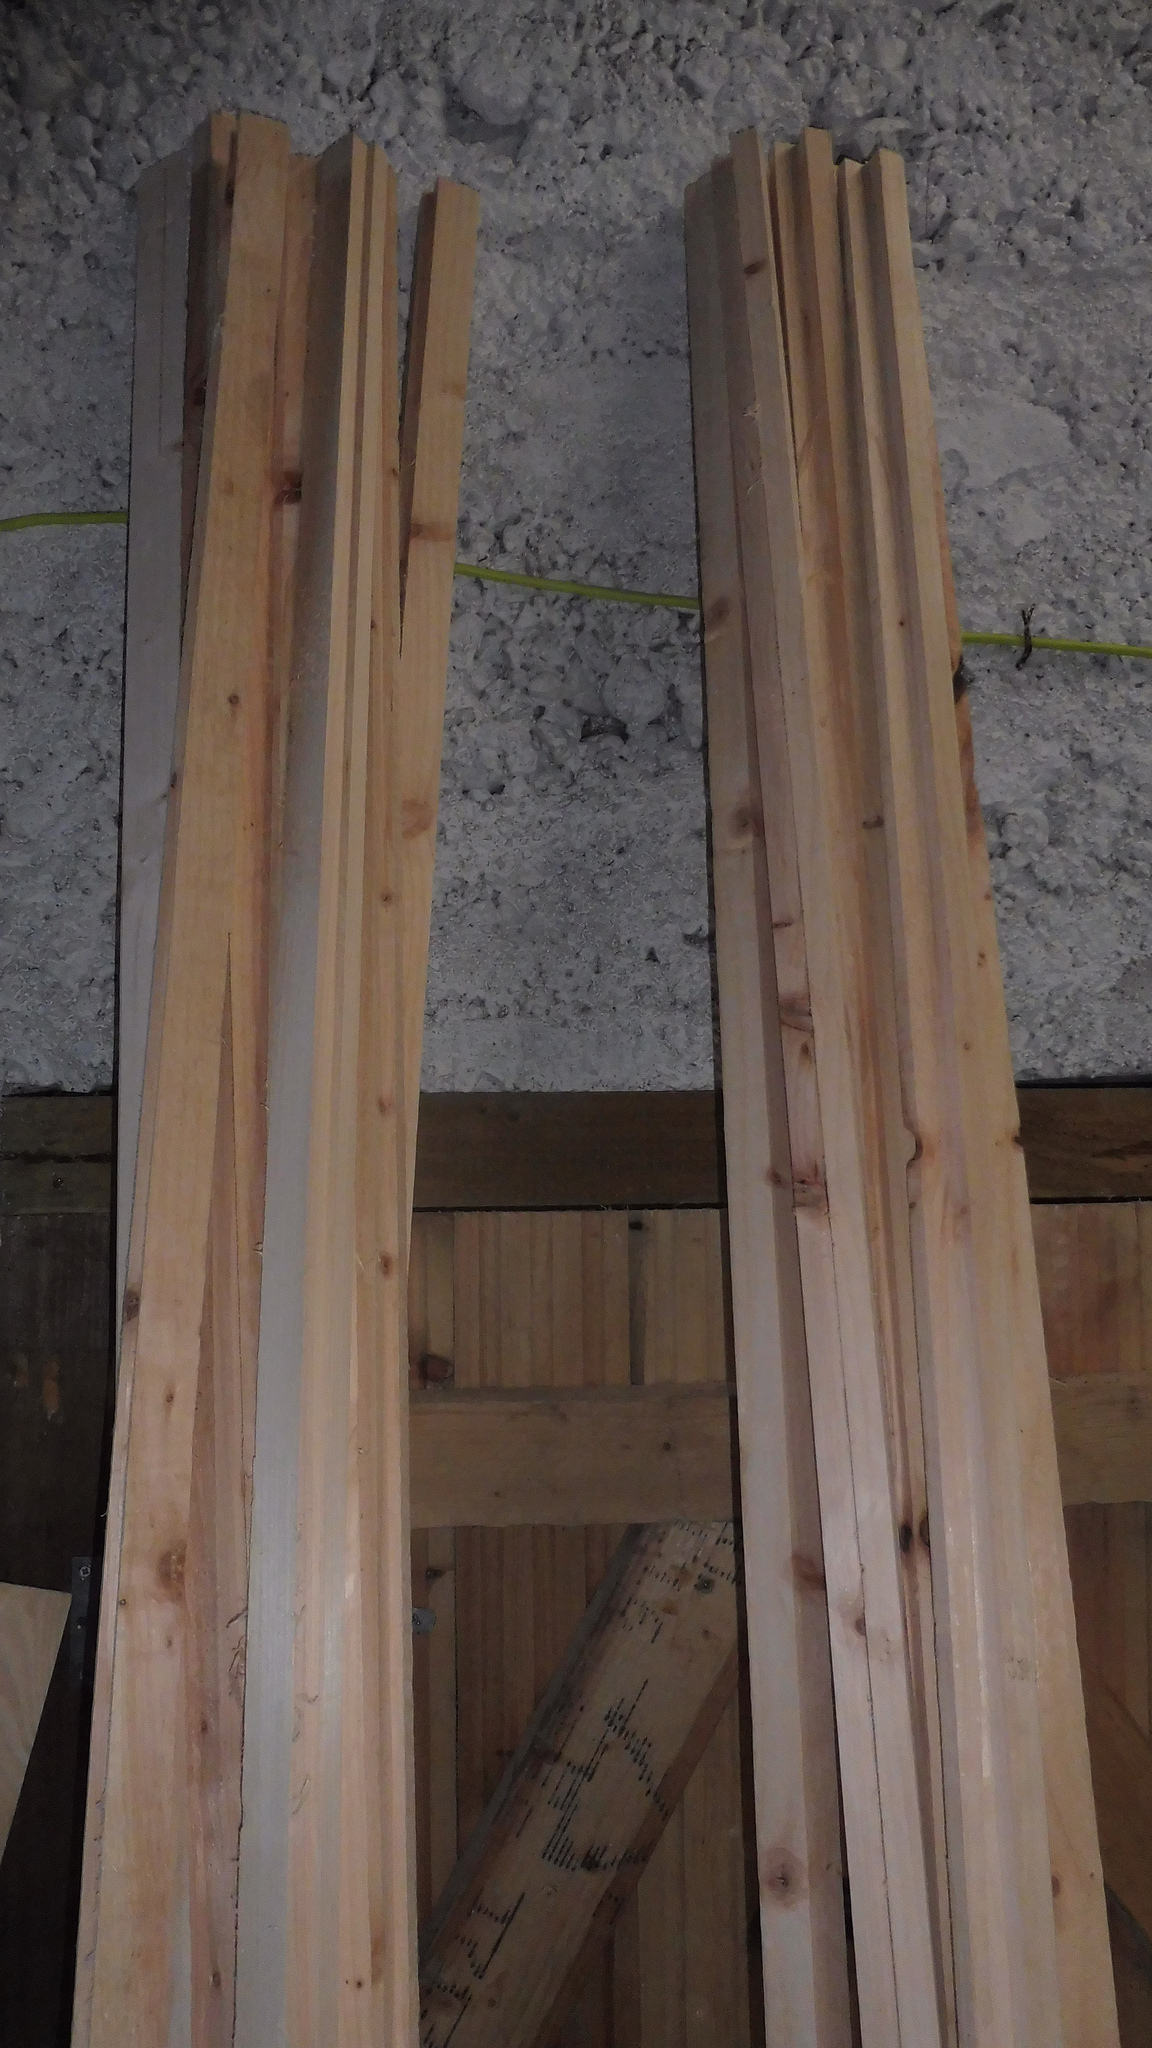
The stack of finished end pieces (note the deeper ones for the National “conversion” boxes on the lower left).

The top fillet, with the rebate again cut out on the table saw. This provides more room for the long National frame lug + bee escape artistry. The end extending up closer to my chest is 12mm wide and forms the top of the box.
The bottom fillet, cut at an angle to be pretty & reduce weight. The largest flat part here will be fixed to the 18mm end panel, and the 12mm-wide “foot” (to the right of the piece in the picture) will form the bottom of the box. The rebate is again to give the bees room to move around.
All the finished fillets - bottom on the left, top on the right. We end up needing quite a lot of them - I overheard some beekeepers describing National boxes as “a giant waste of wood” compared to Commercial, and there may be something in that. :o)
My table saw, as it turns out, is a bit imprecise over long pieces - I need to build a new fence for it - so the top & bottom fillets ended up a bit off. As it happens, this doesn’t matter too much.
The measurements that really matter in these boxes are the internal width that the frames hang in, and the 11mm from where the lug rests to the top of the box.
As such, the other rebates etc. don’t matter so much as long as there’s room for the bees to move around.
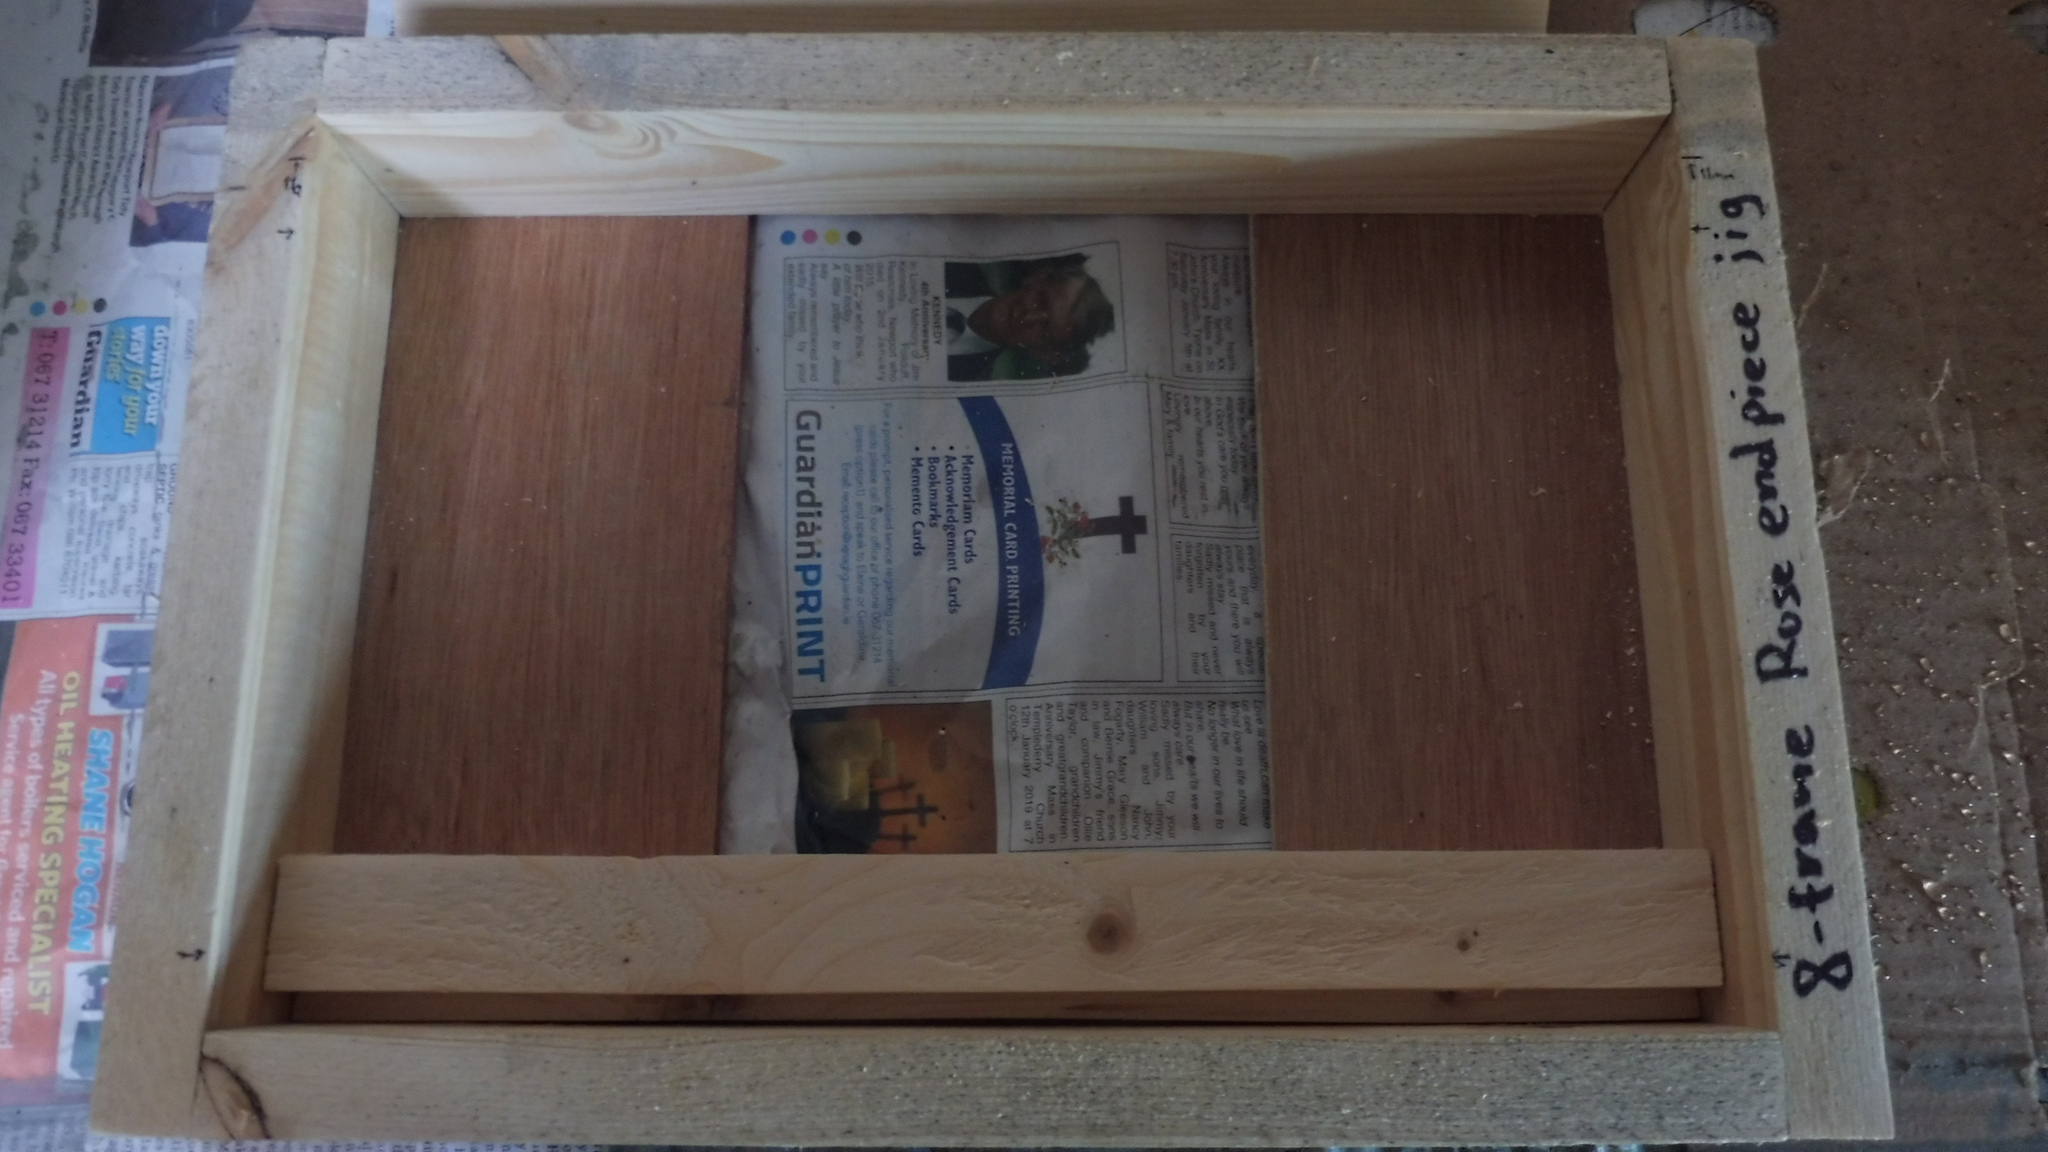
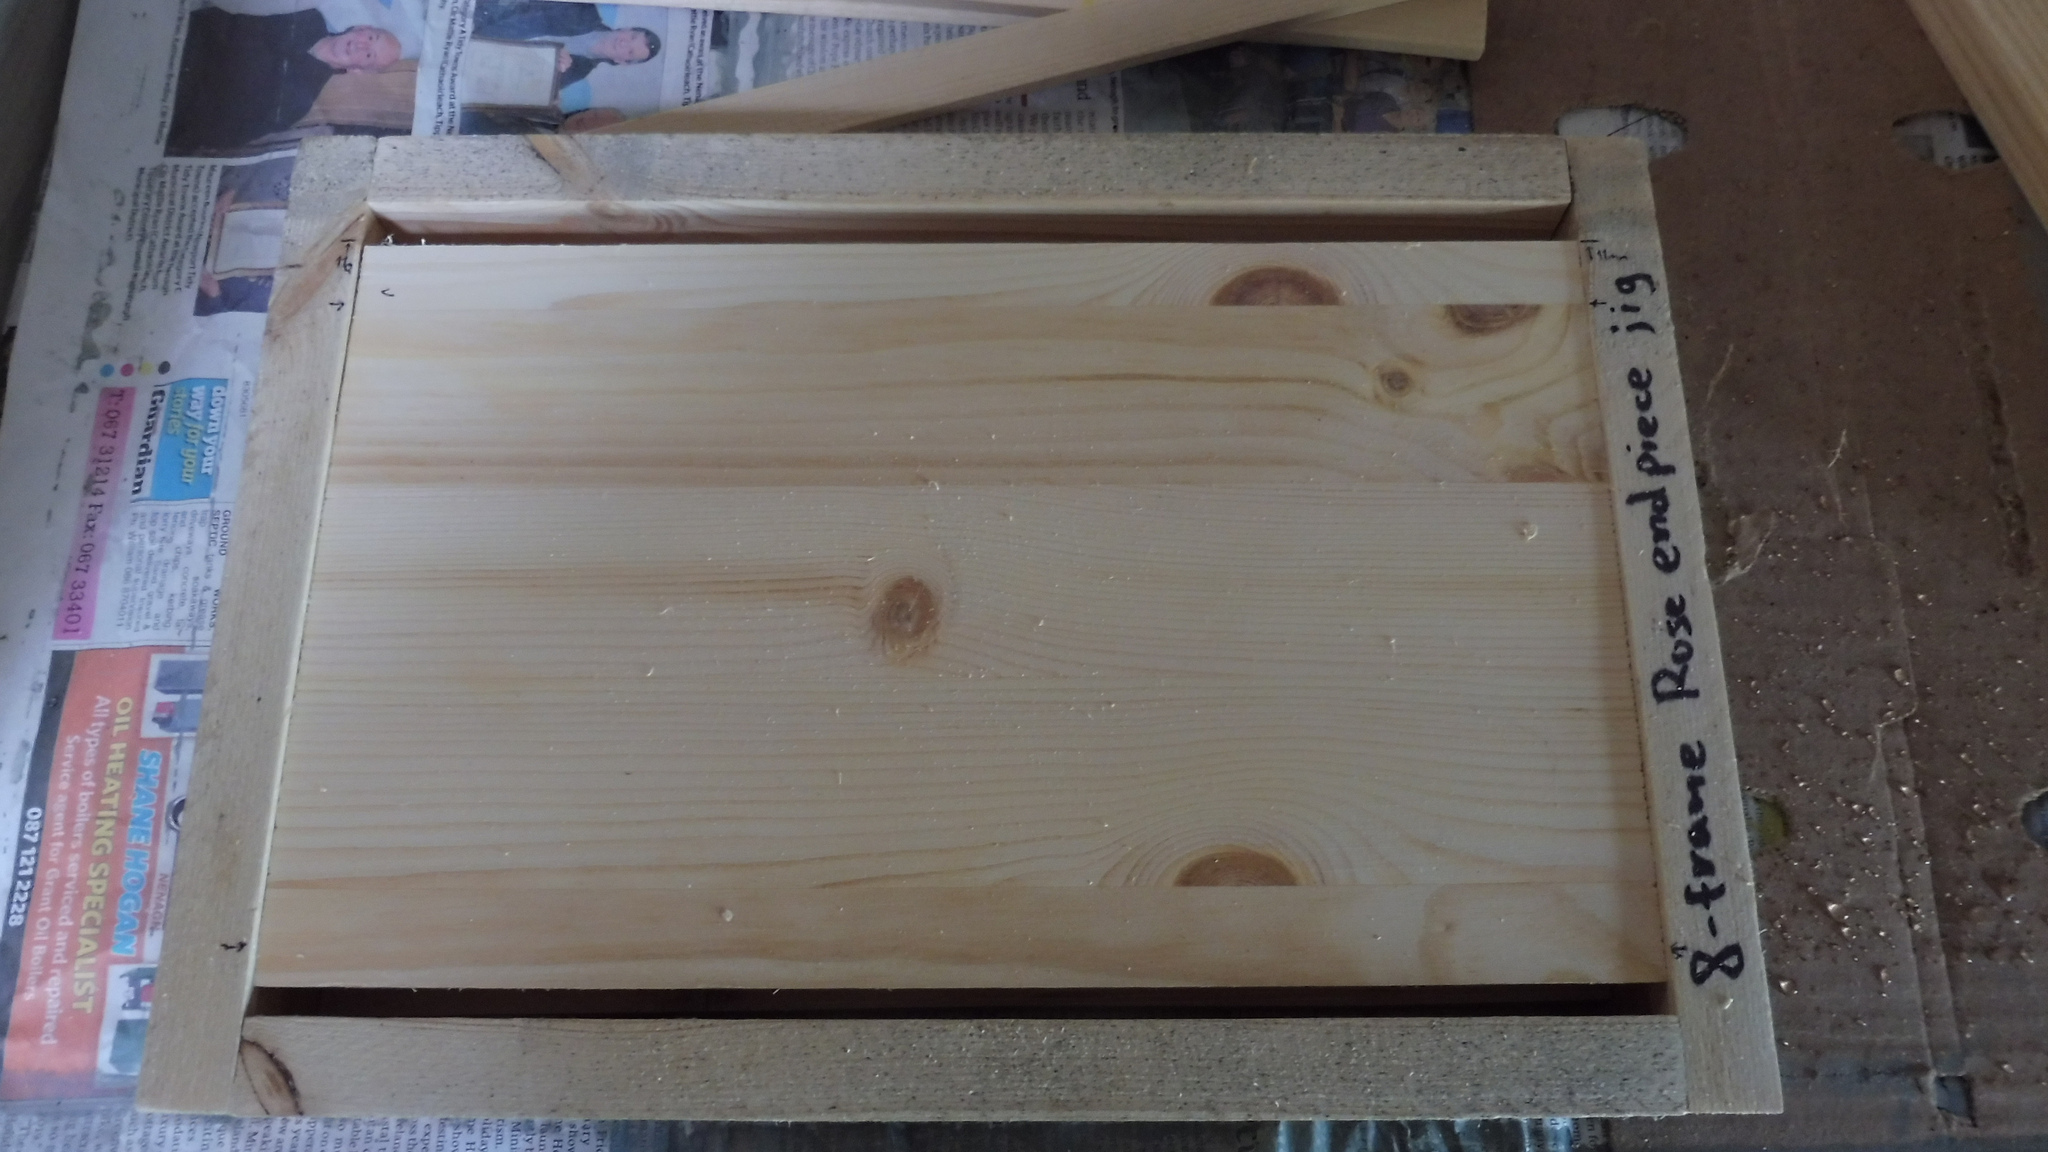
So, I made up a jig to get the 11mm measurement right on the end pieces, and make sure each end piece was the right total height (190mm)
I use an angle offcut in the jig to support the bottom fillet.
And then the top fillet goes in …
Until we’re ready to take the panel.
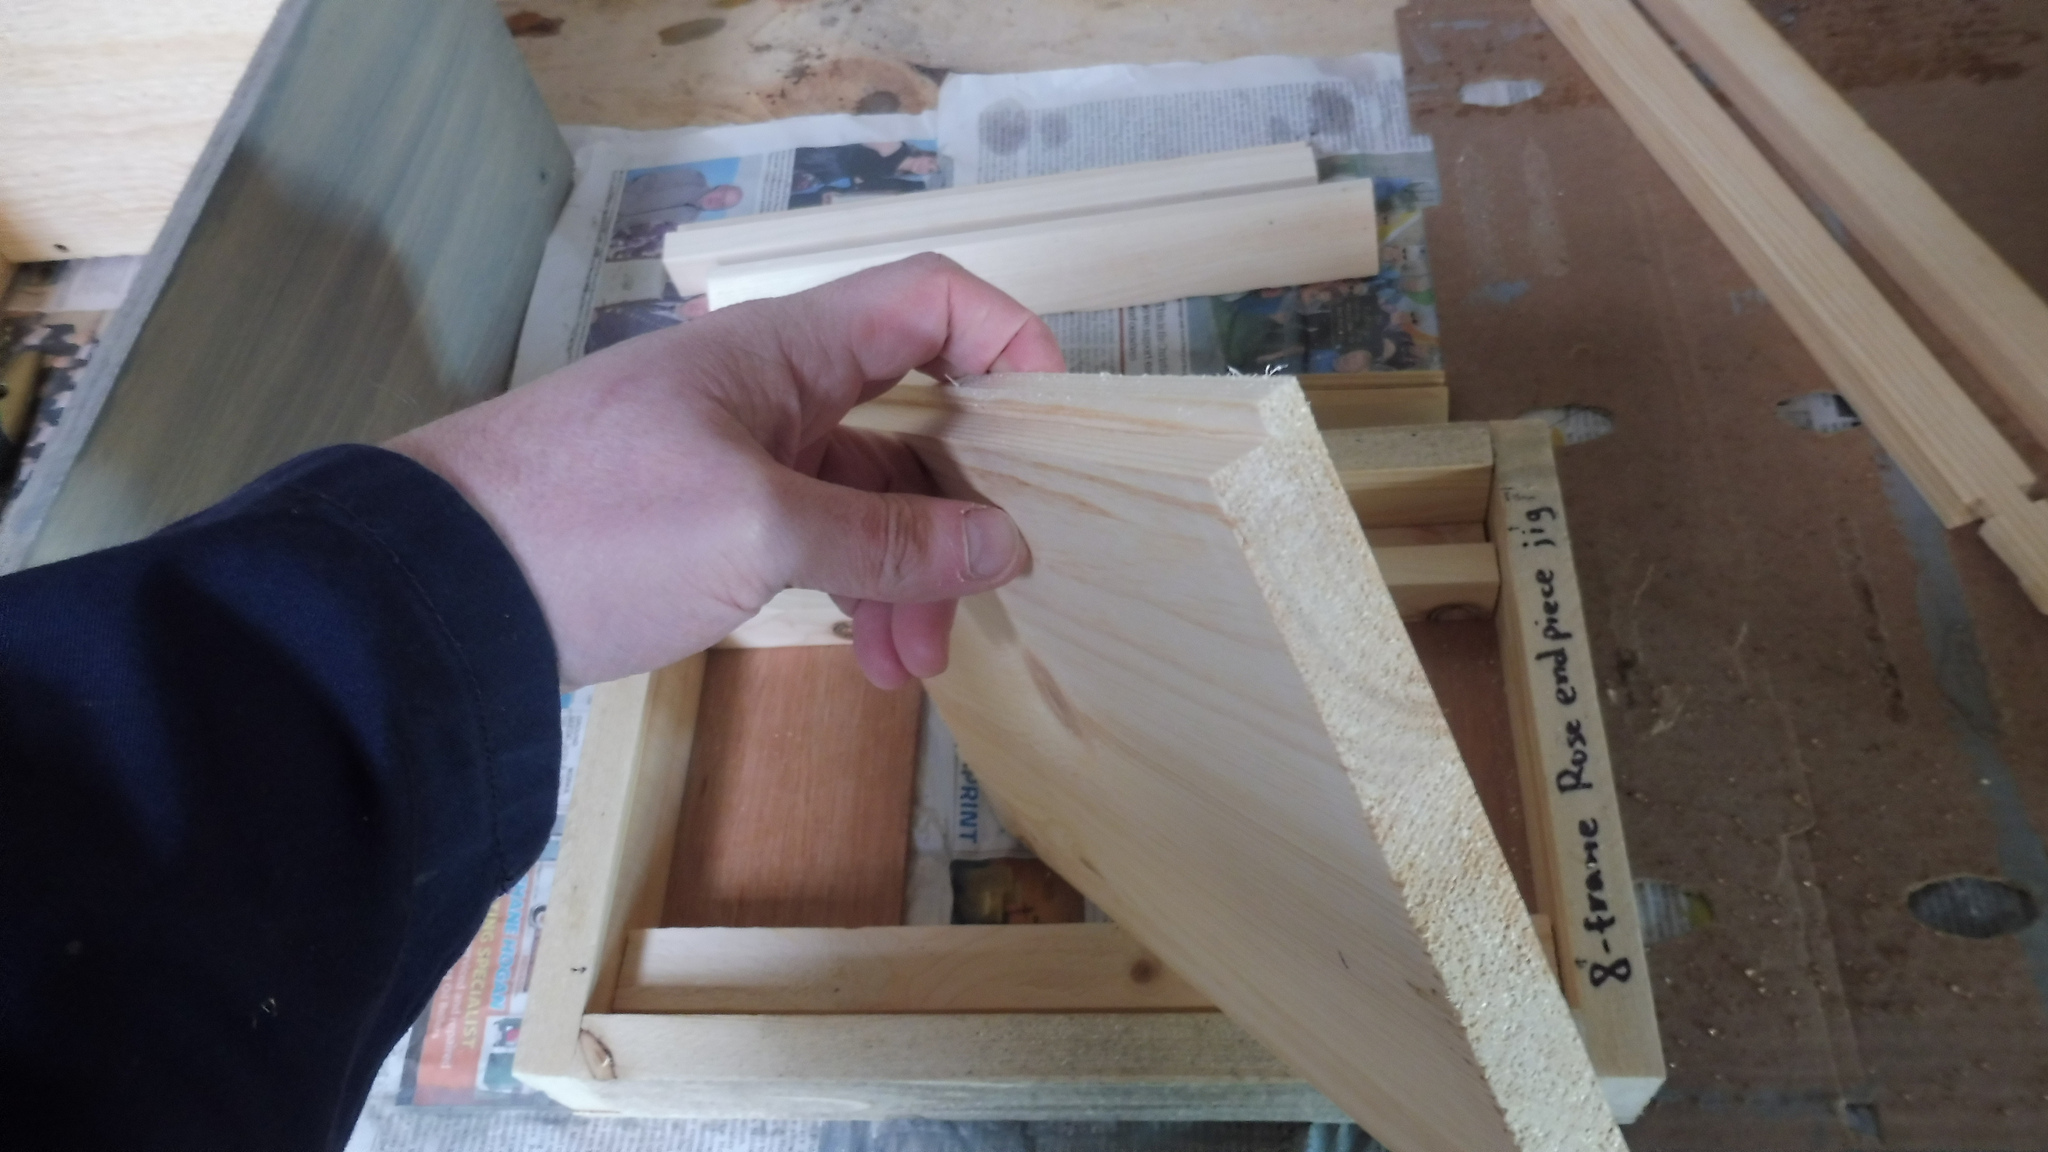
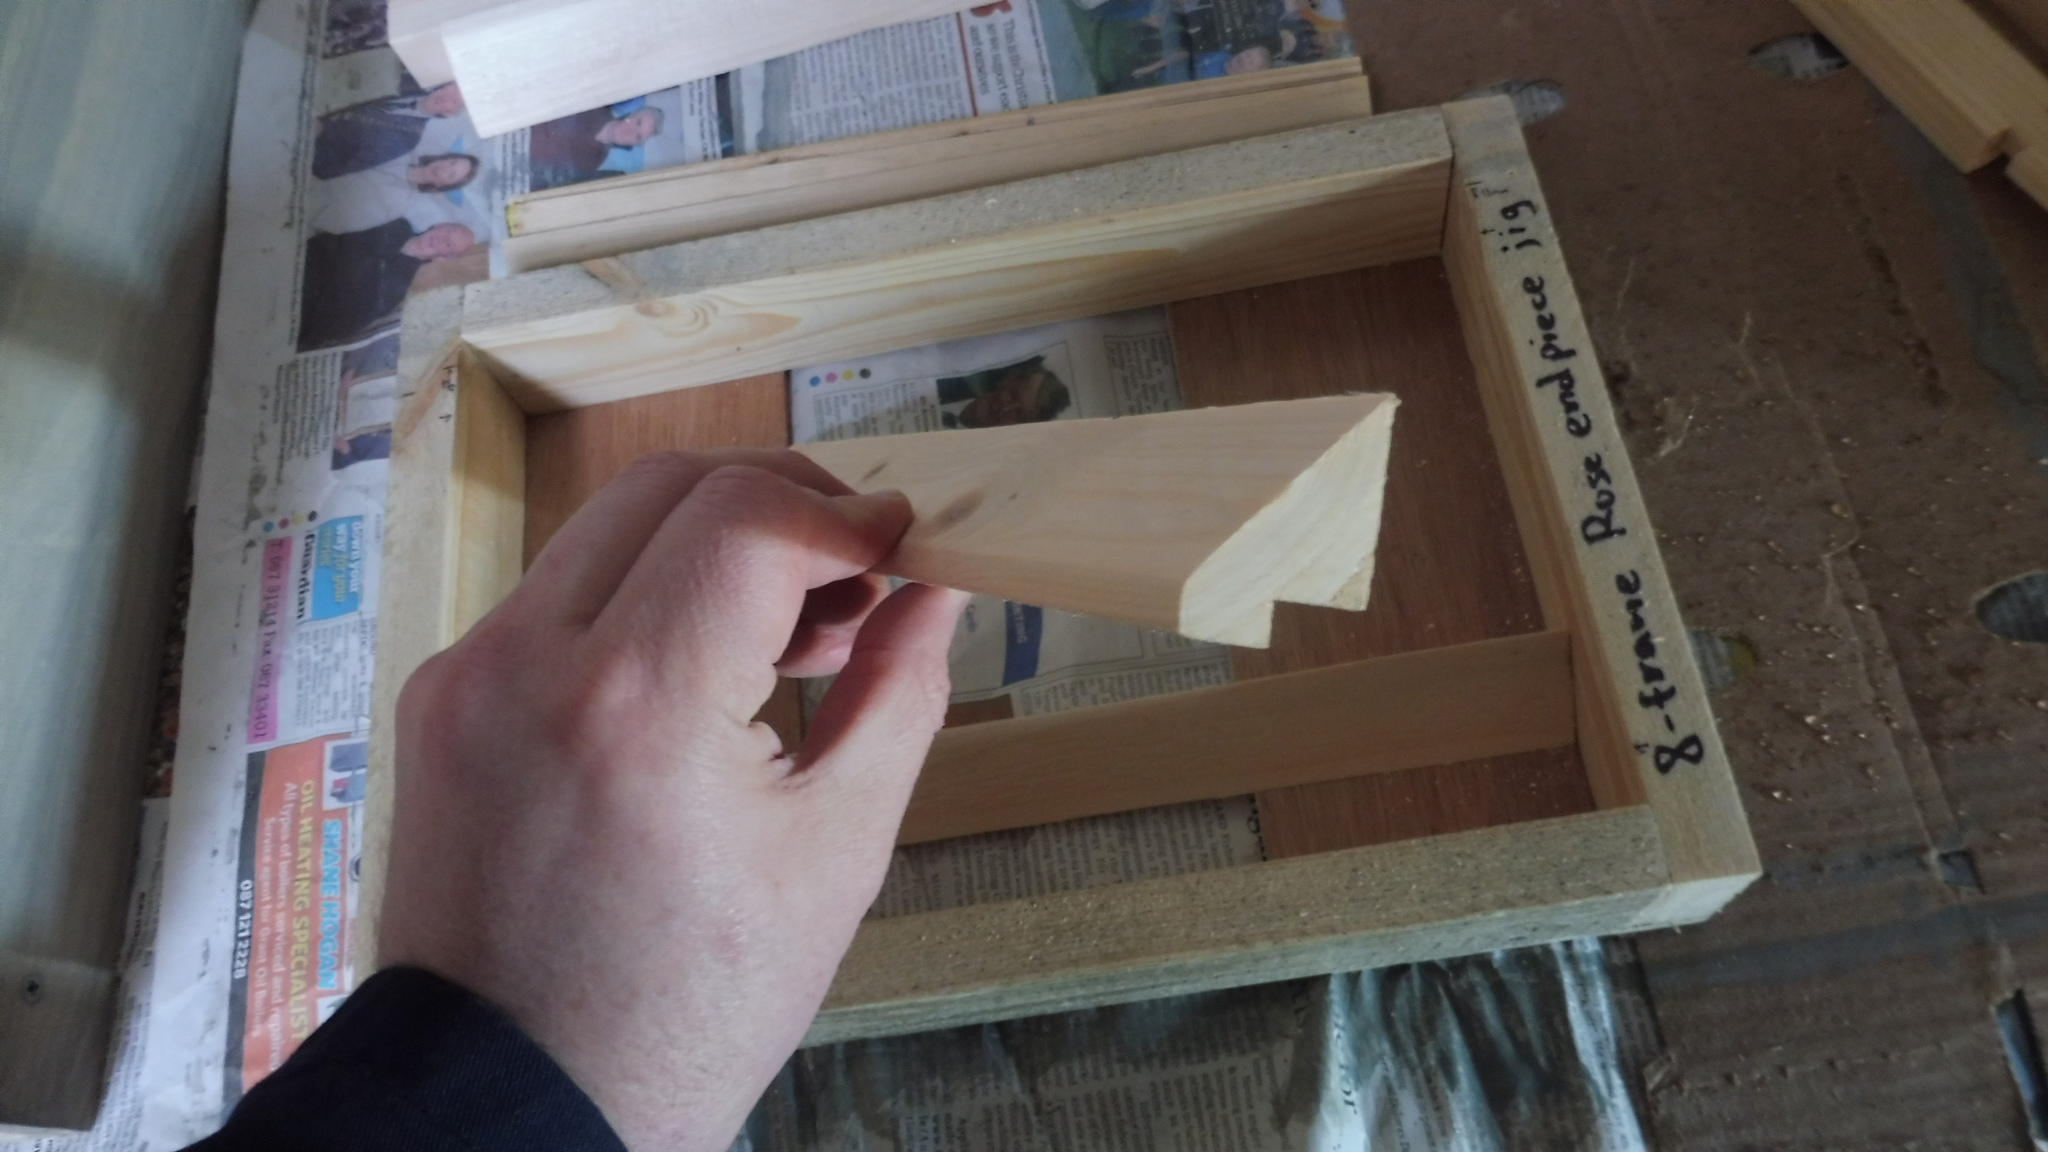
Note that the lugs rest on top of the piece at the top right in this picture …
… so the panel goes “face down” like this. Note there’s a mark on the jig for that all-important 11mm.
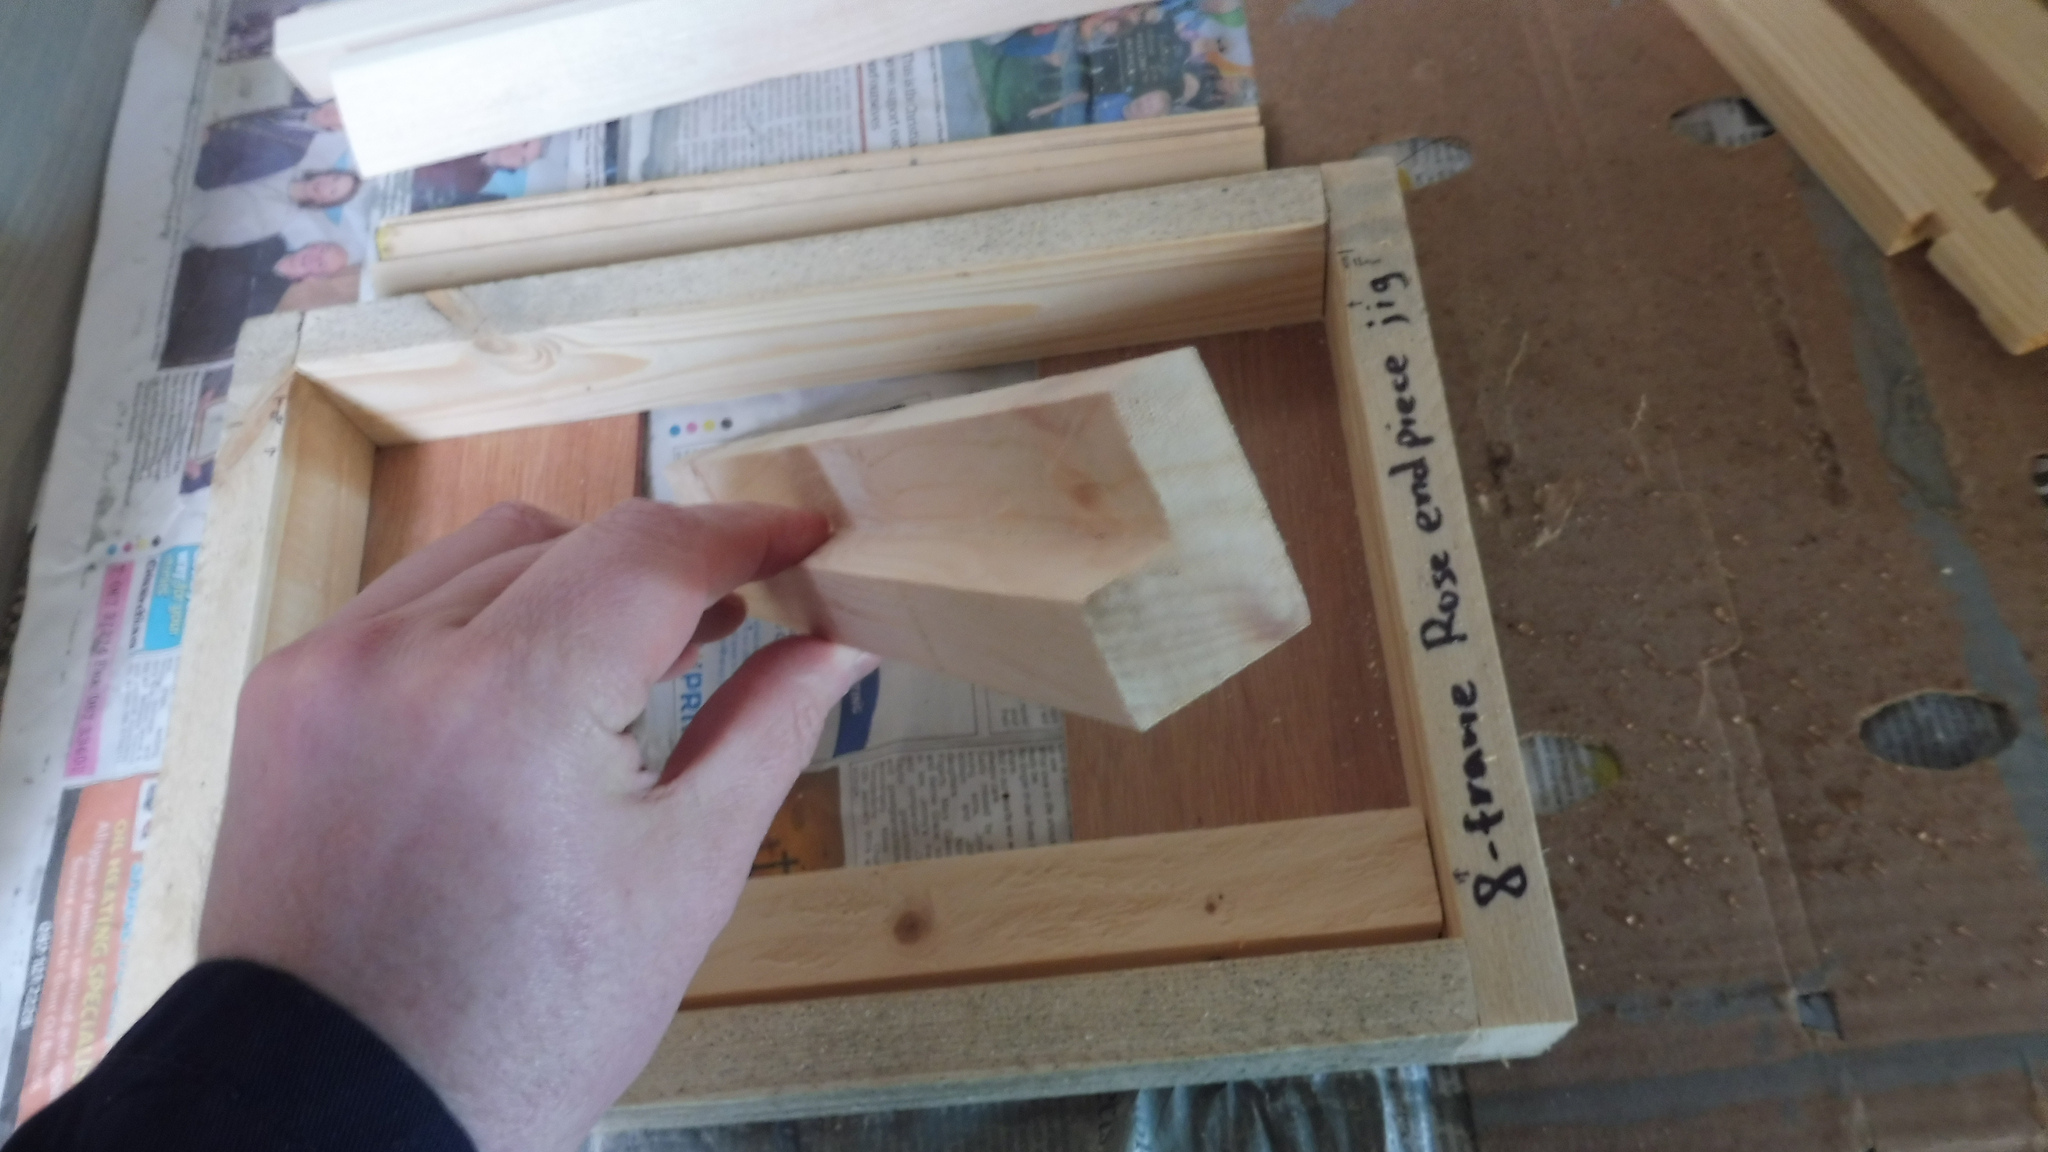
The jig upside-down, with the pieces inserted and ready to go.
To finish them, I just glue them & put a few screws in.
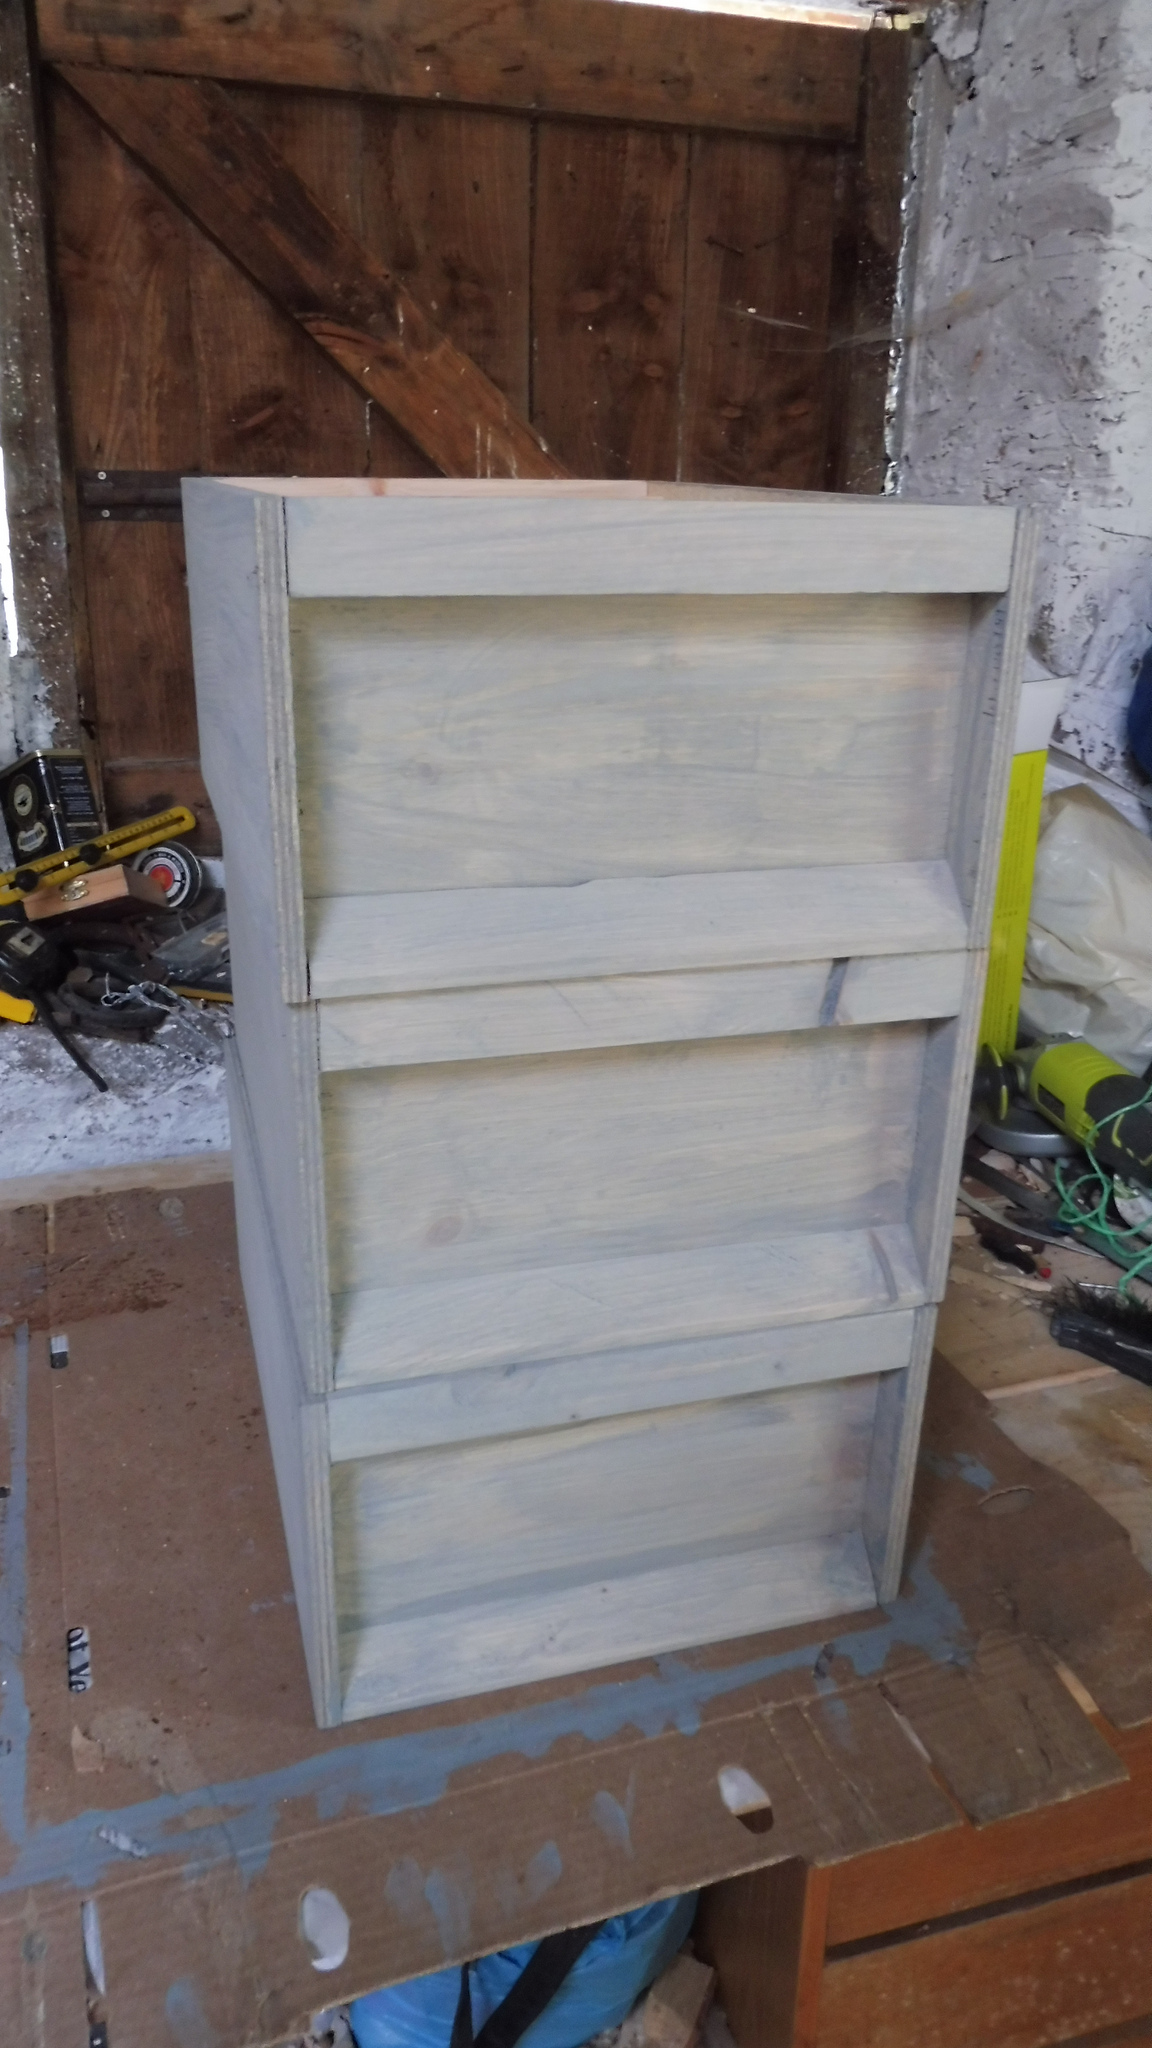
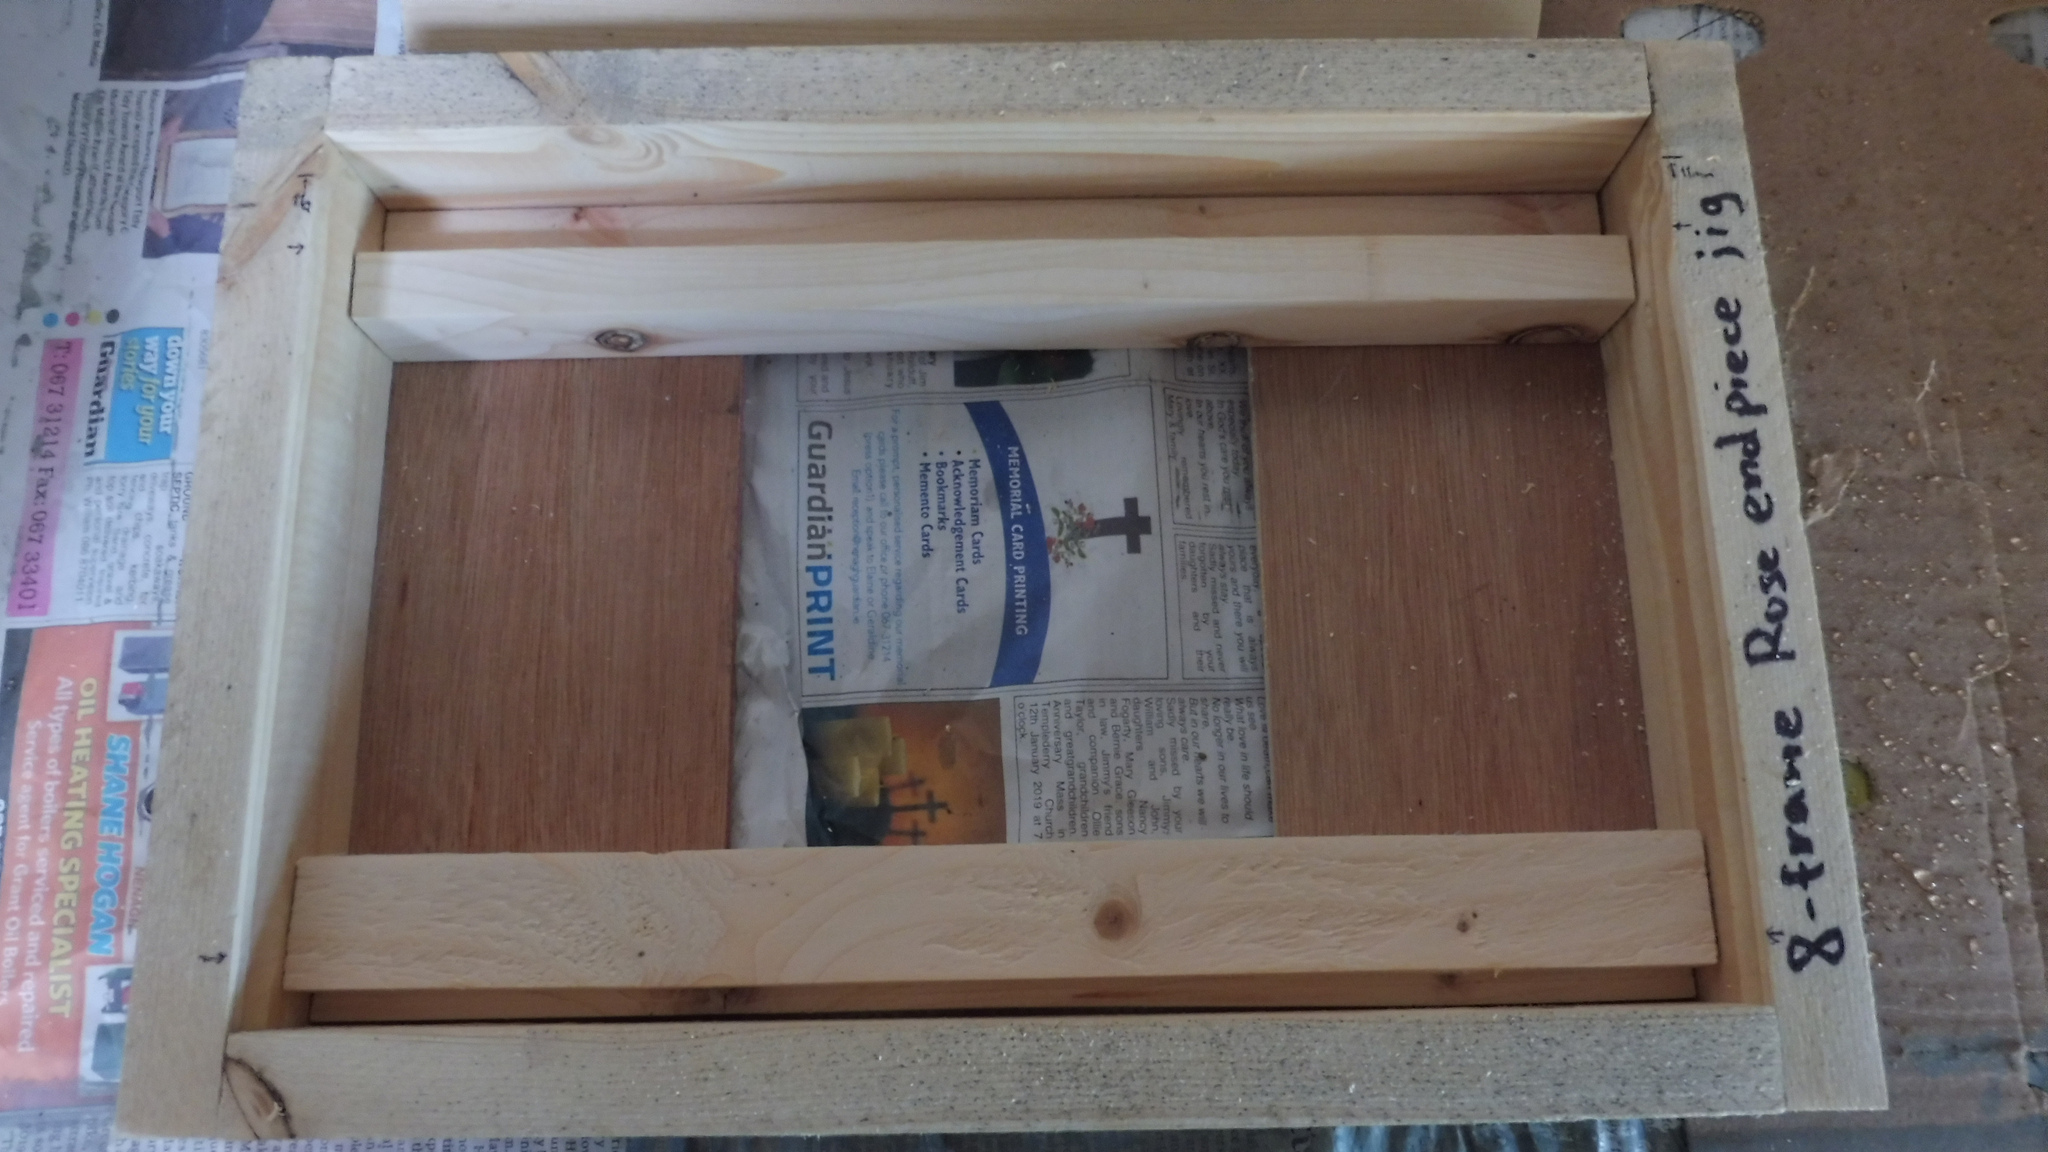
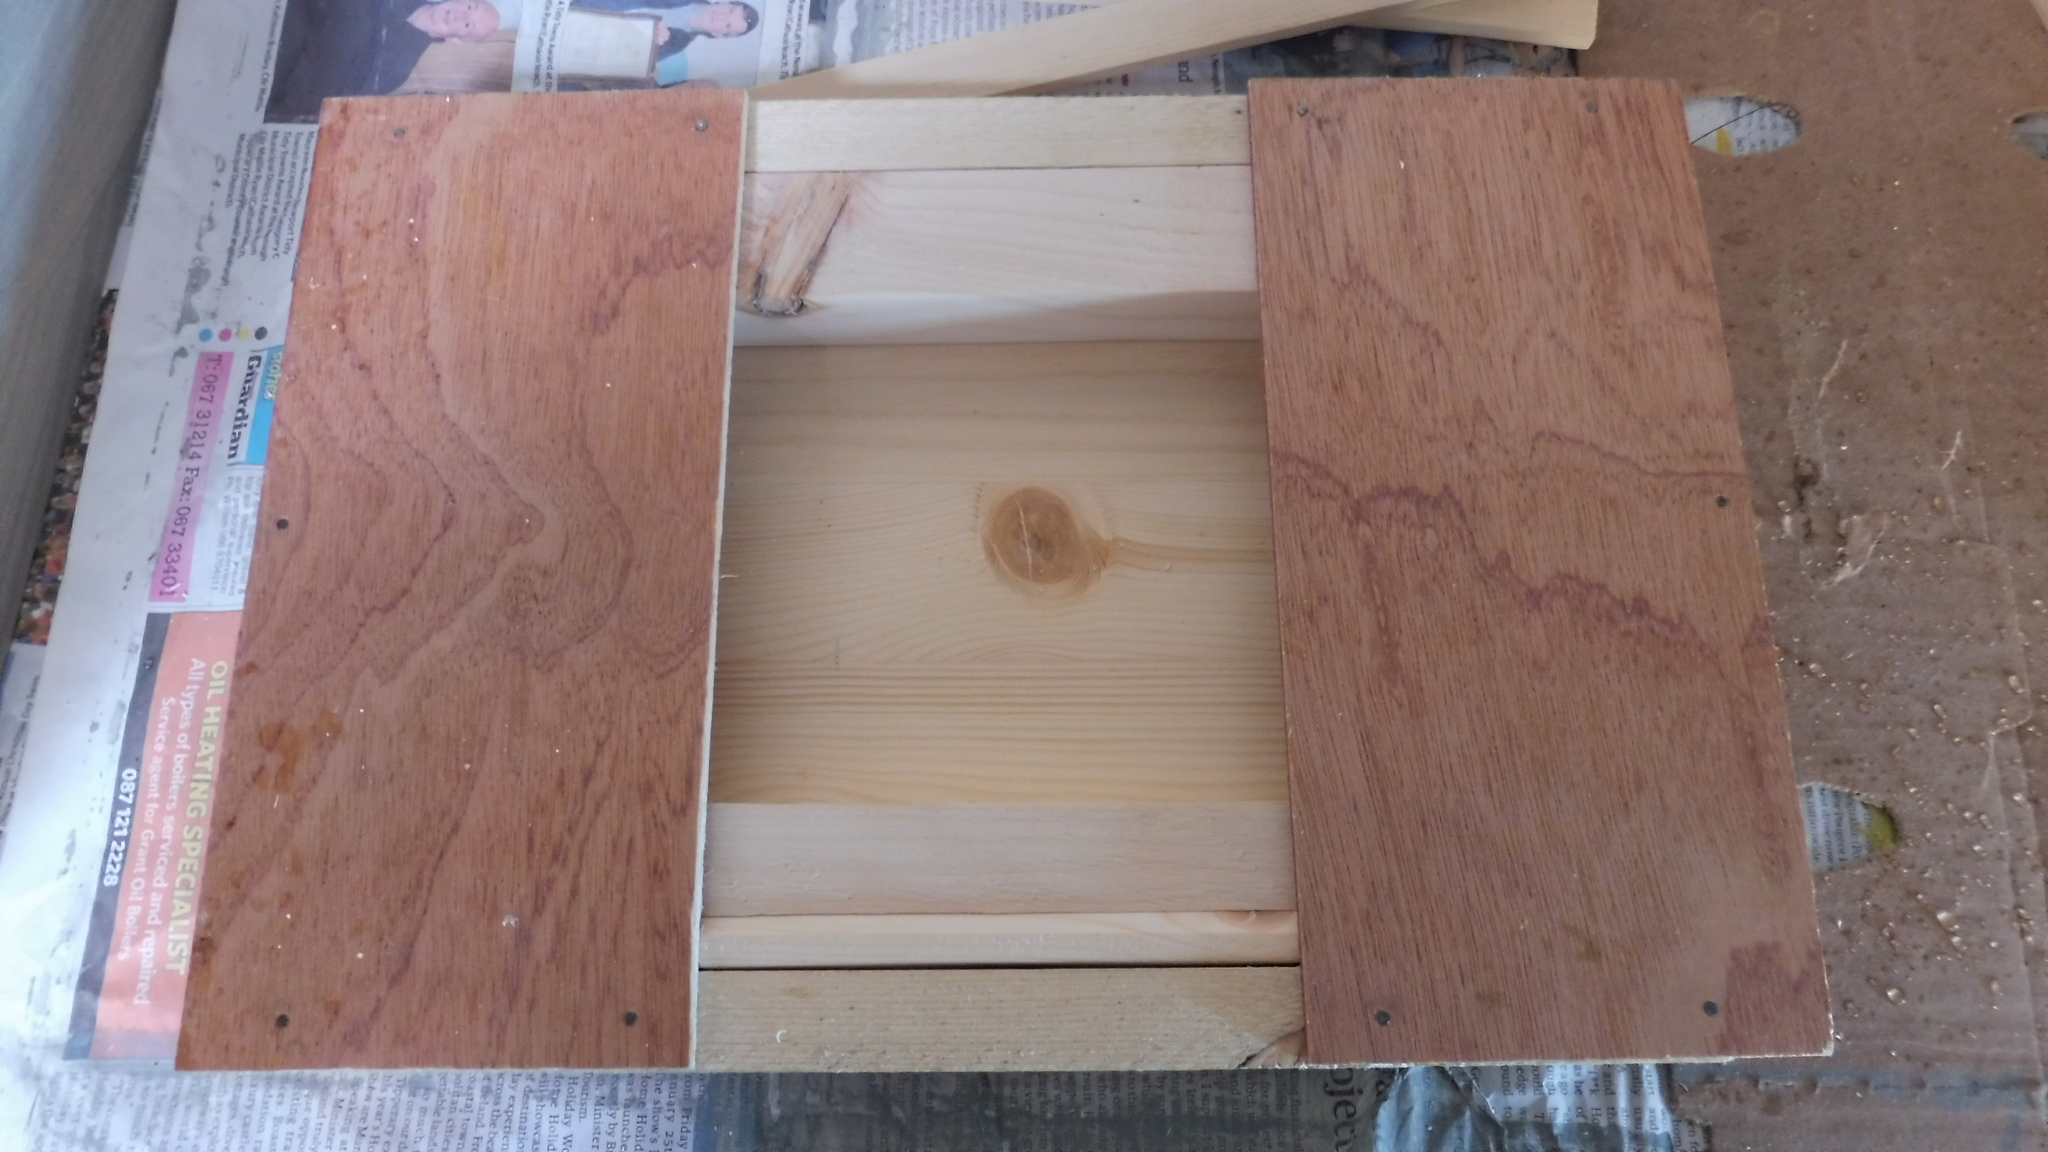
A finished end piece (actually, a finished box - I skipped a few steps in the photography here!)
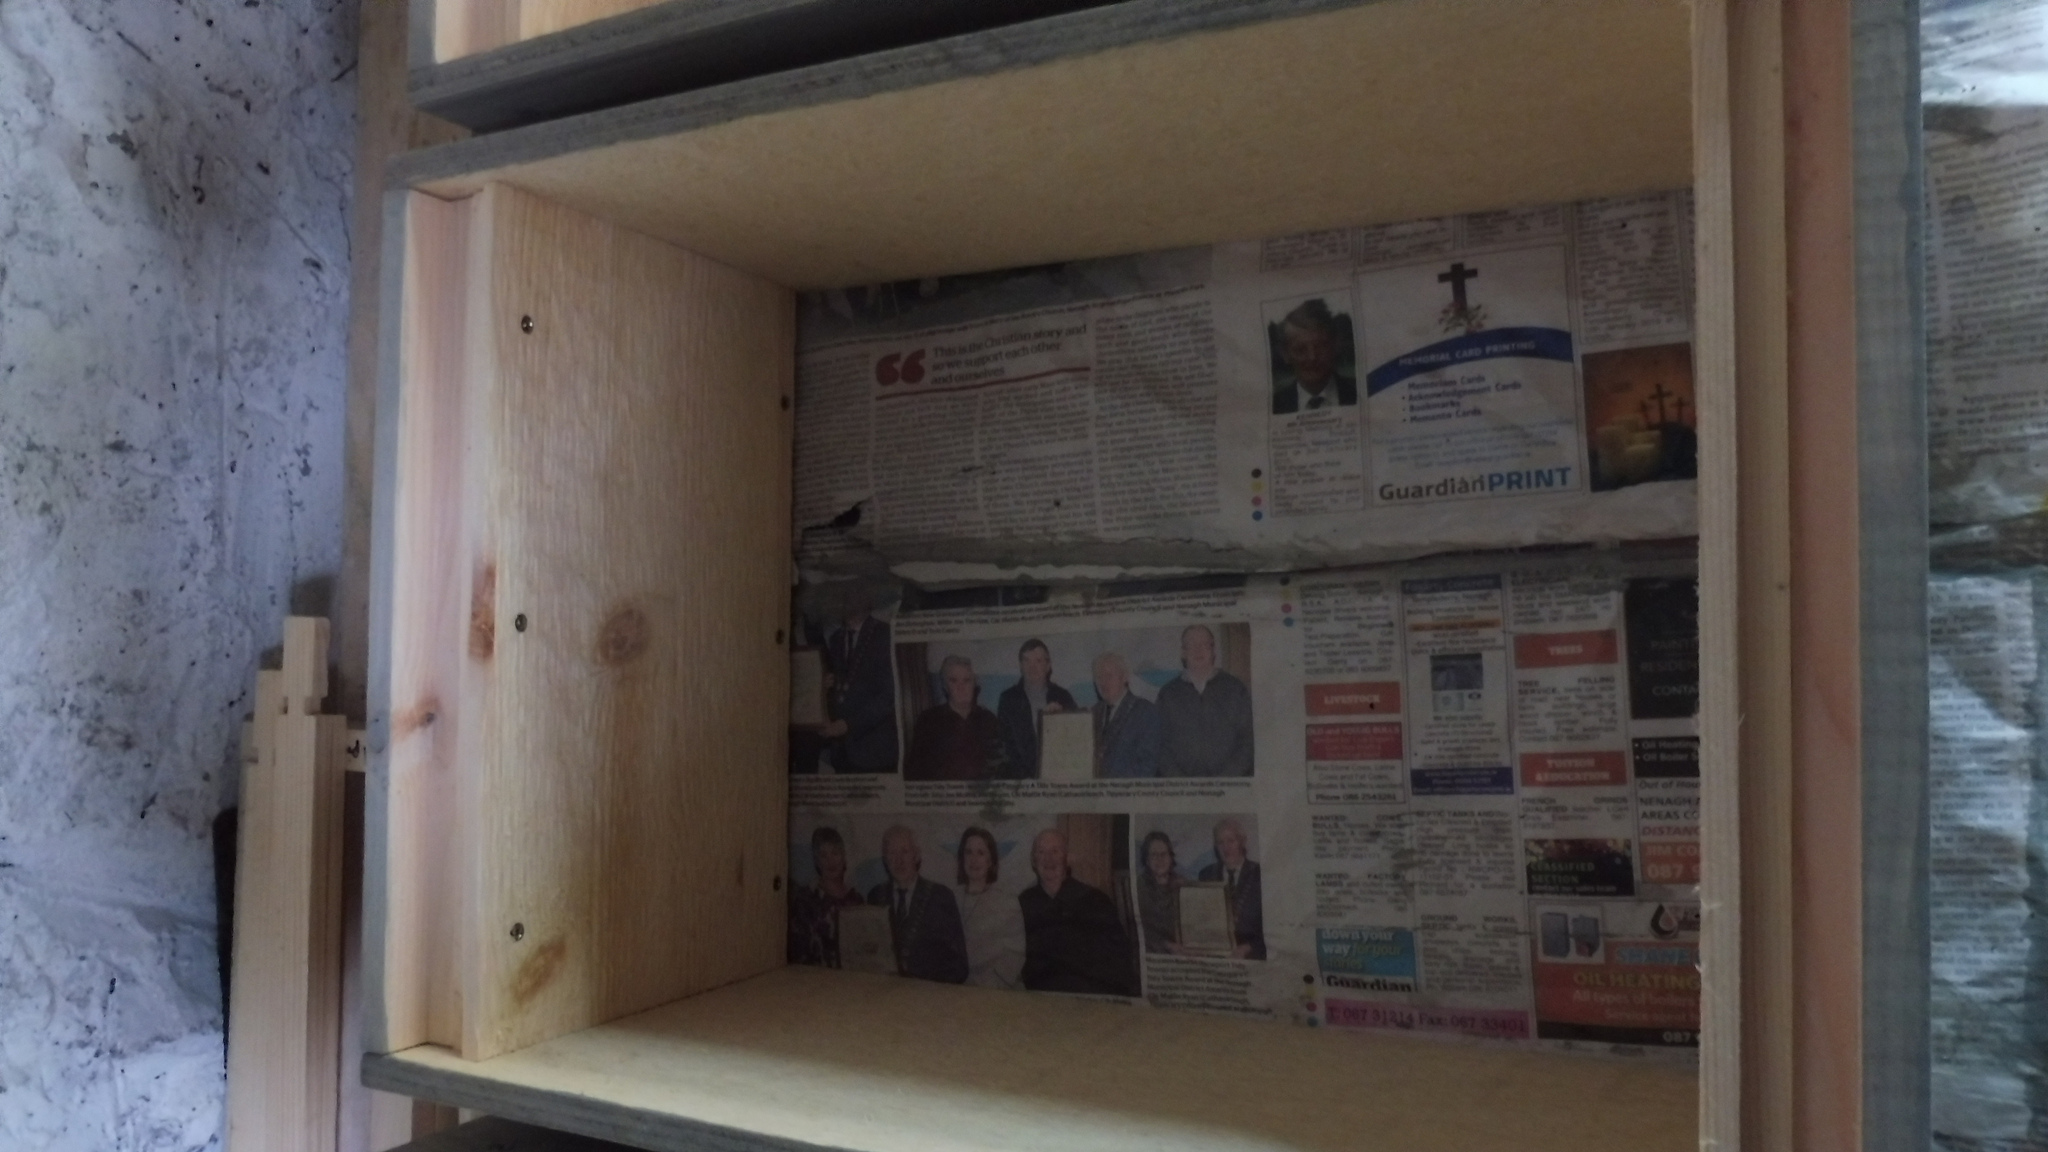
The inside of the a box. See the lug rest on the left-hand end piece.
Another interesting thing here (that I missed progress shots for) is the roughened internal surfaces. There’s good evidence (from Marla Spivak et al. at U. Minnesota) that the propolis “envelope” formed by bees around their nest in natural cavities (i.e. on rough wood) provides them with immune/health advantages. Artificial beehives typically have smooth internal wooden surfaces, which the bees don’t propolise.
Since I was making these all up from scratch (and I don’t mind burning a few if a colony dies from disease), I thought I’d try roughening the internal surfaces. I used a large hole drill bit and just ran it over each panel - a bit tedious, but it did a nice job on the surfaces.
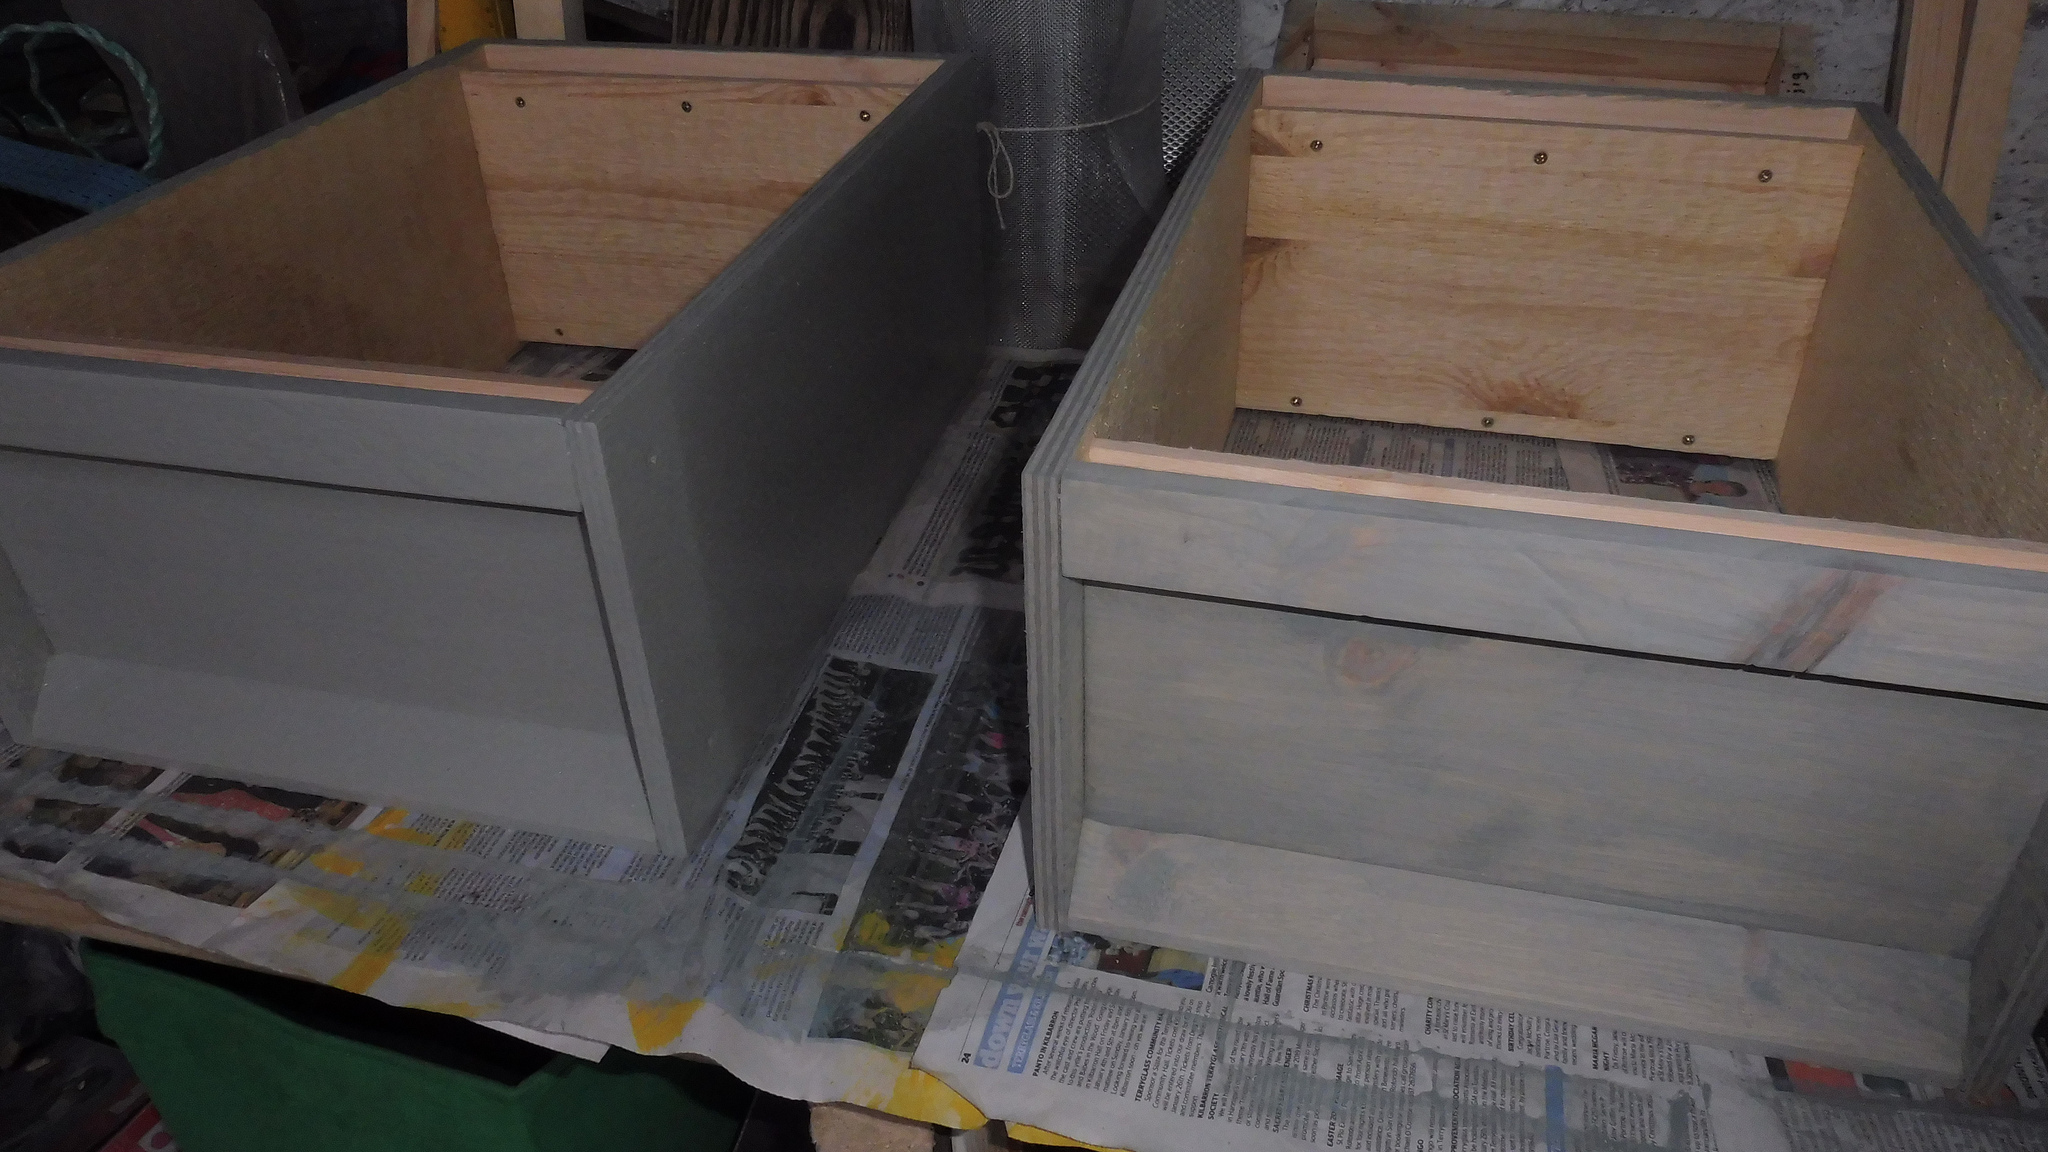
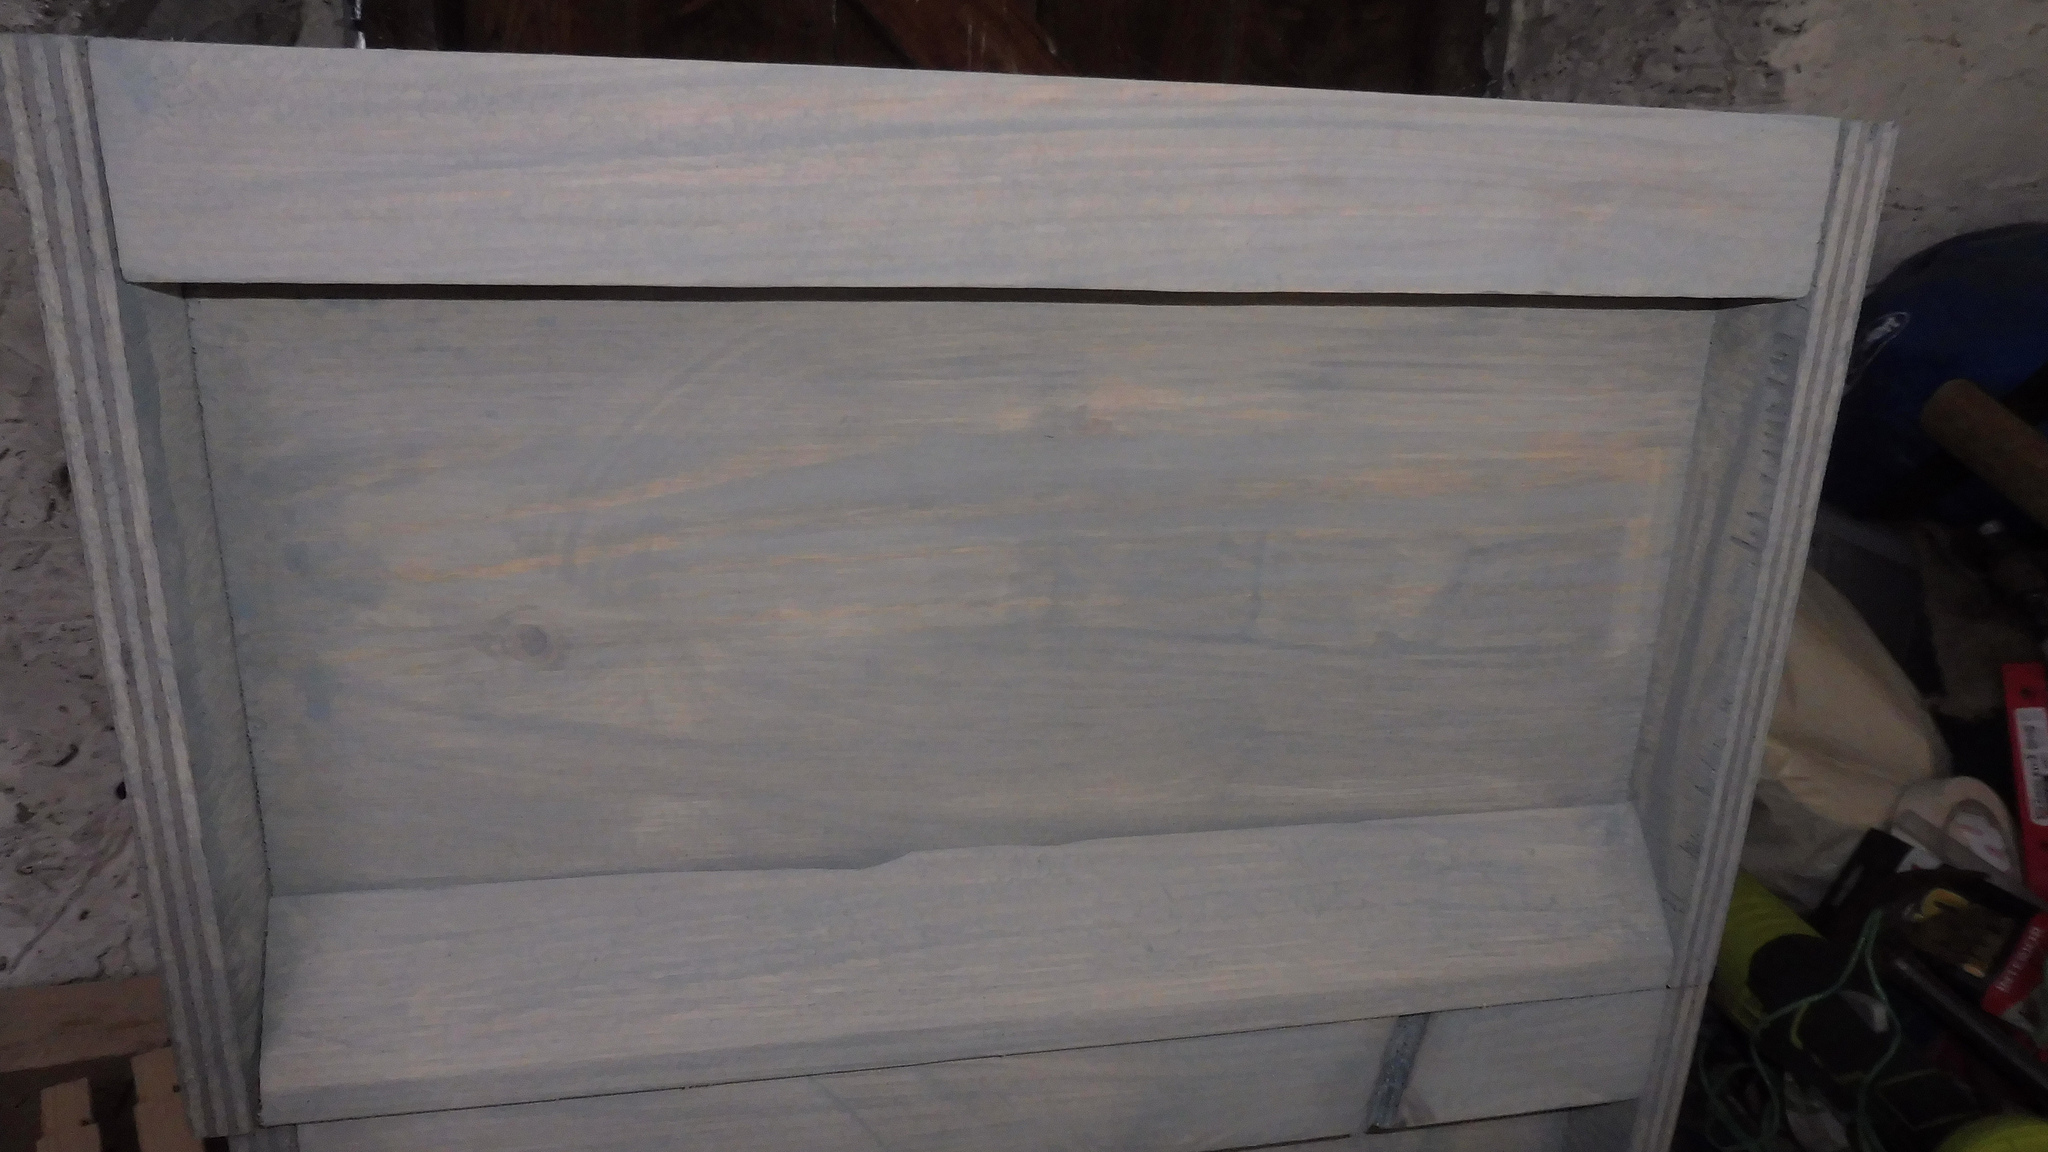
On the left is a box I’ve just given a second coat of sealant - it’s “Fence Life” slate colour. I want to paint my rooves & floors something nice and colourful, so a fairly neutral hive box colour will provide a nice base.
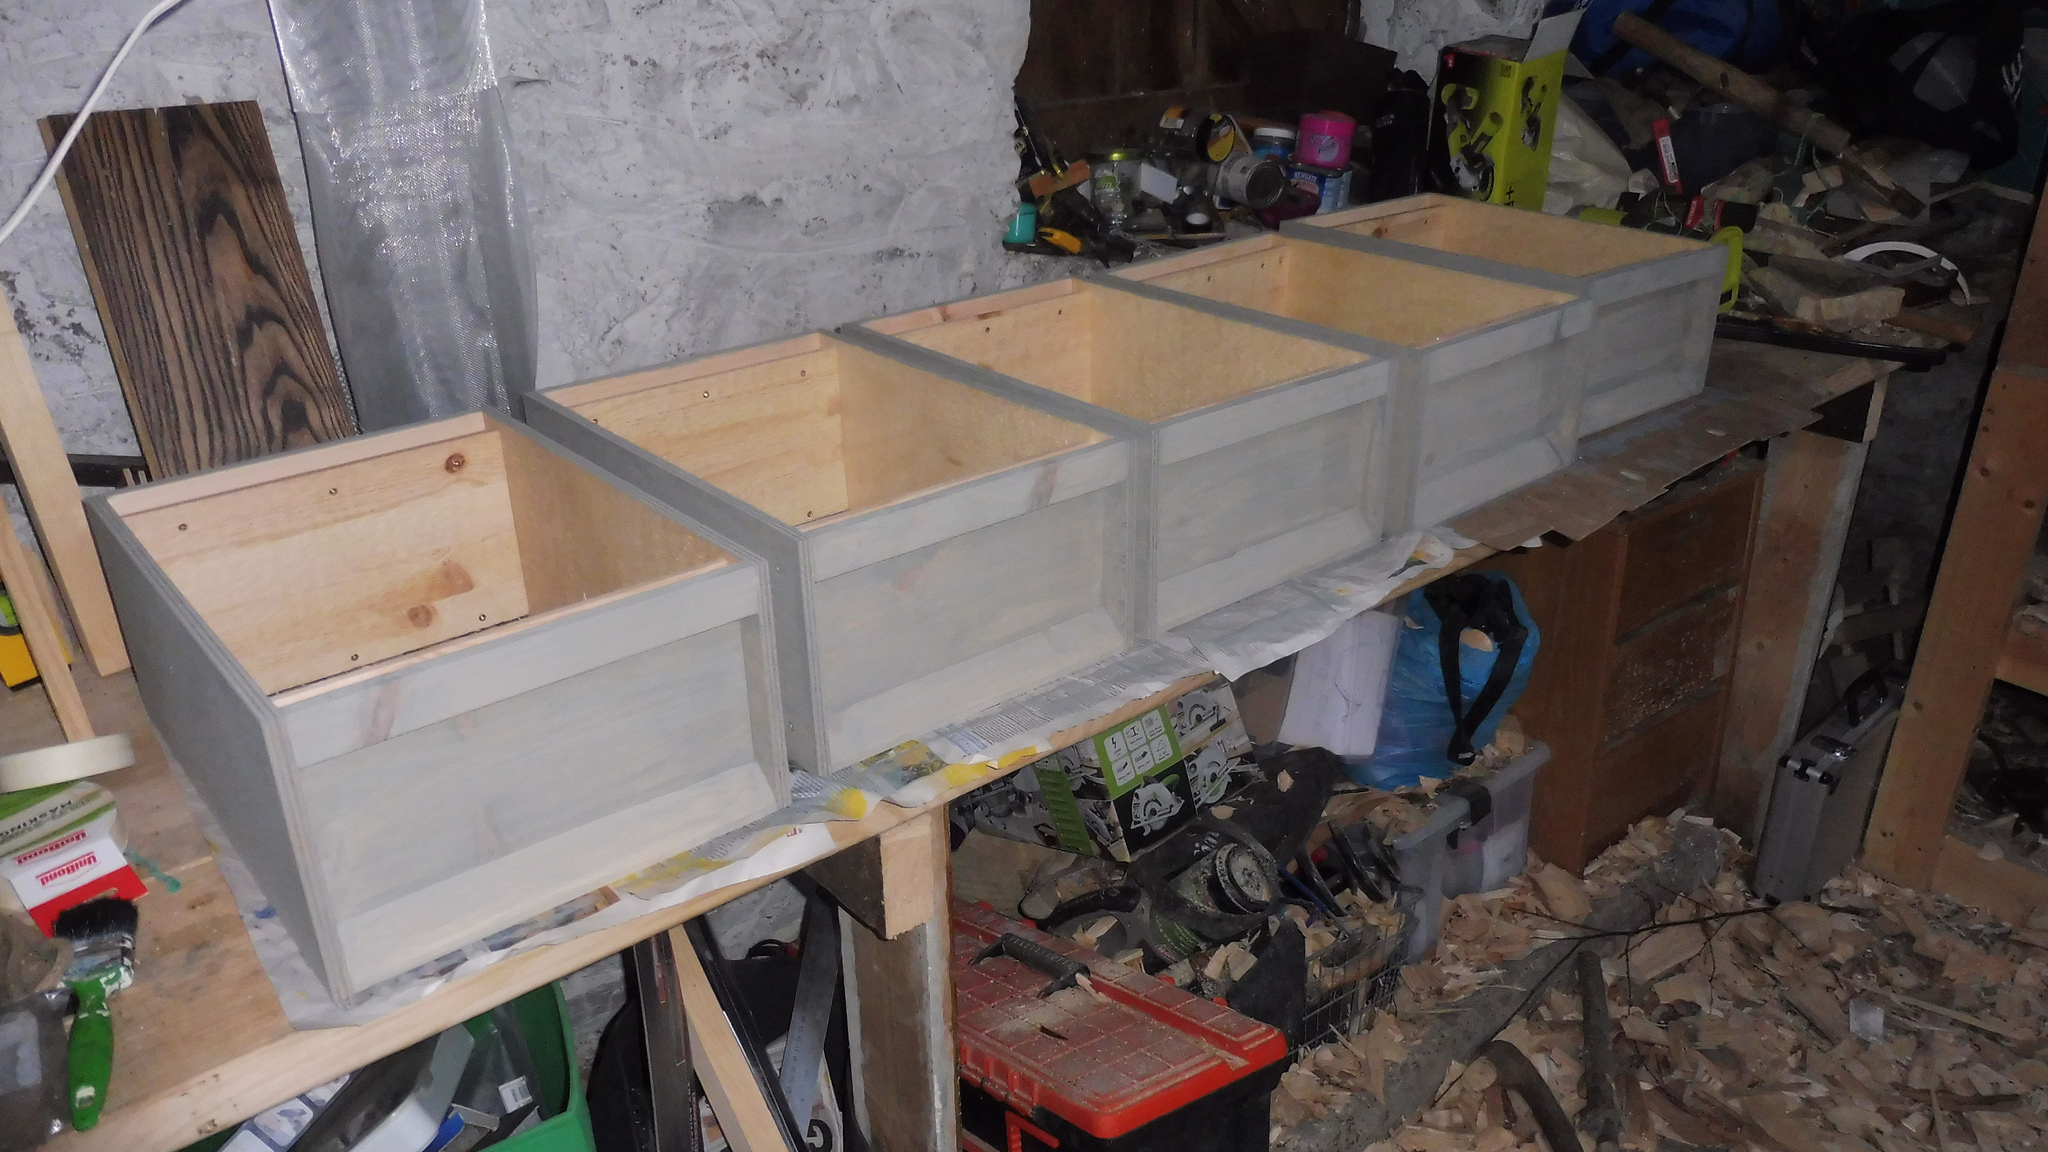
The first batch finished!