Horizontal National Beehive

My latest DIY project - and rather a long one, all told - has been to build some horizontal beehives. I’ve been thinking about this for a while: I don’t enjoy the disturbance, aggravation and heavy lifting of beekeeping with stacked boxes. Having read about Layens hives and horizontal hives in general, I thought I could try my hand at building my own.
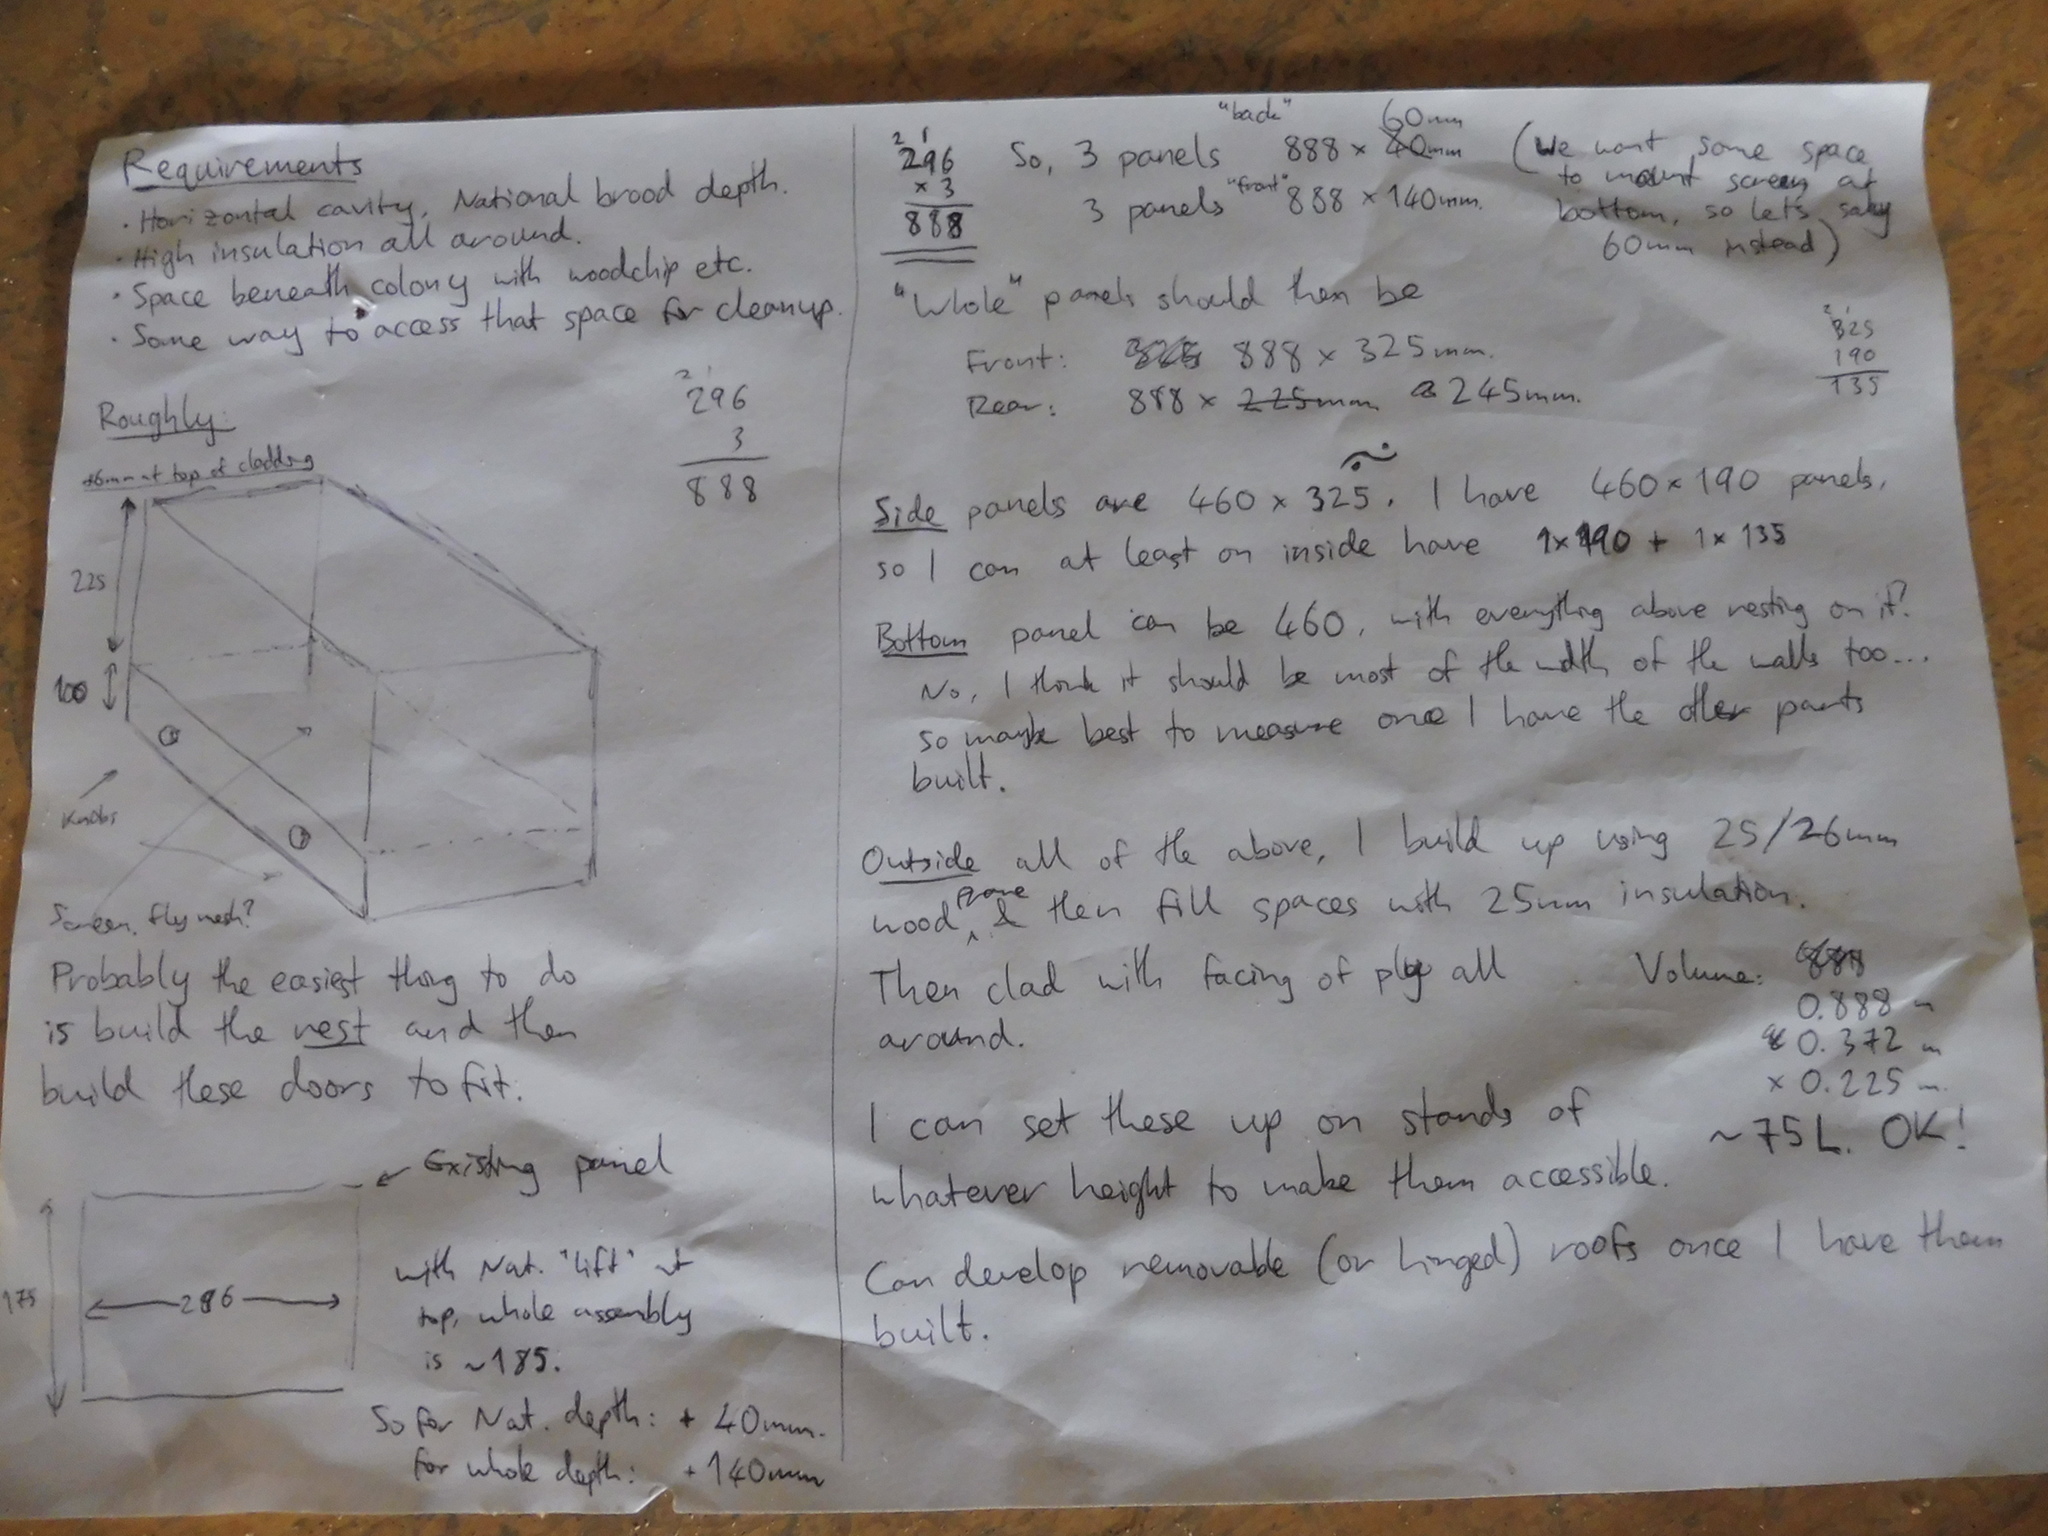
I wanted an easy path to rehoming my existing colonies, so I preferred something that would take National or Rose frames. I had various panels and other National hive parts left over from my 8-frame Rose beehive project, so I wanted to reuse those. I settled on a “deep” design where the hive is entirely enclosed in insulation (apart from a small entrance) so the bees have the maximum freedom to manage their own environment.
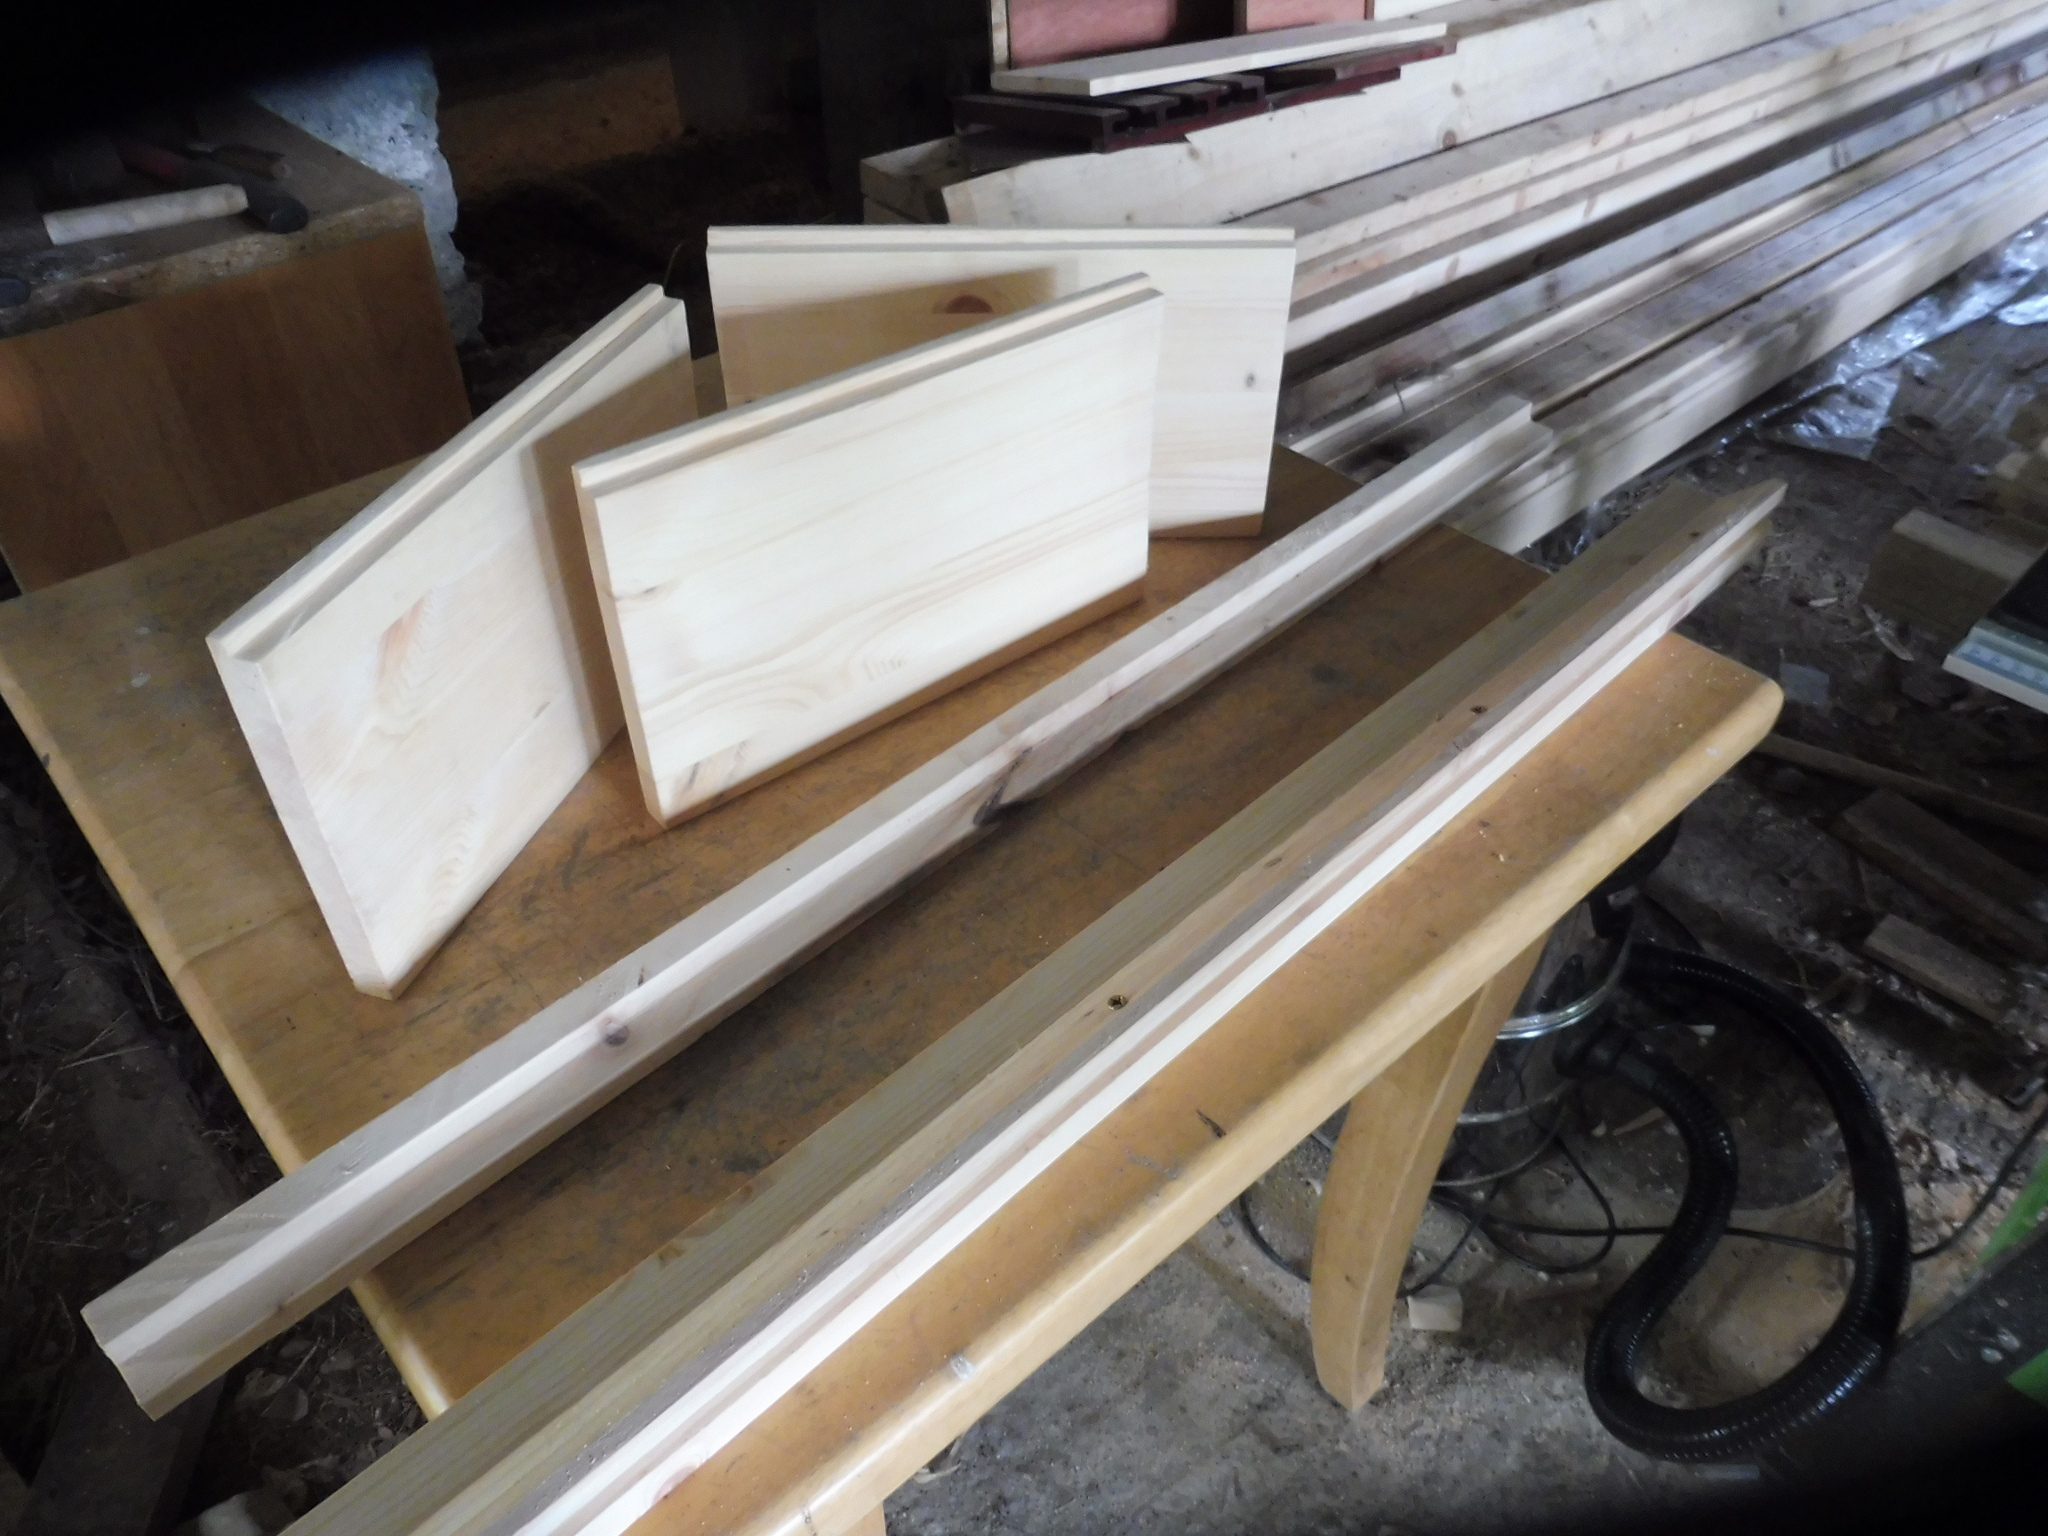
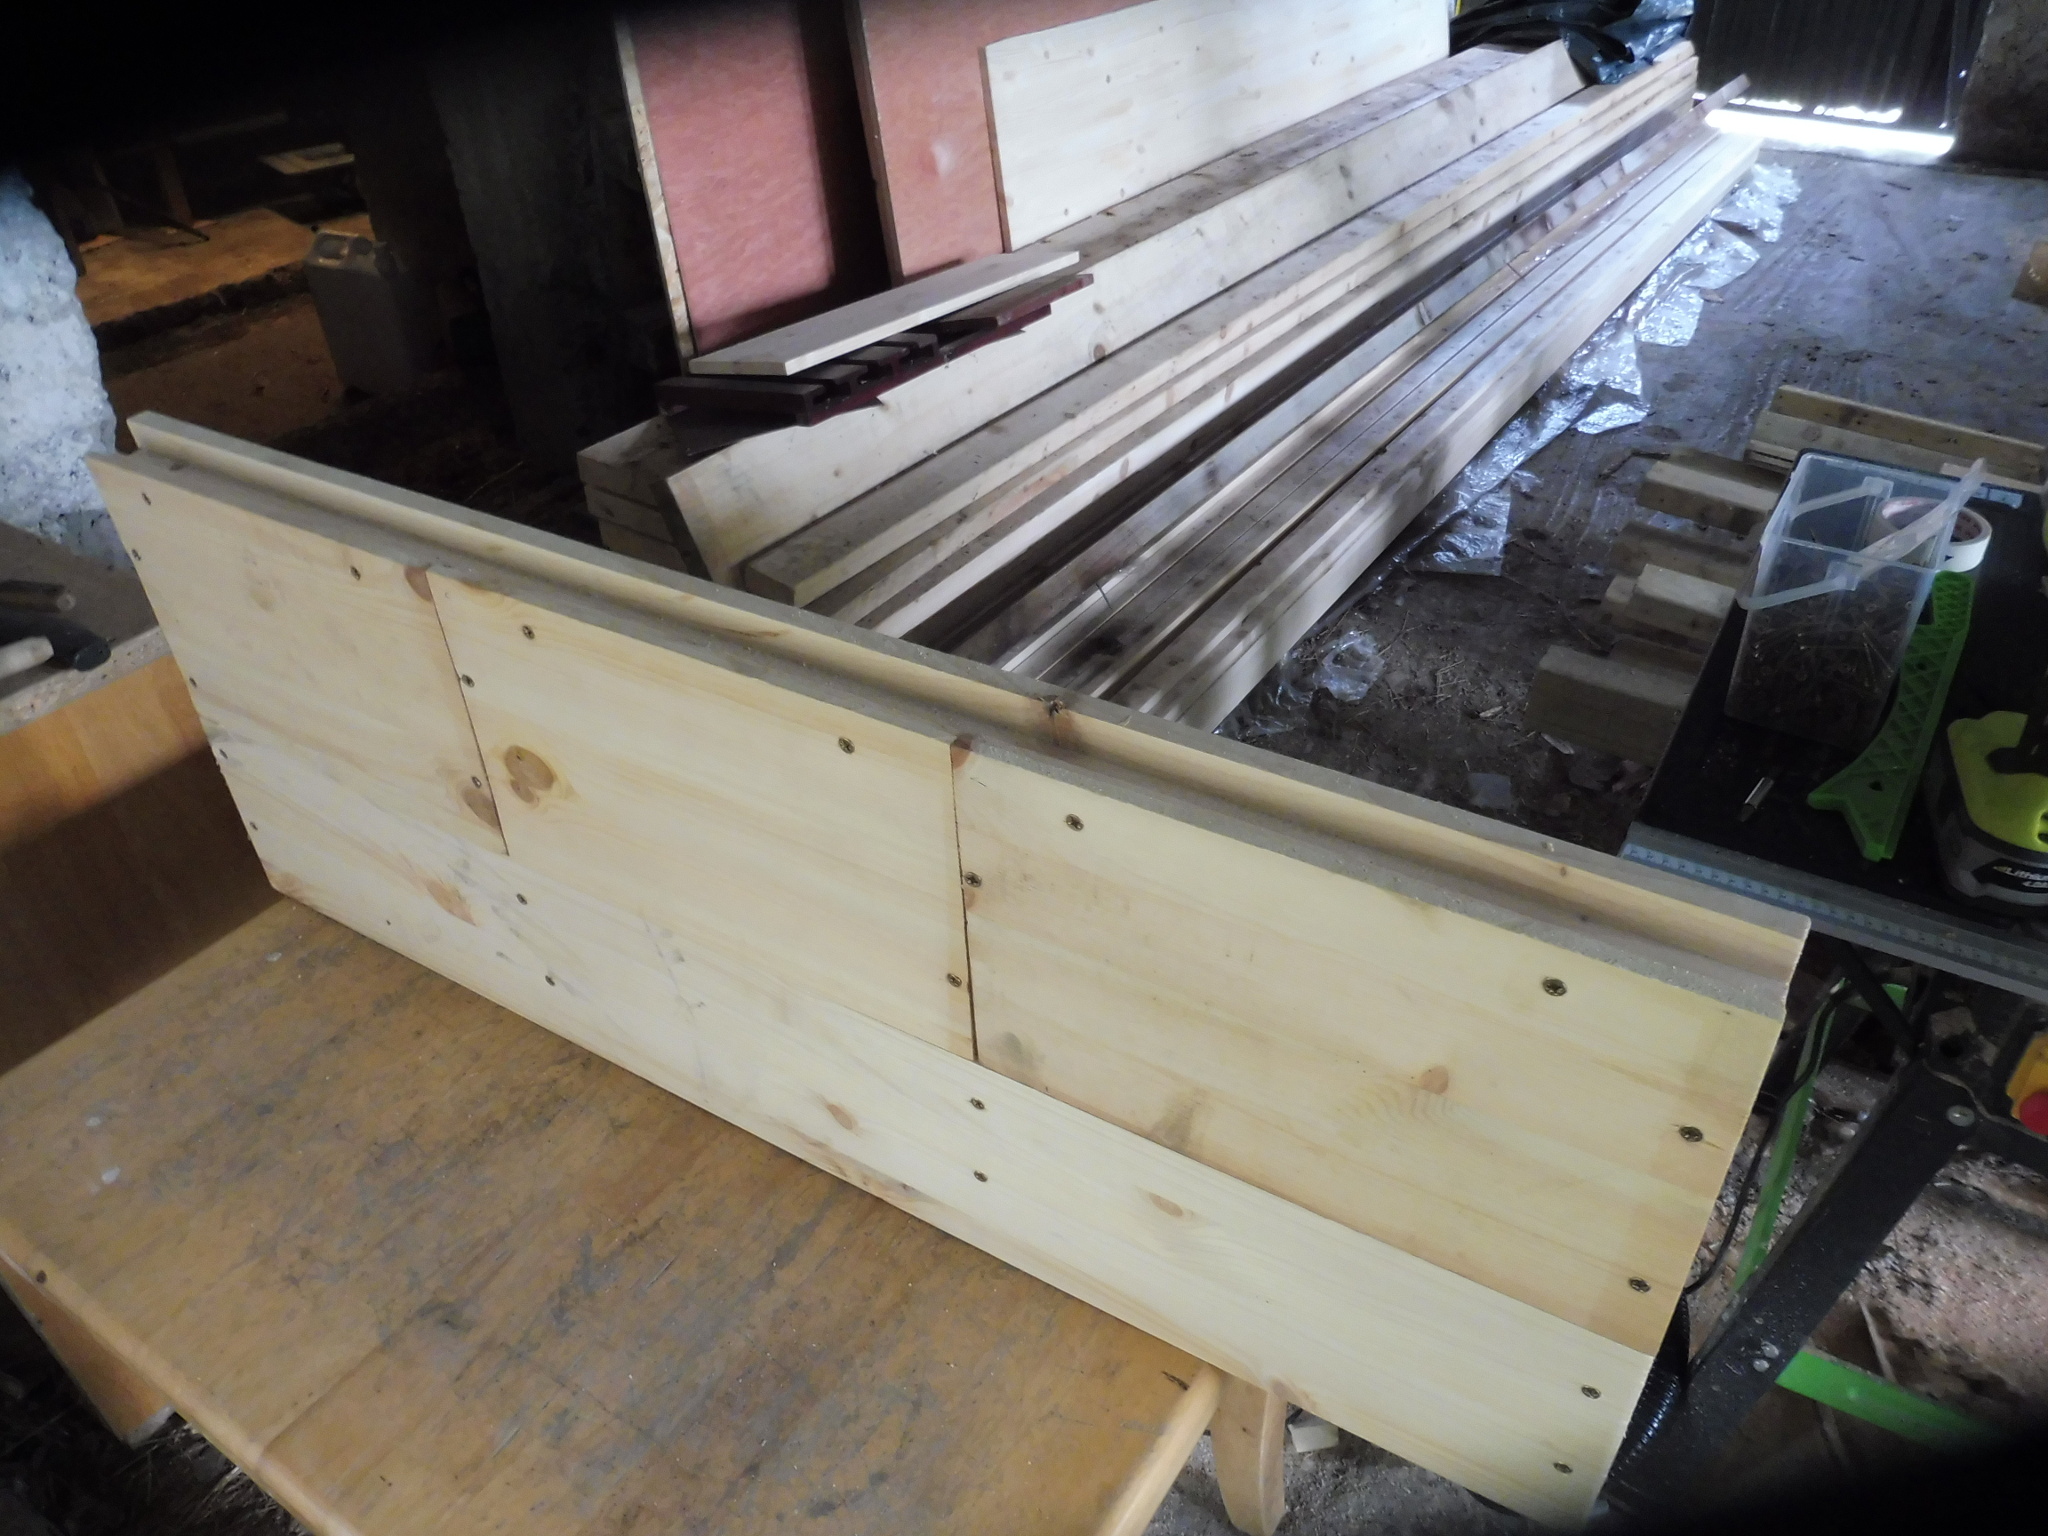
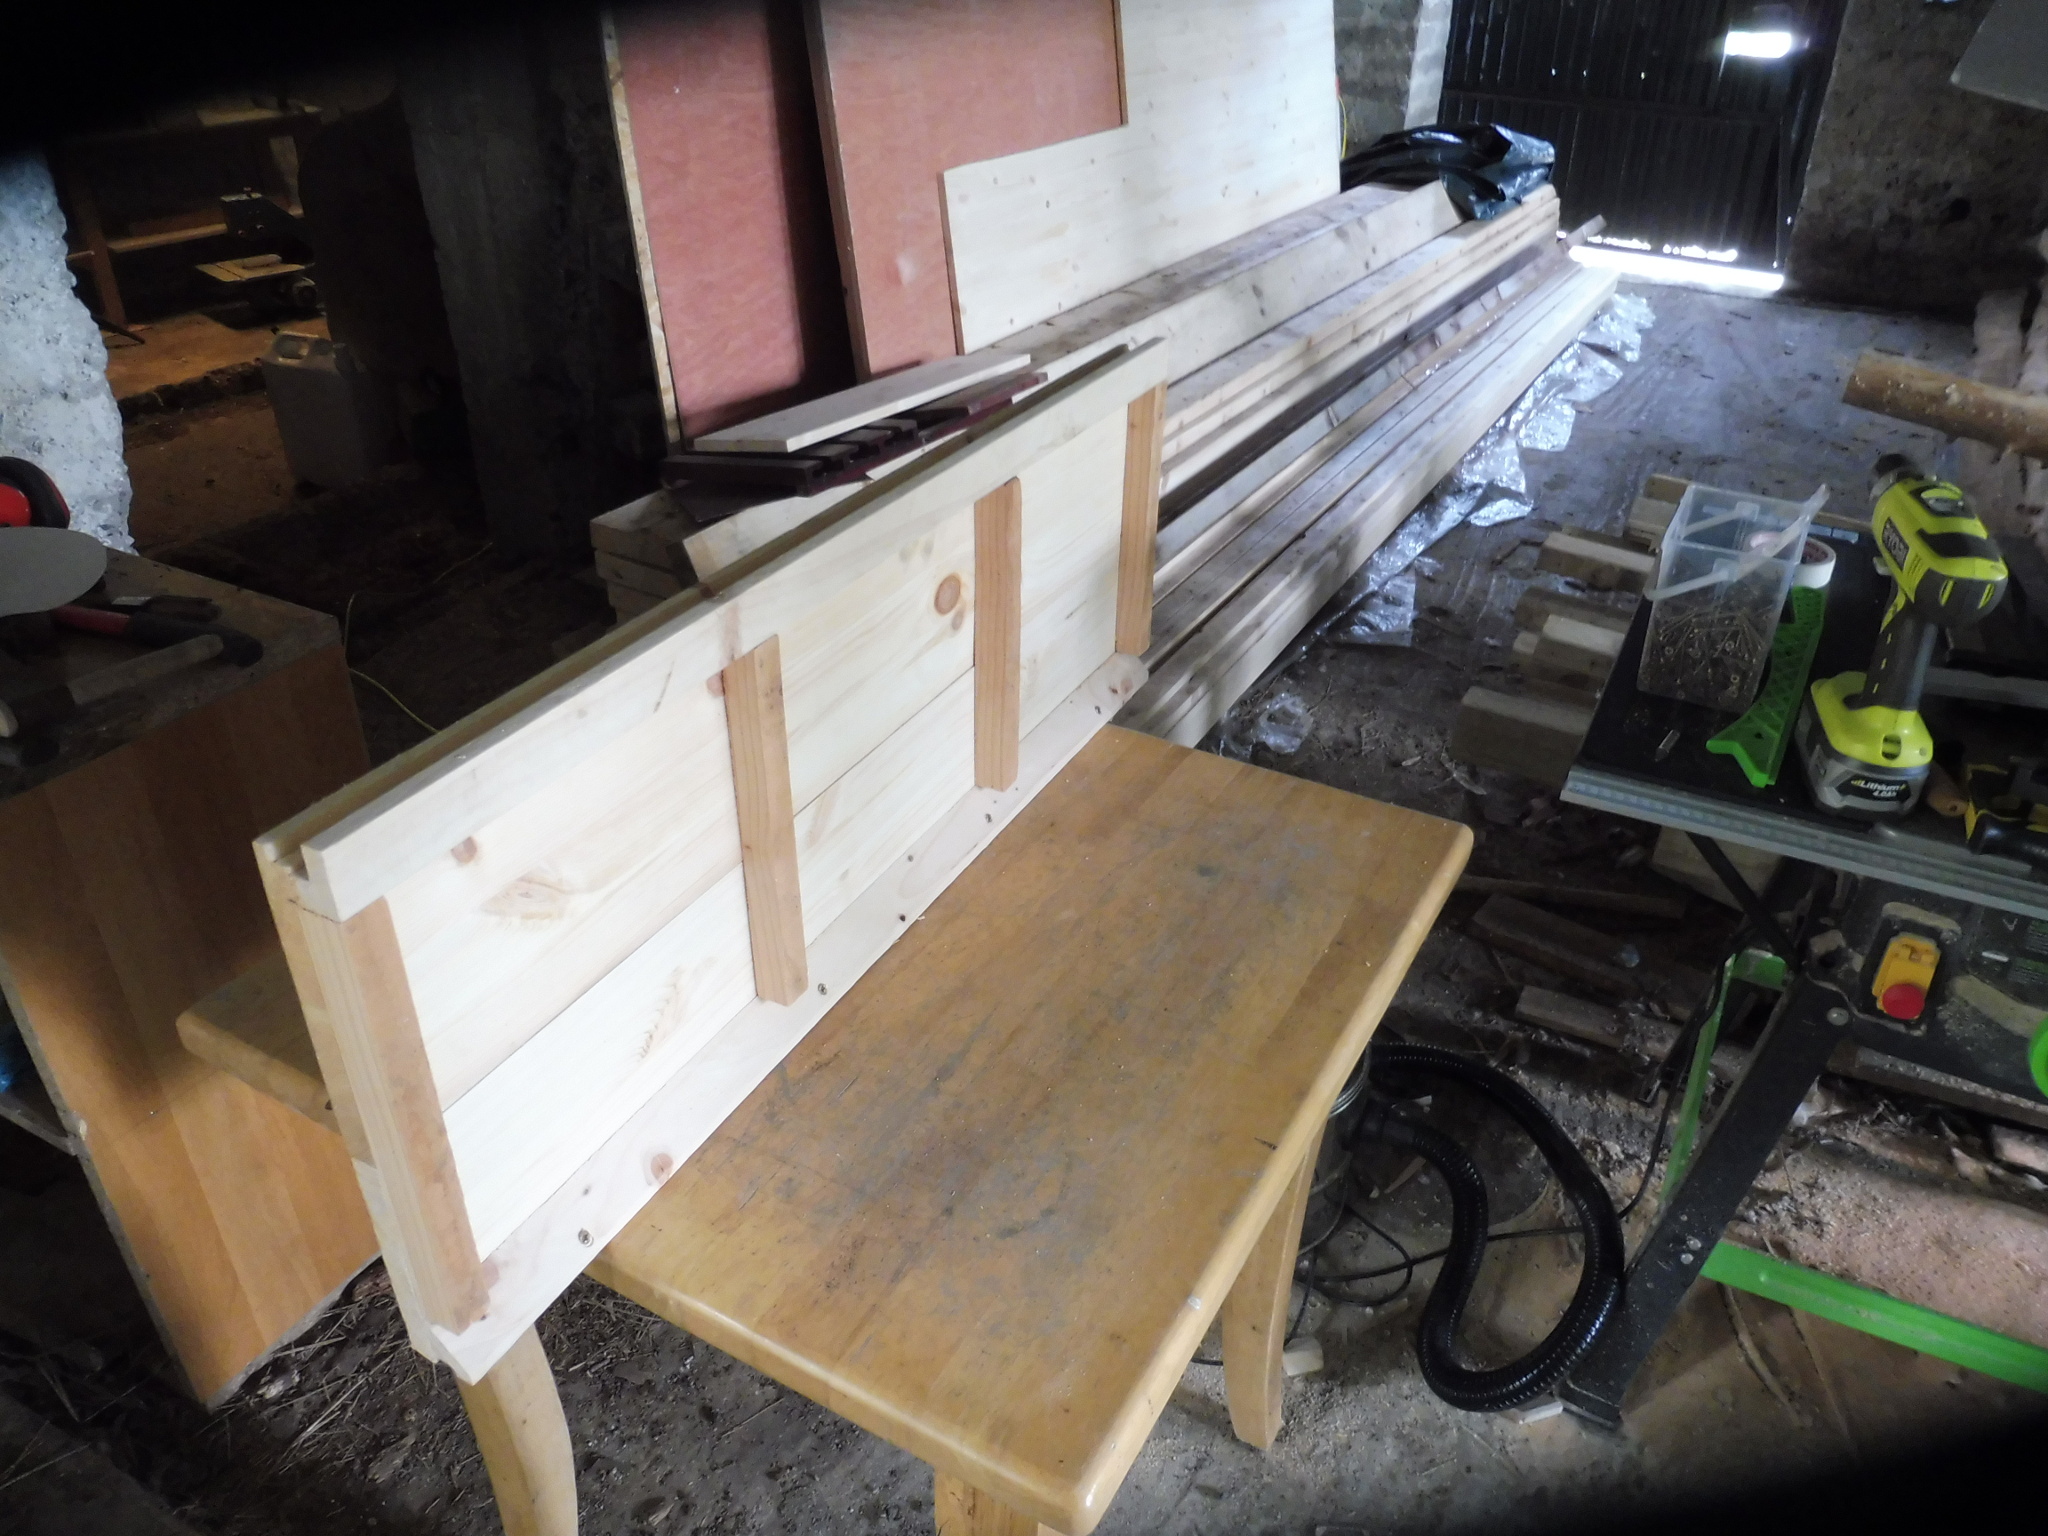
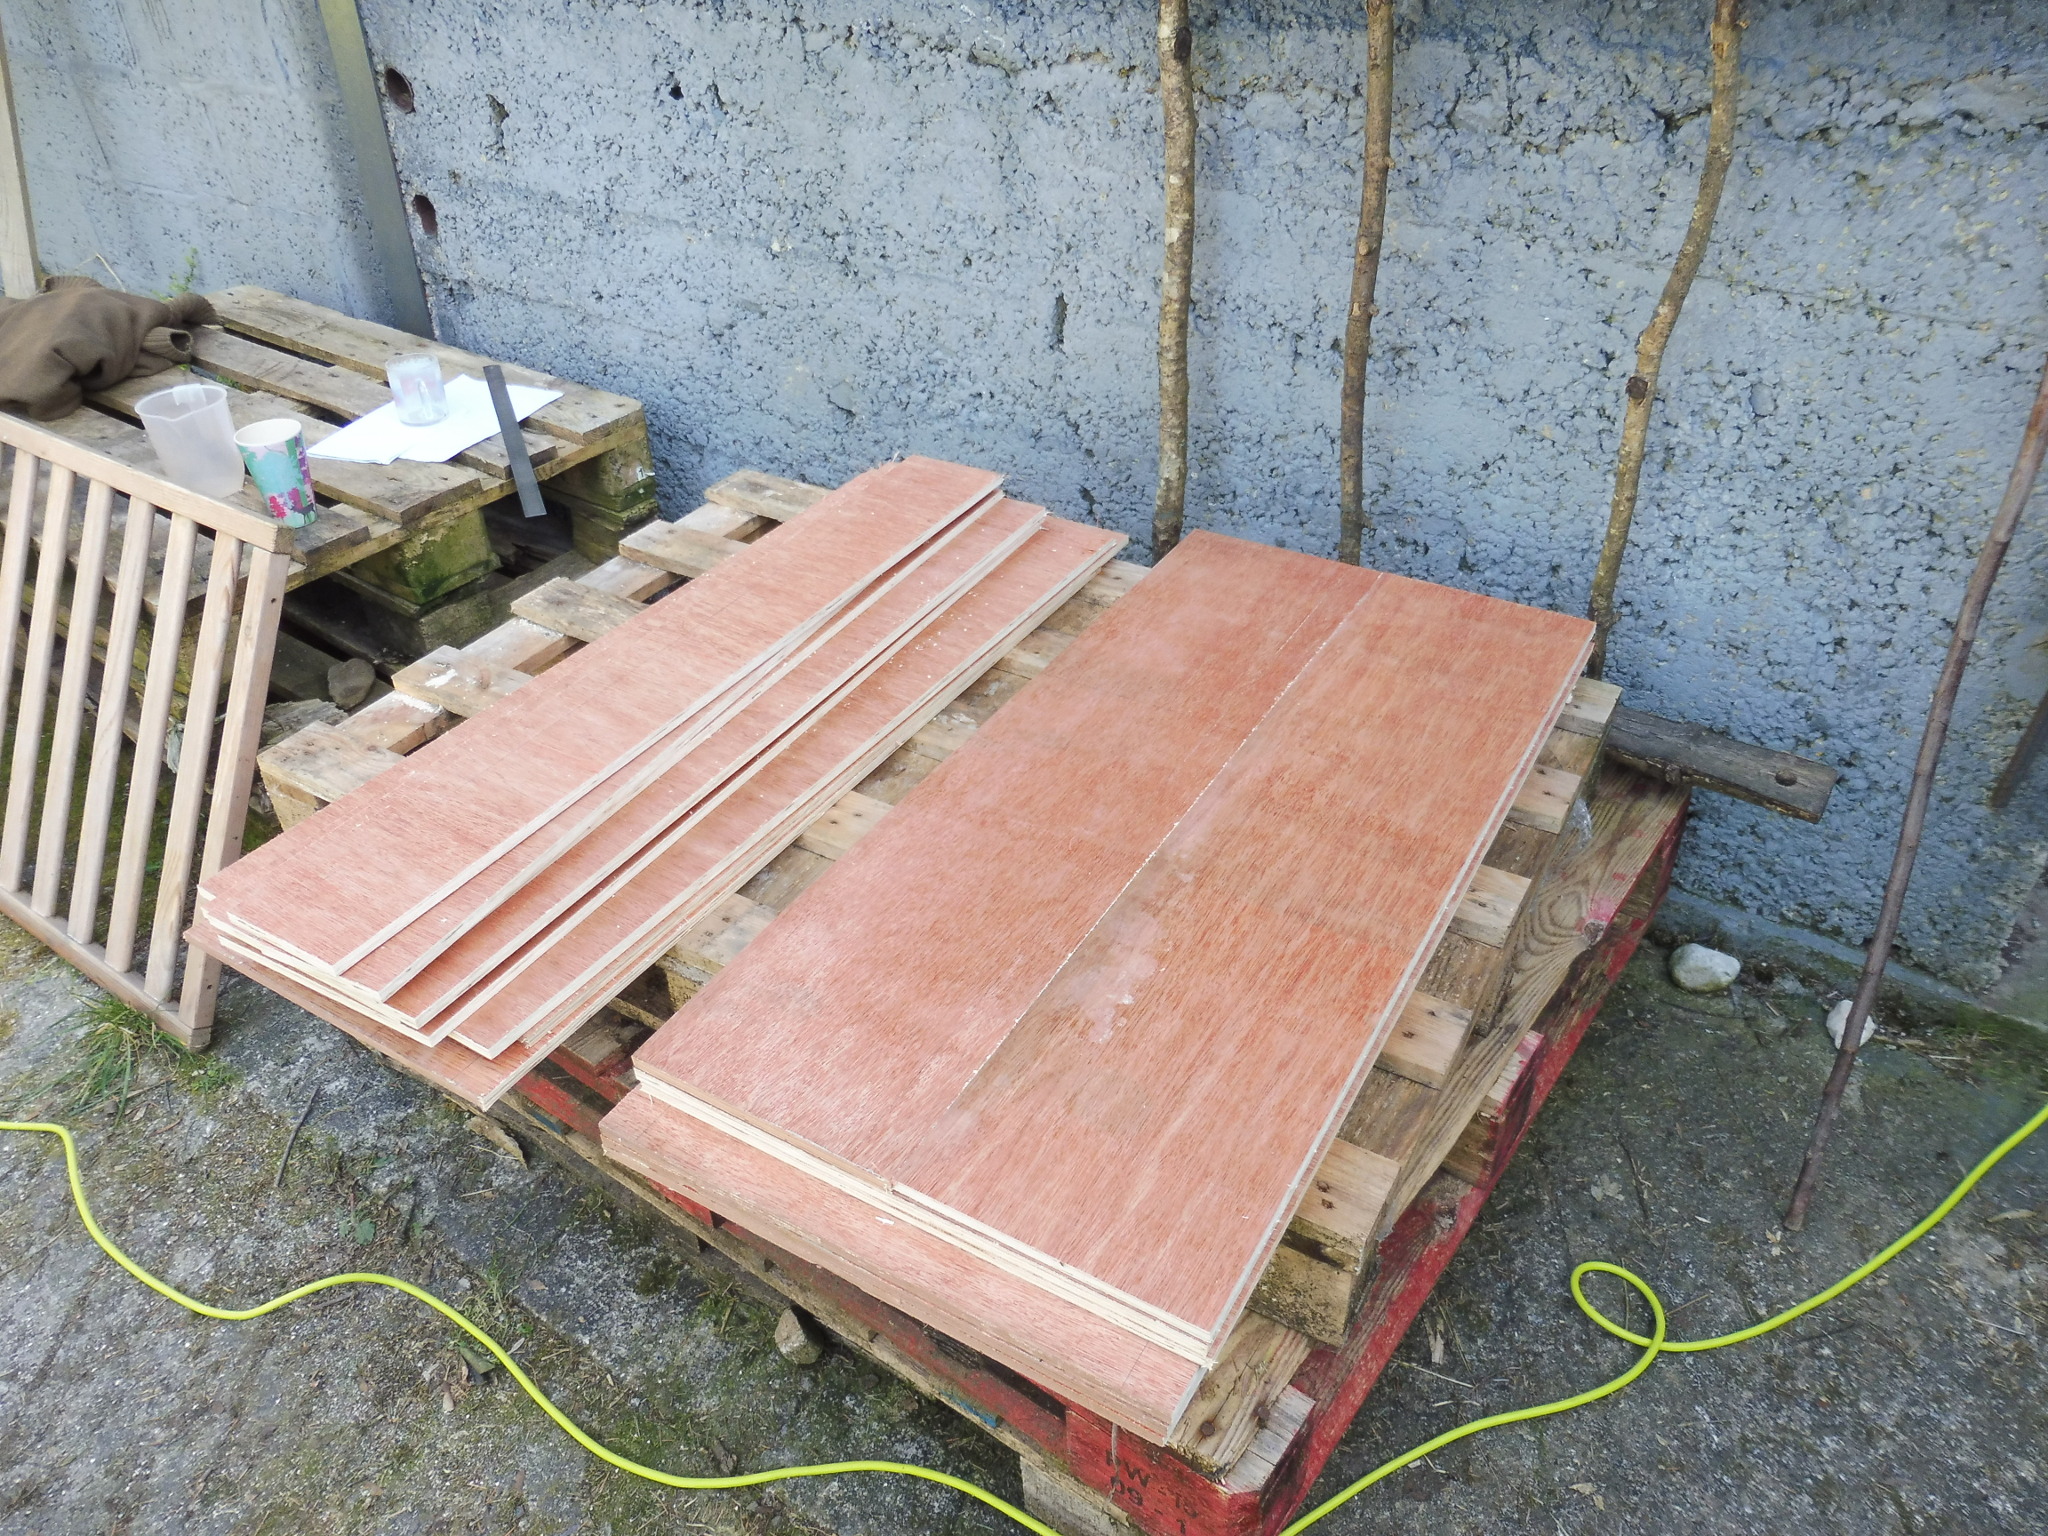
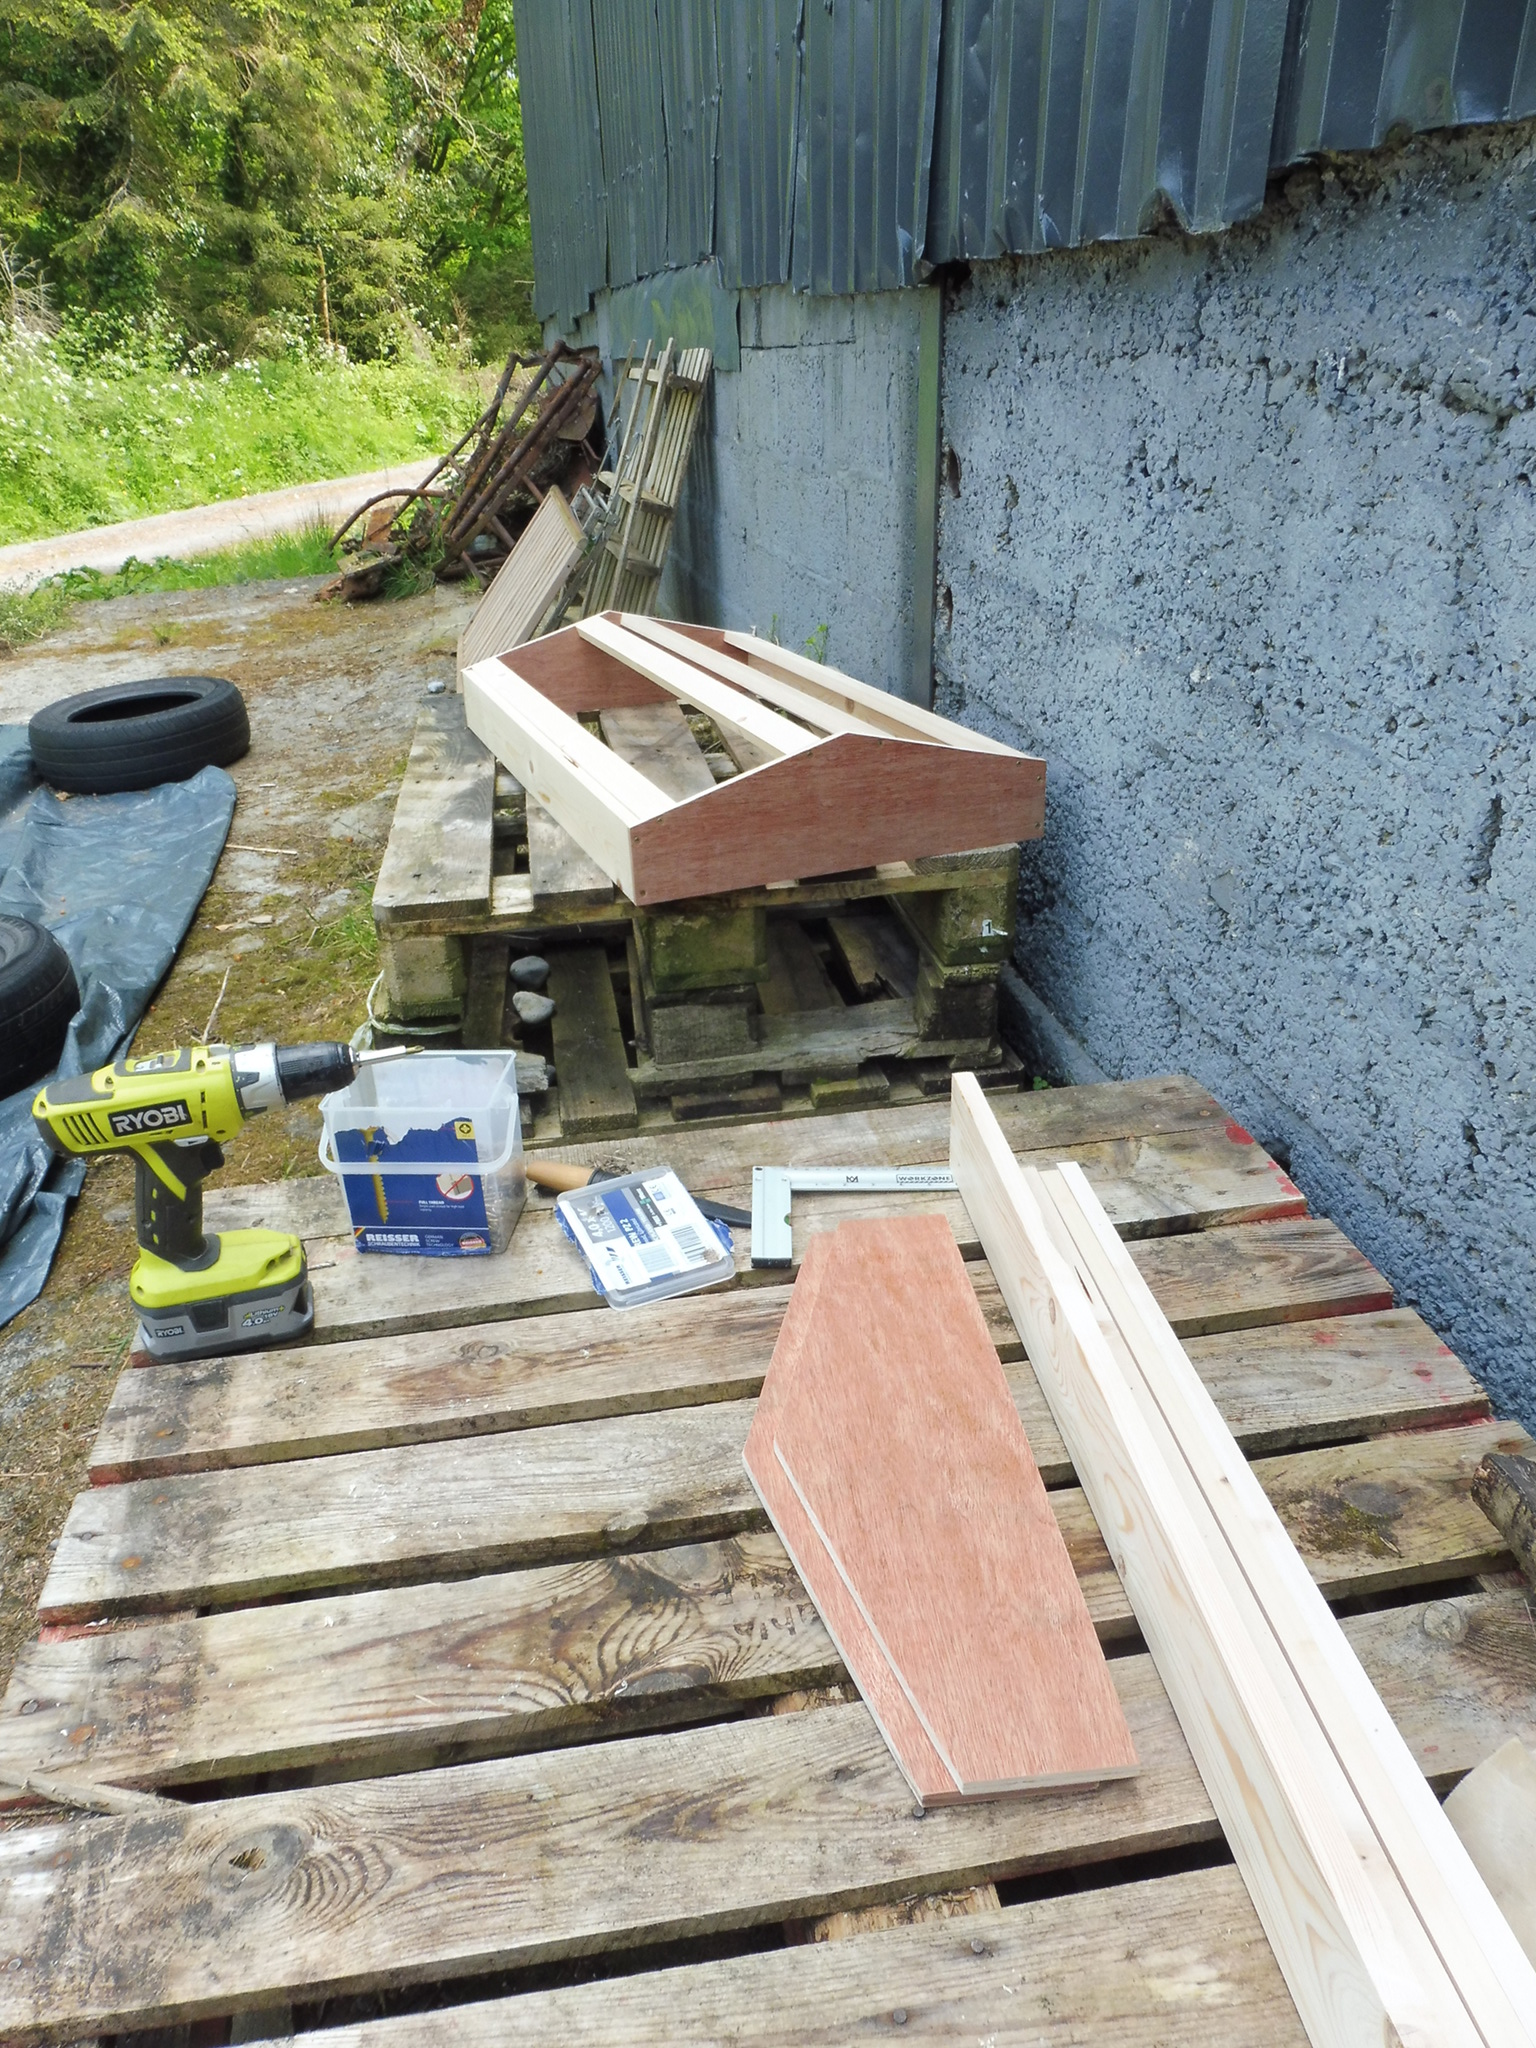
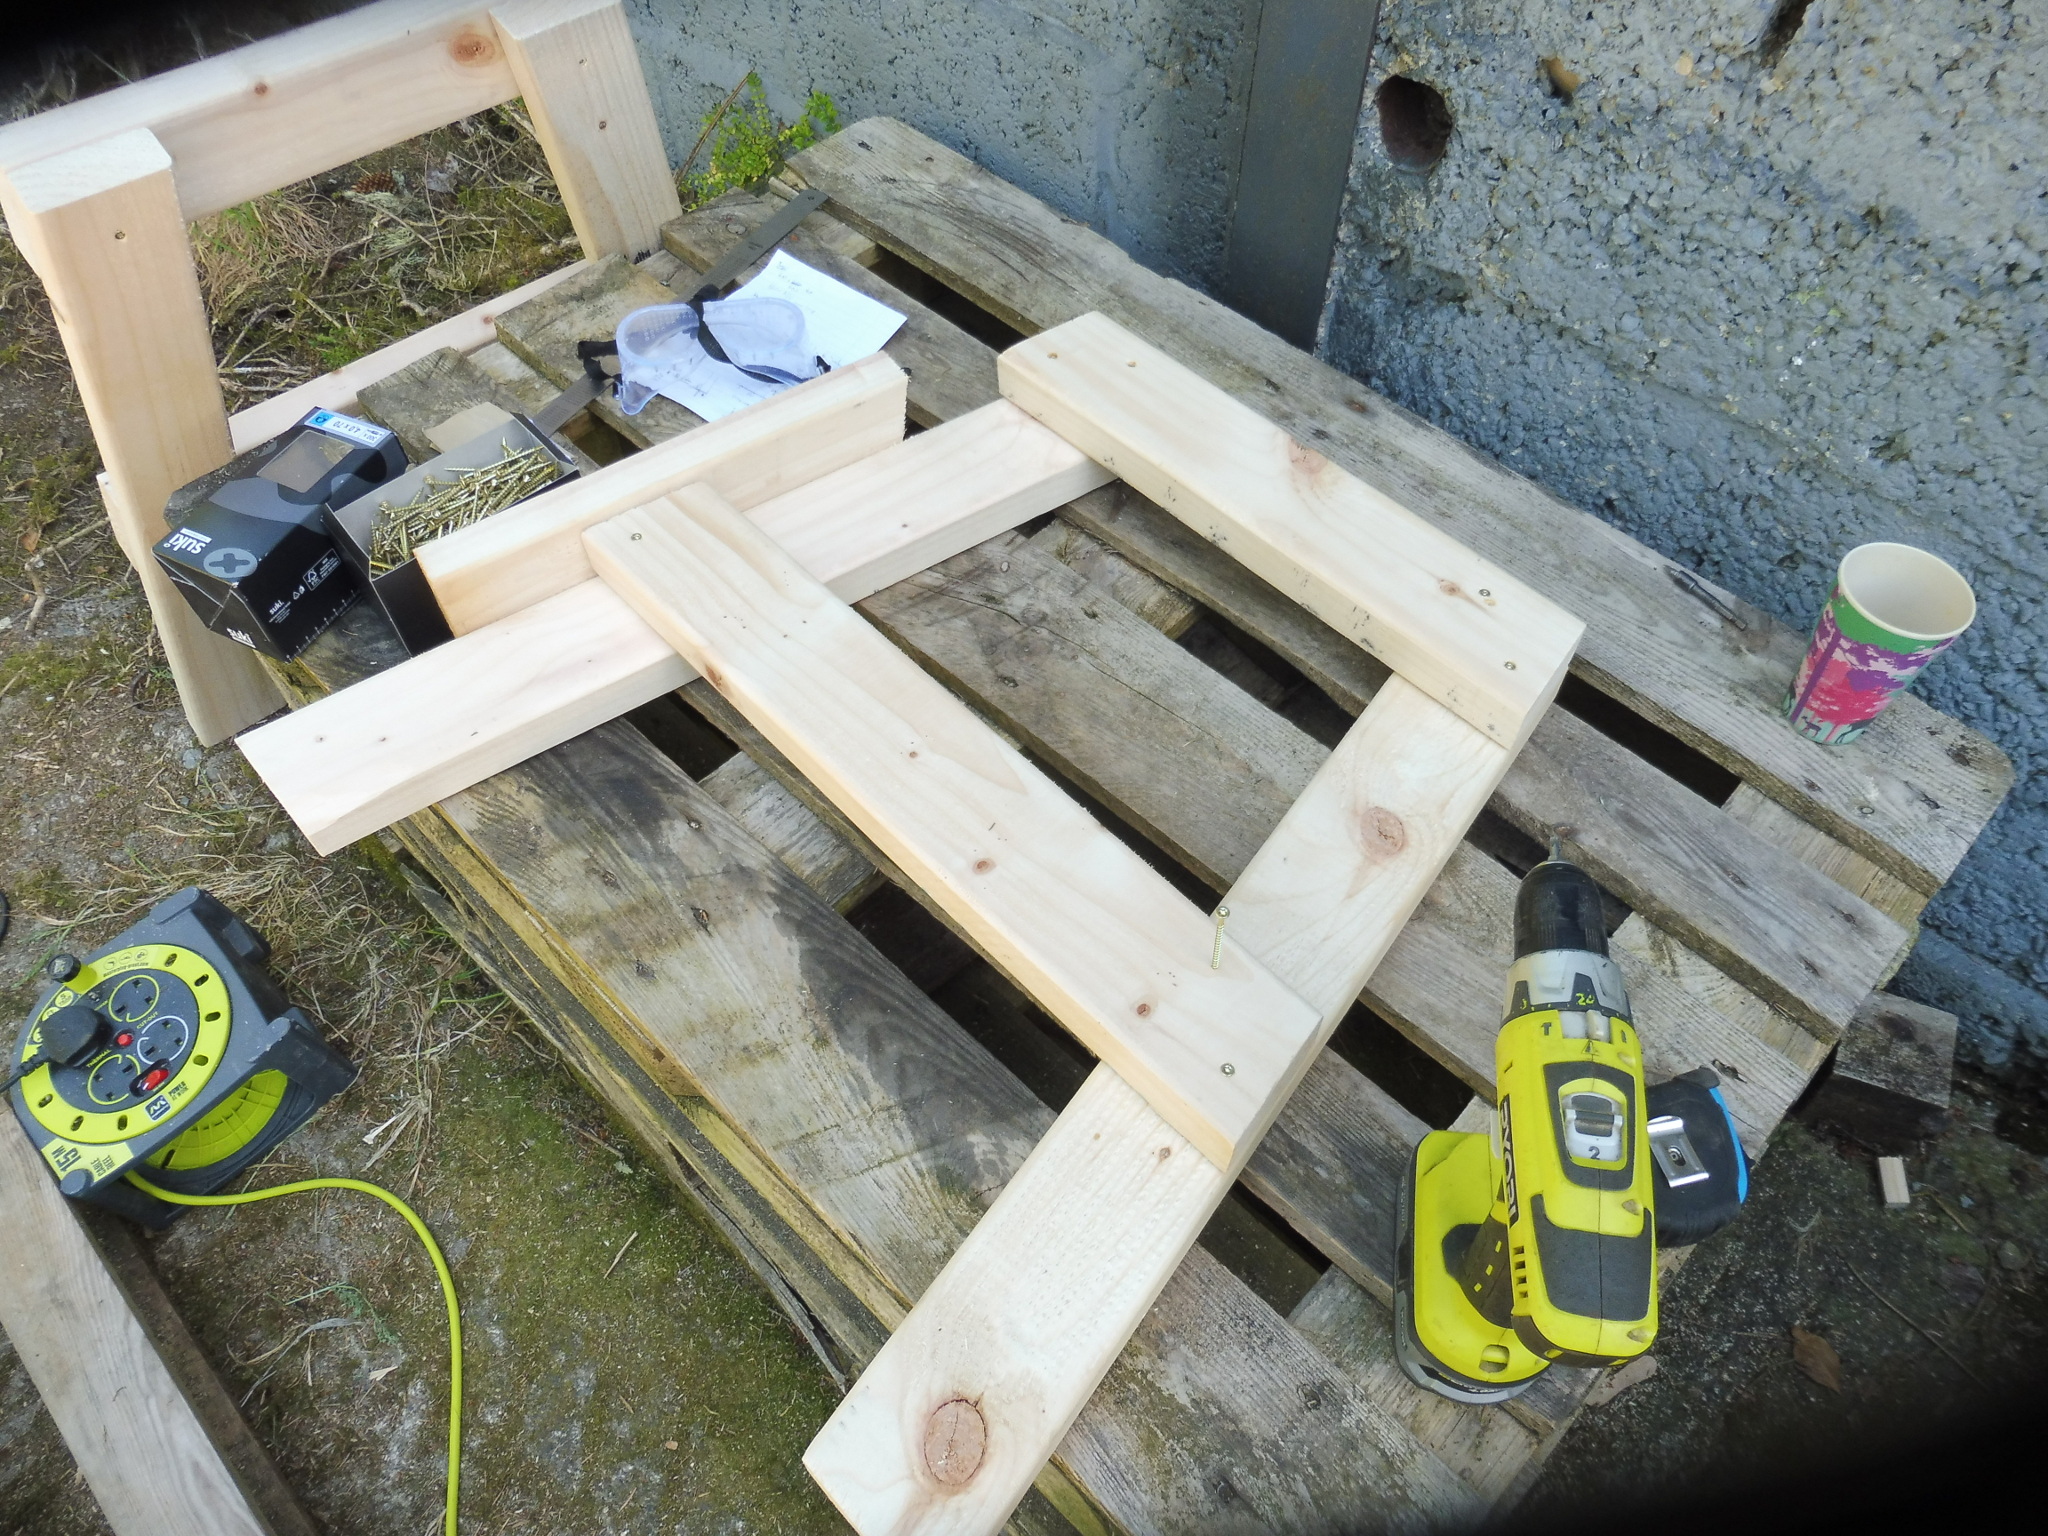
Given the parts I had, there was some slightly laborious jigsaw work necessary. Here you can see three 8-frame Rose panels along with various pieces to complete them.
I wanted National brood frame depth, so I had to extend my shorter Rose panels. On the right is an extension that allows space to fit a floor; the longer extension to the left allows for the full depth of the hive: National brood (225mm) + 100mm for open space underneath a mesh floor.
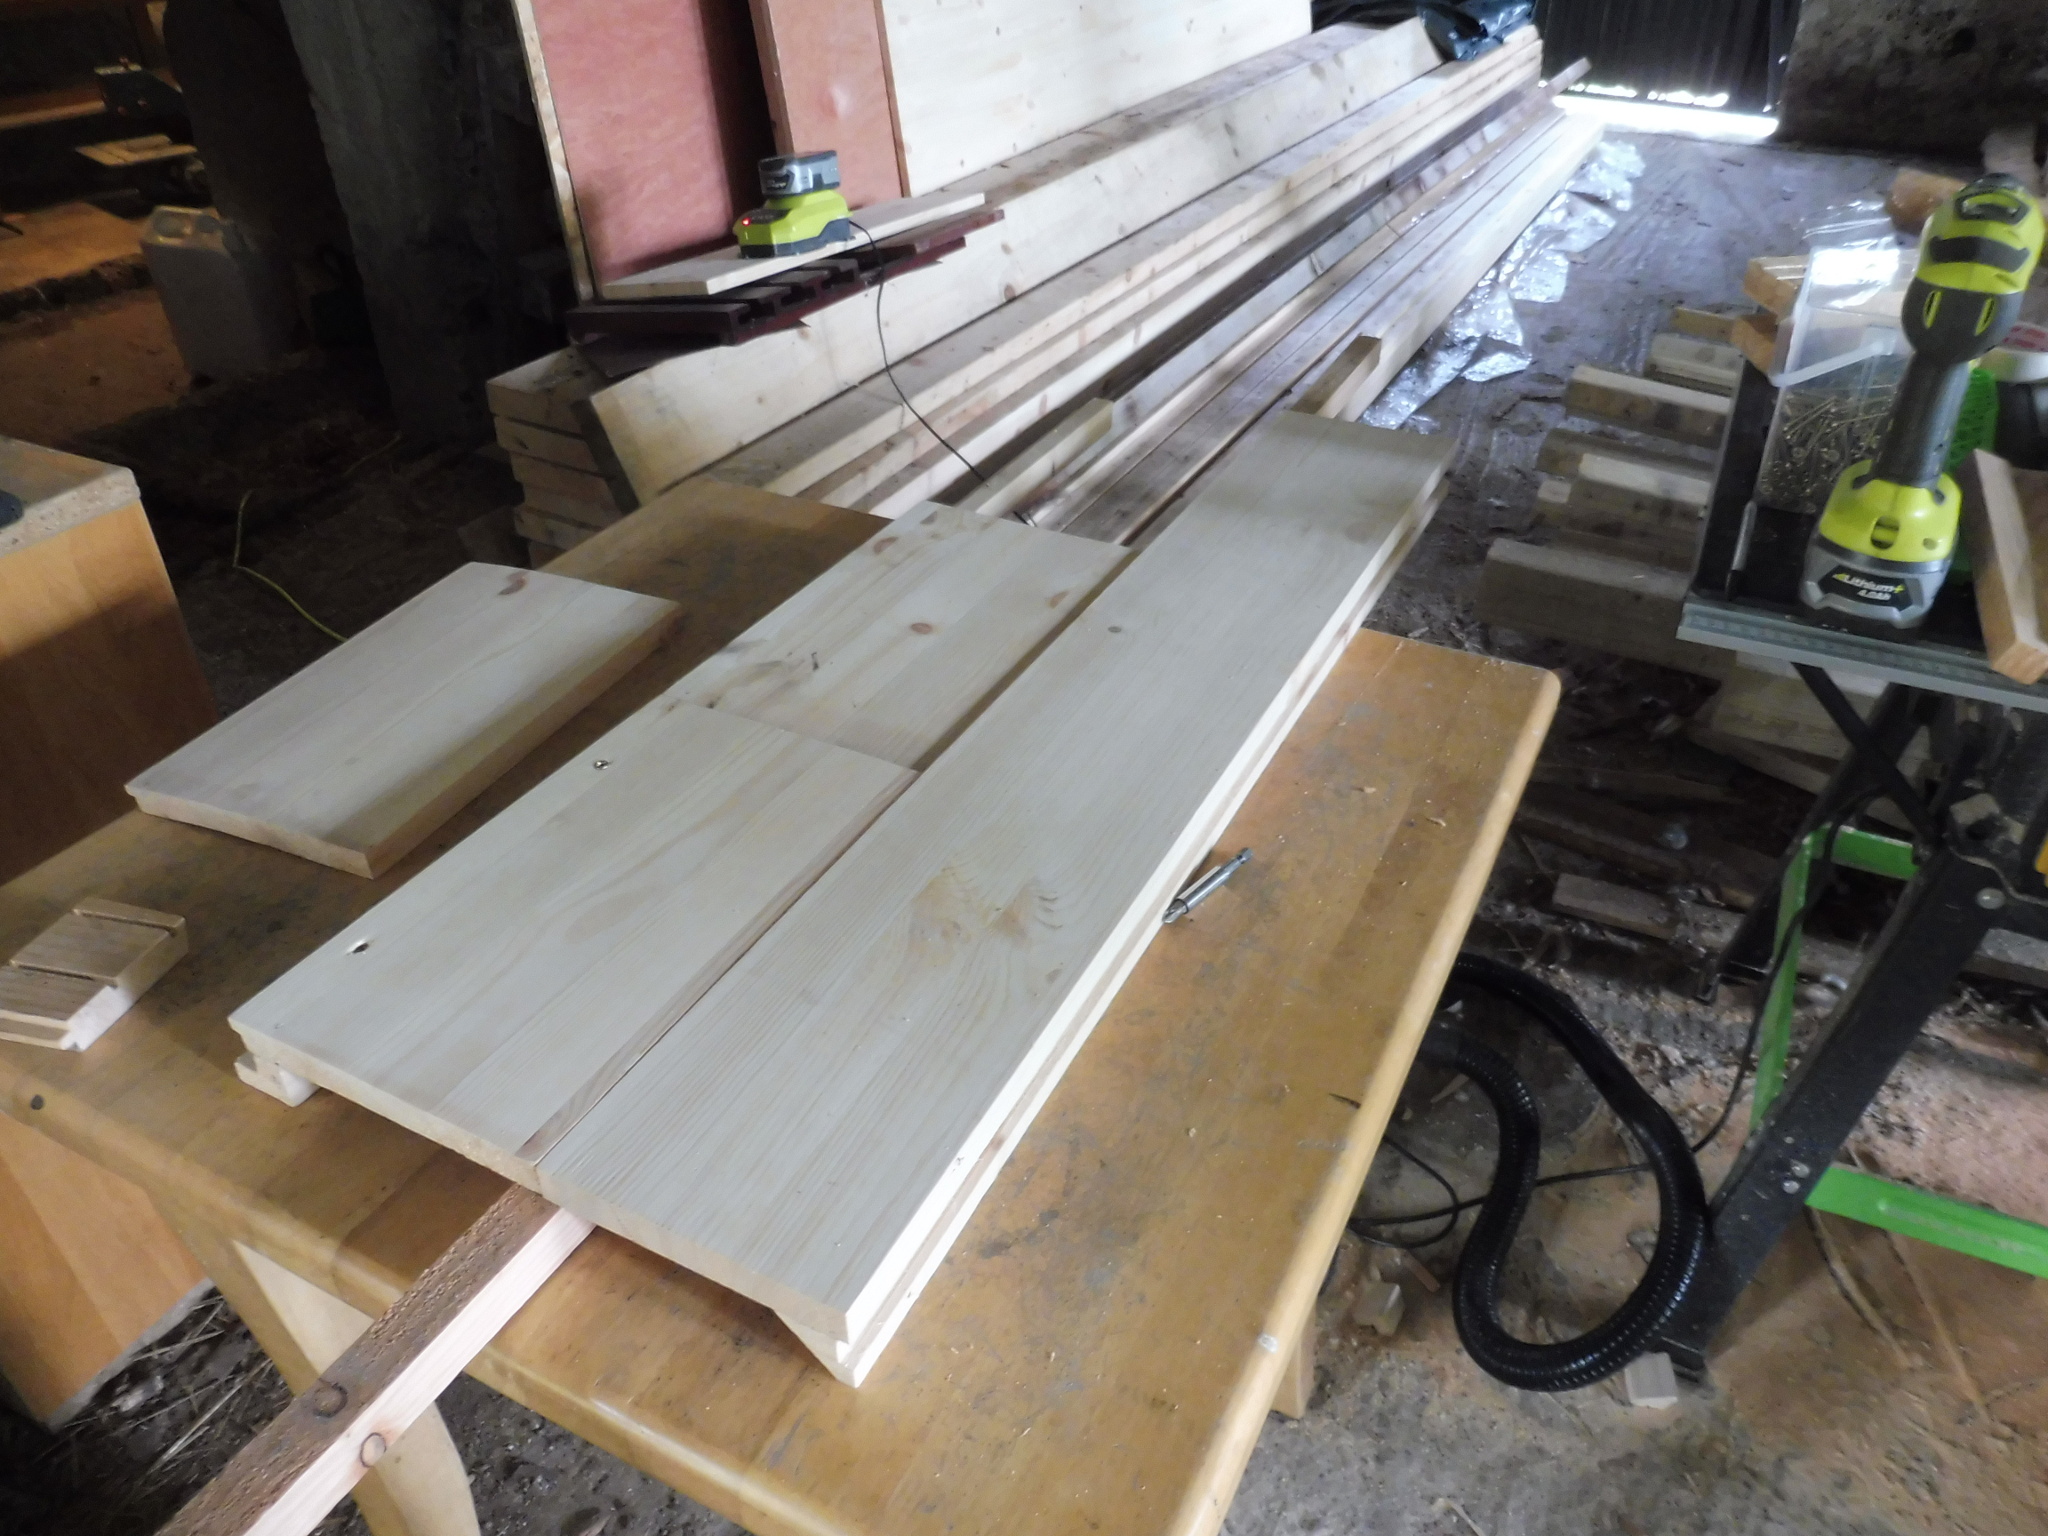
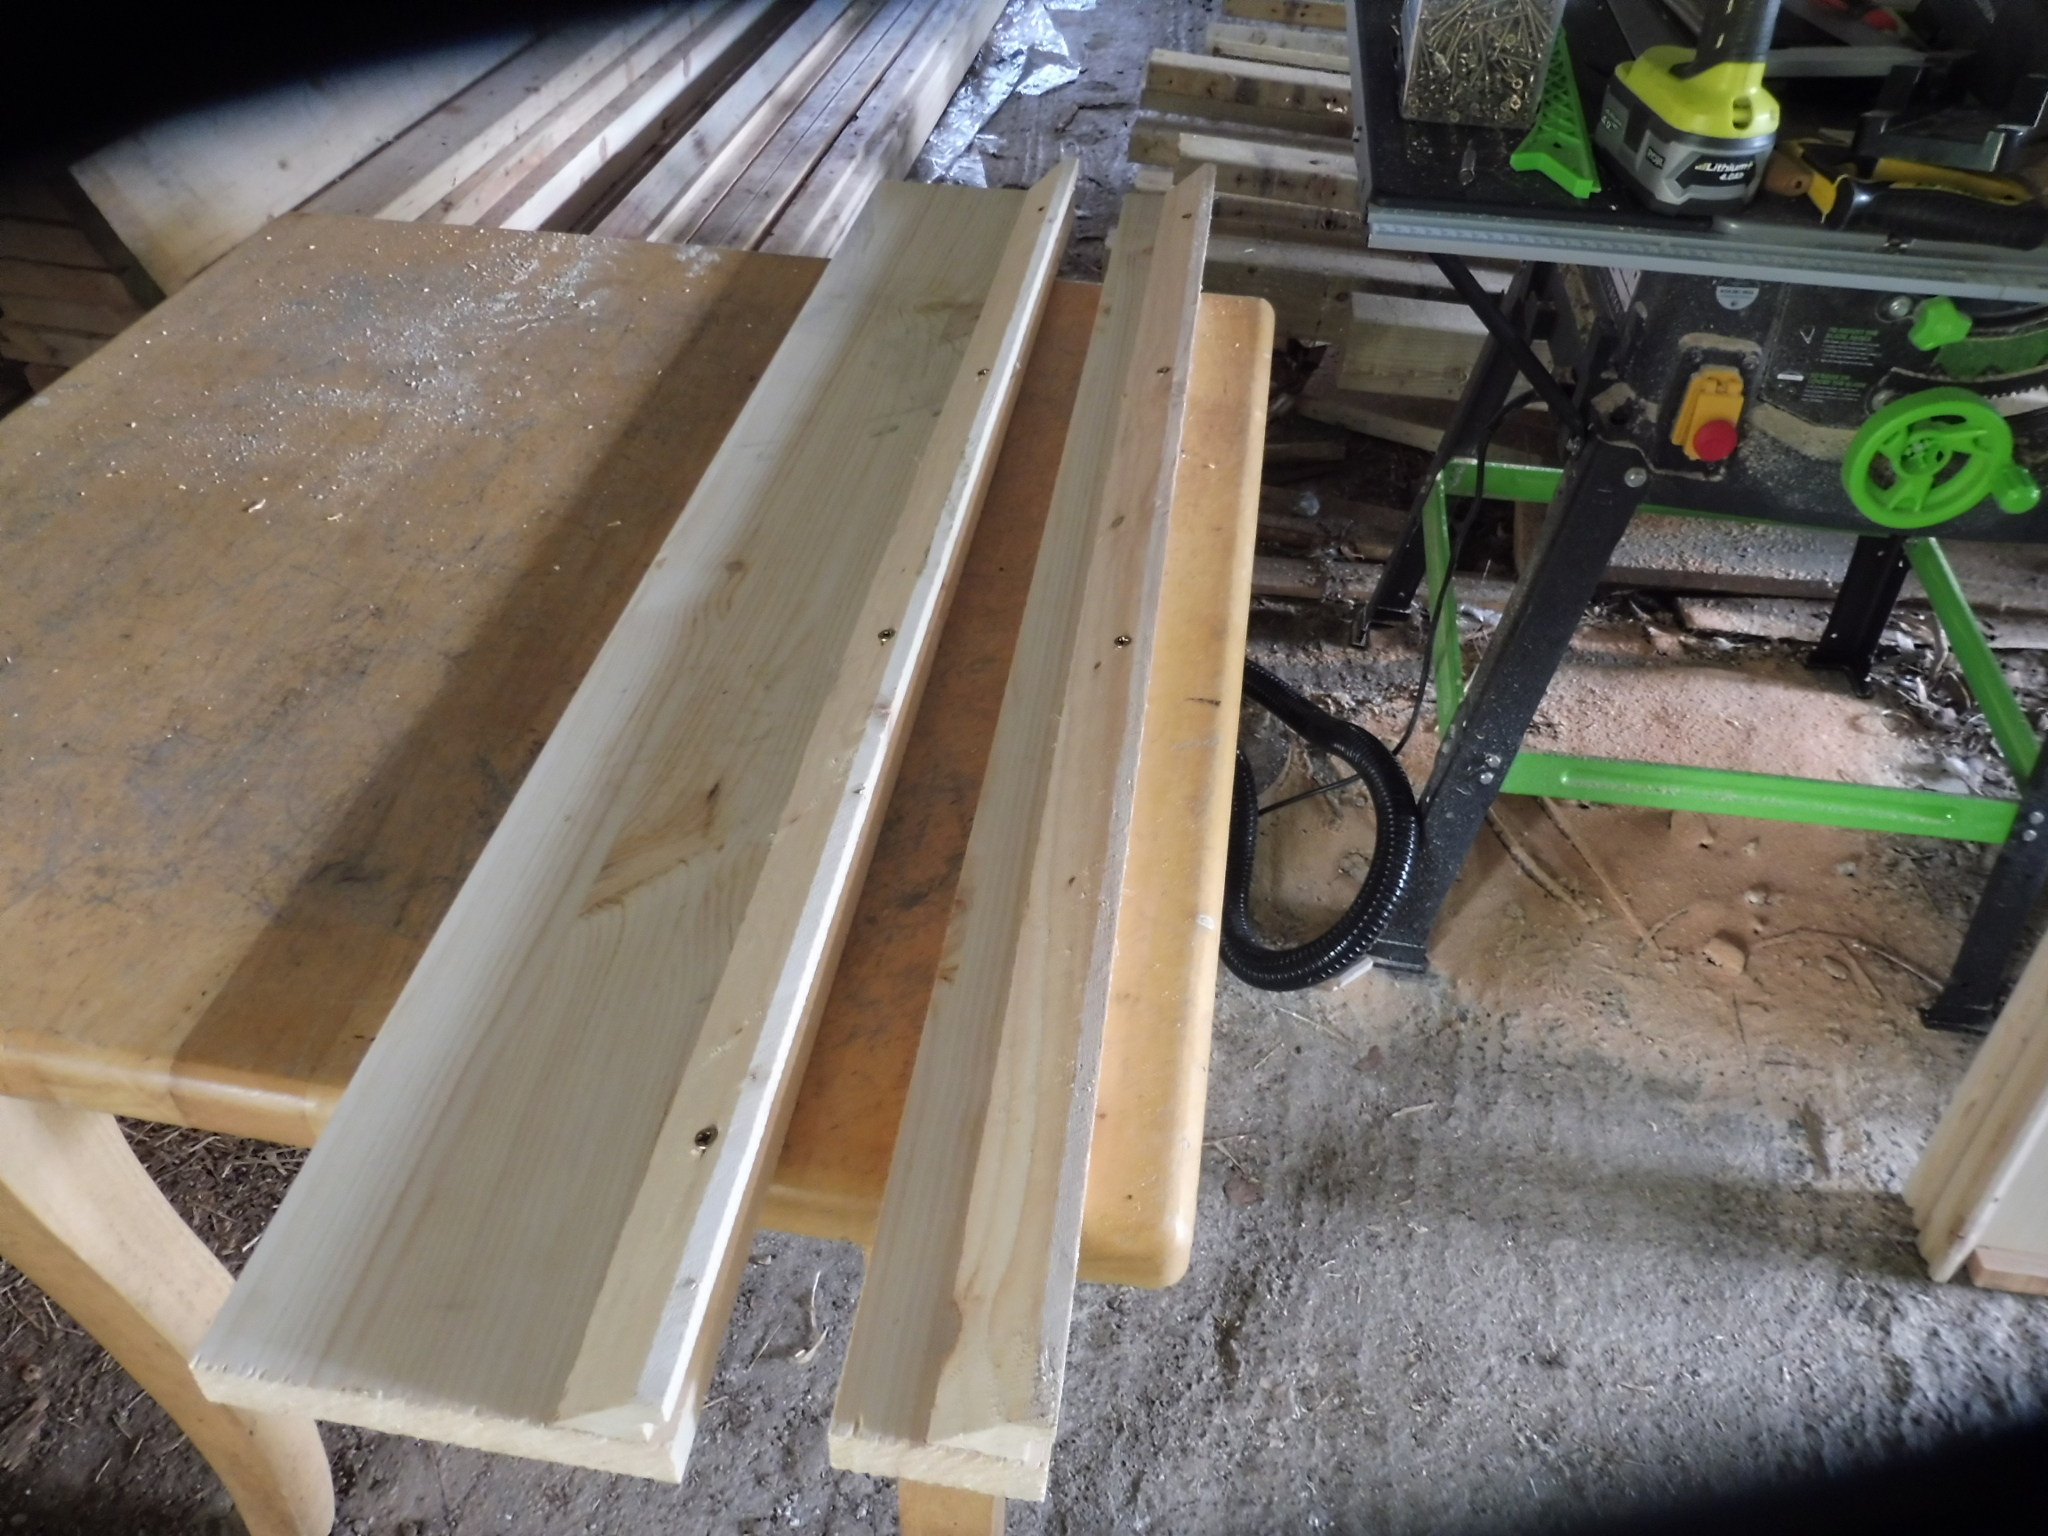
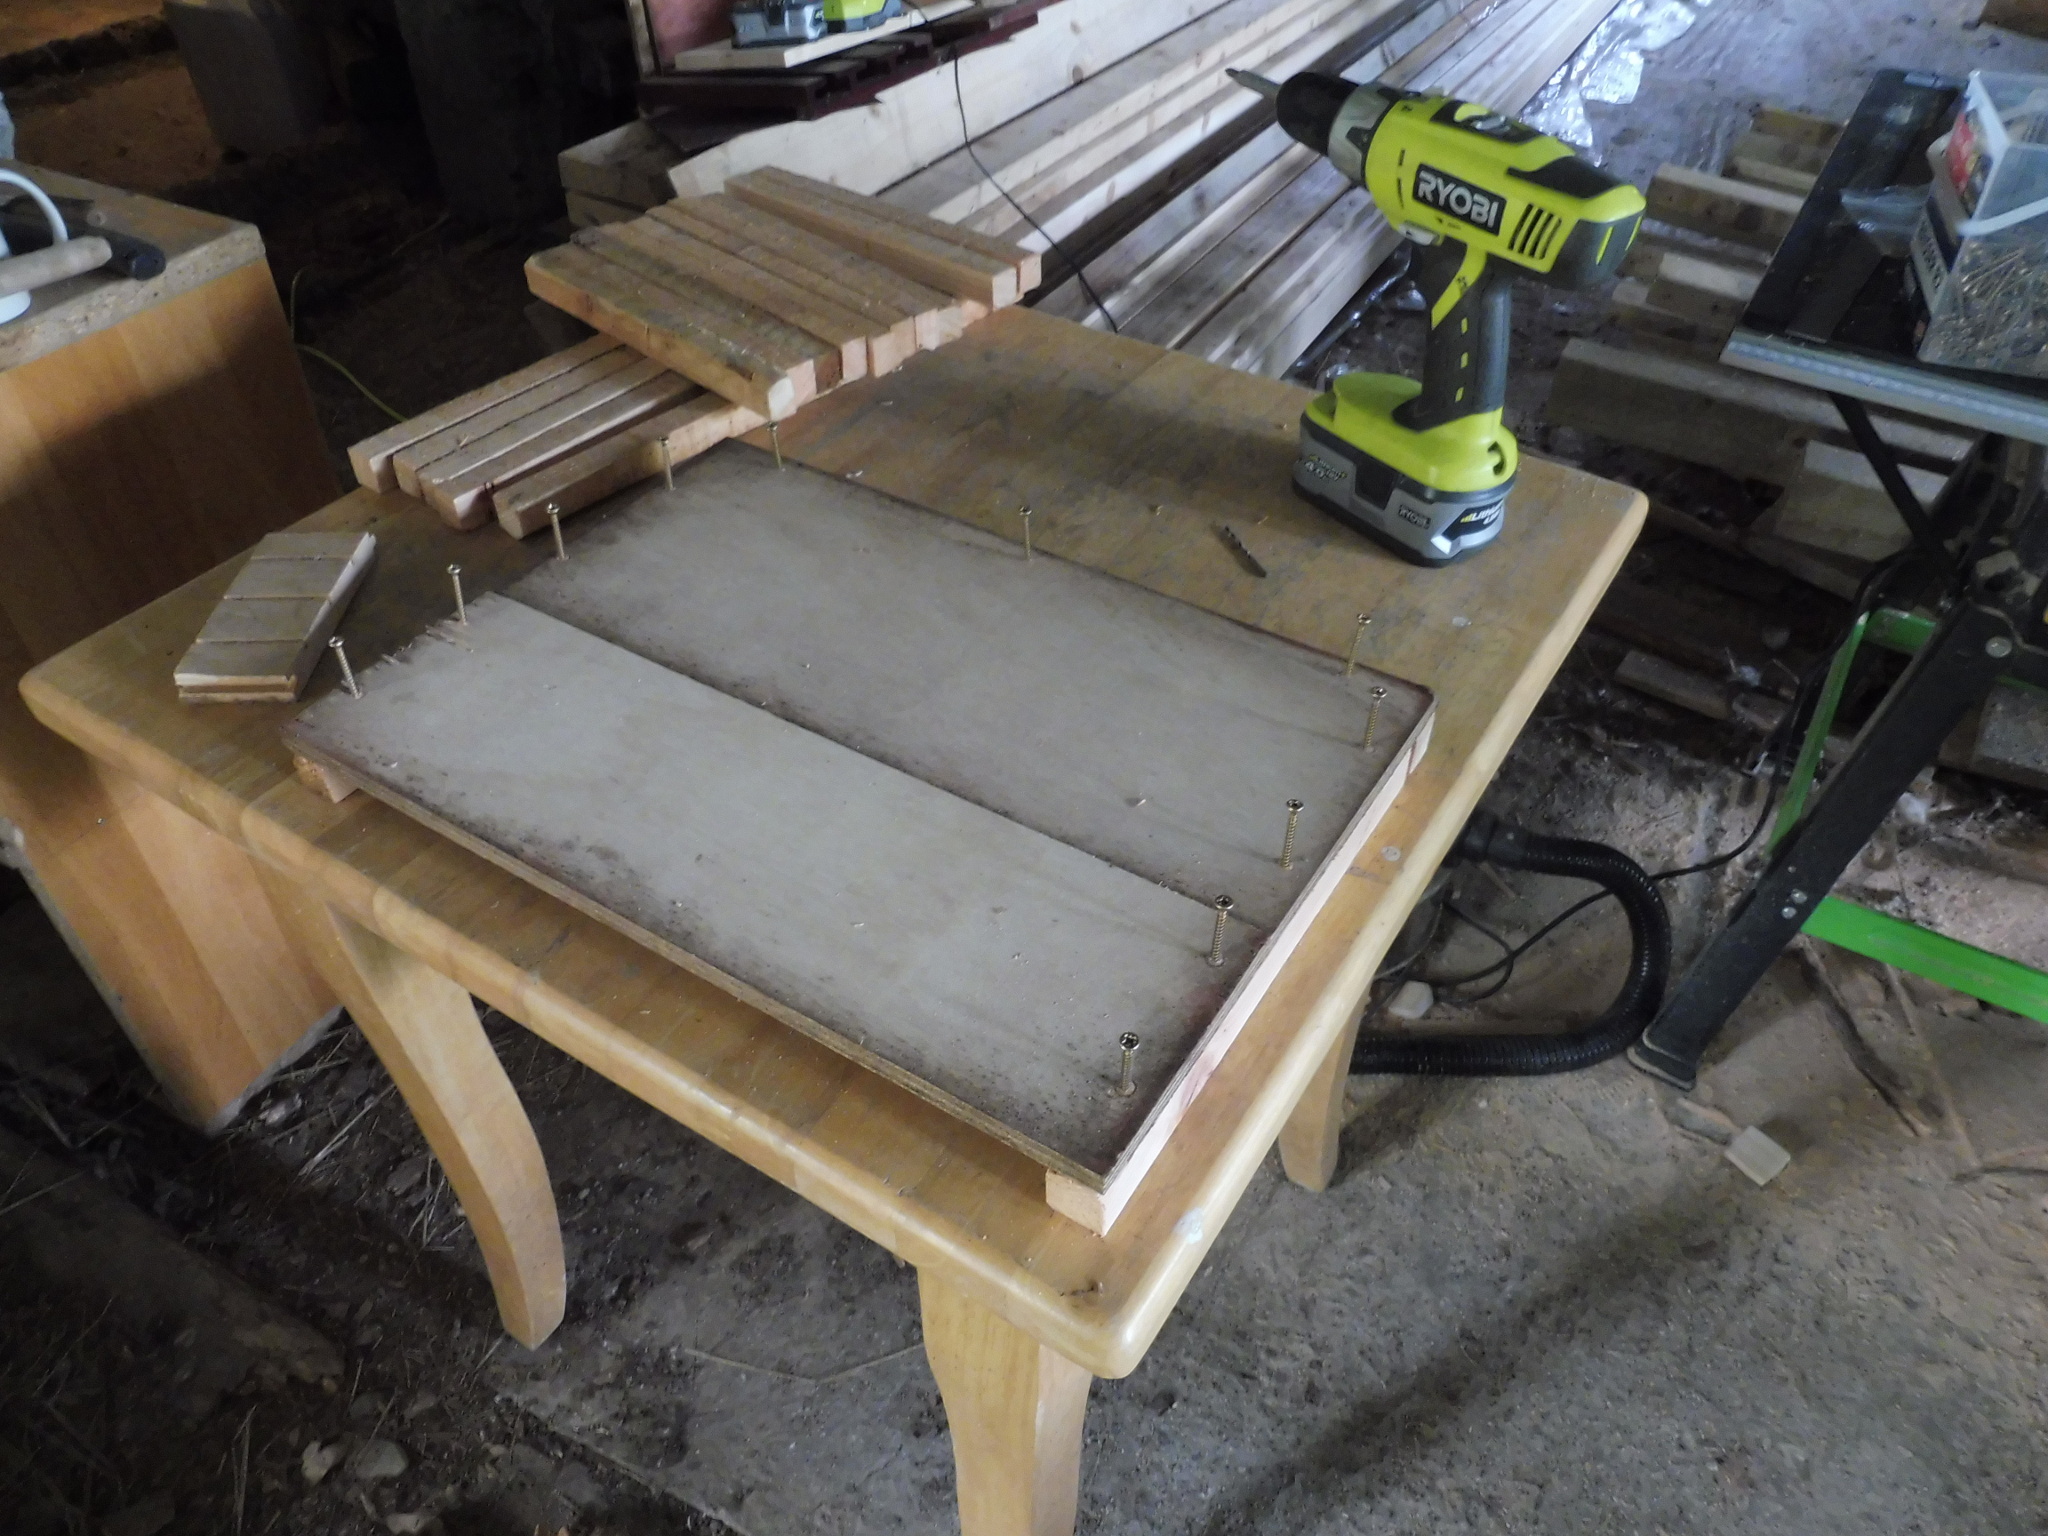
Jigsaw pieces. About here I was slightly regretting not doing something a bit simpler, but I got there in the end and reused some material that might otherwise have ended up as planters.
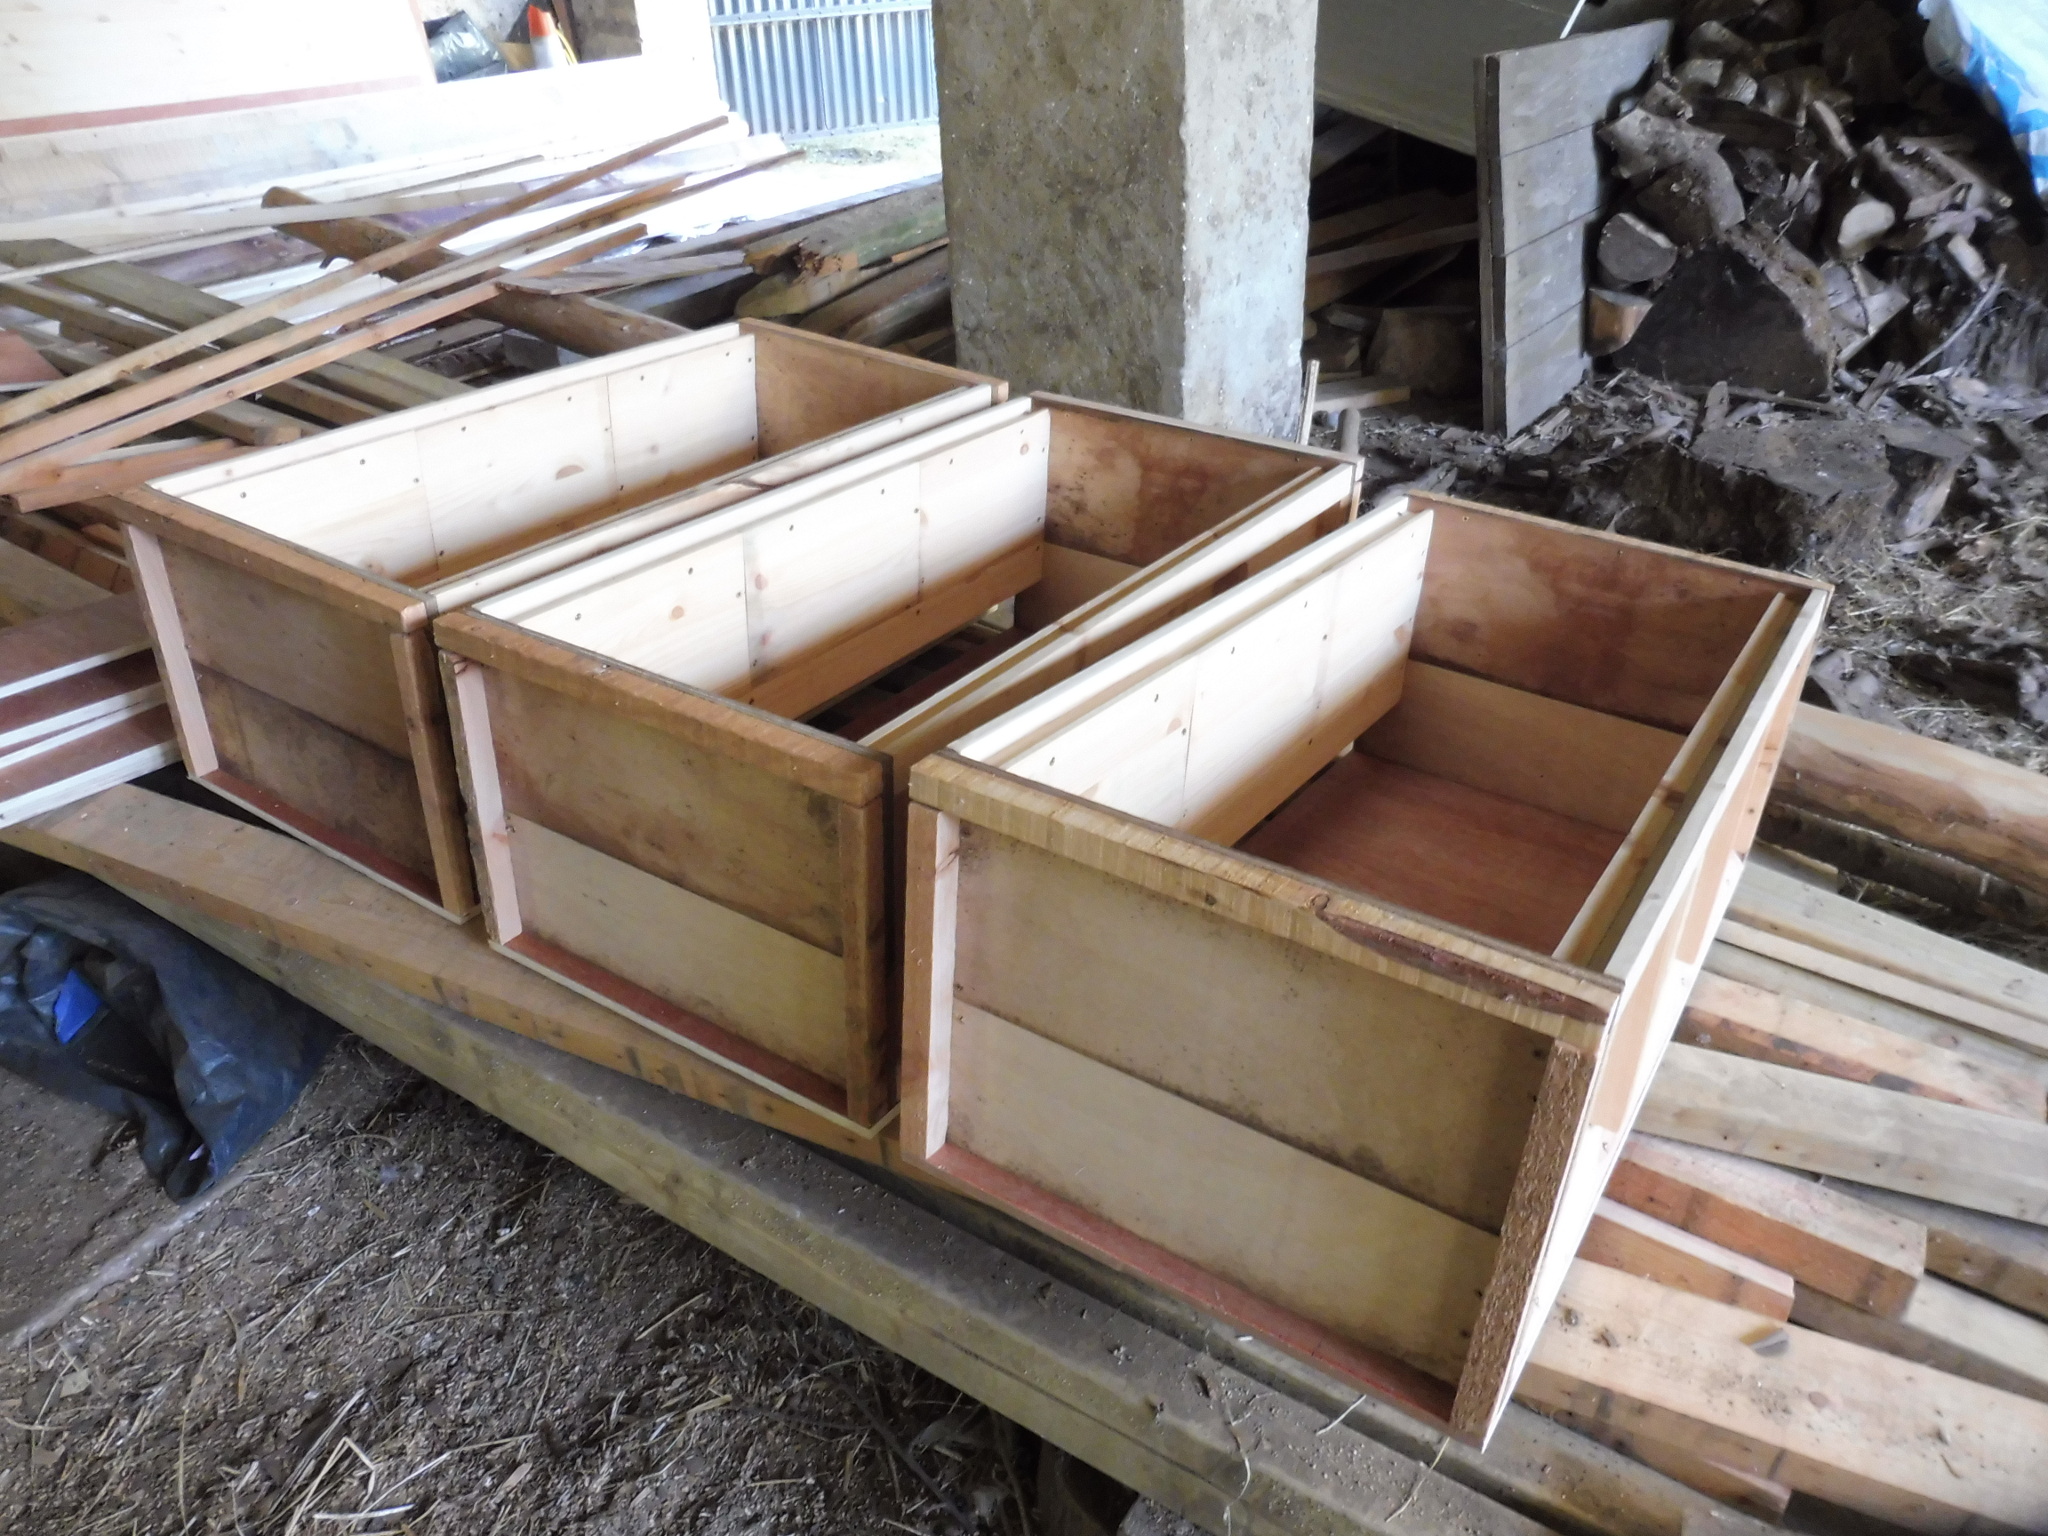
Instead, these got upcycled into panels for these new hives. I calculated that three 8-frame lengths per hive would make for 24 frames in a 75L volume: small for “production” beekeeping but perfect for my “backyard” operation, and within the preferred size range for wild colonies. Fun fact: this is about the volume of the hive I removed for a neighbour.
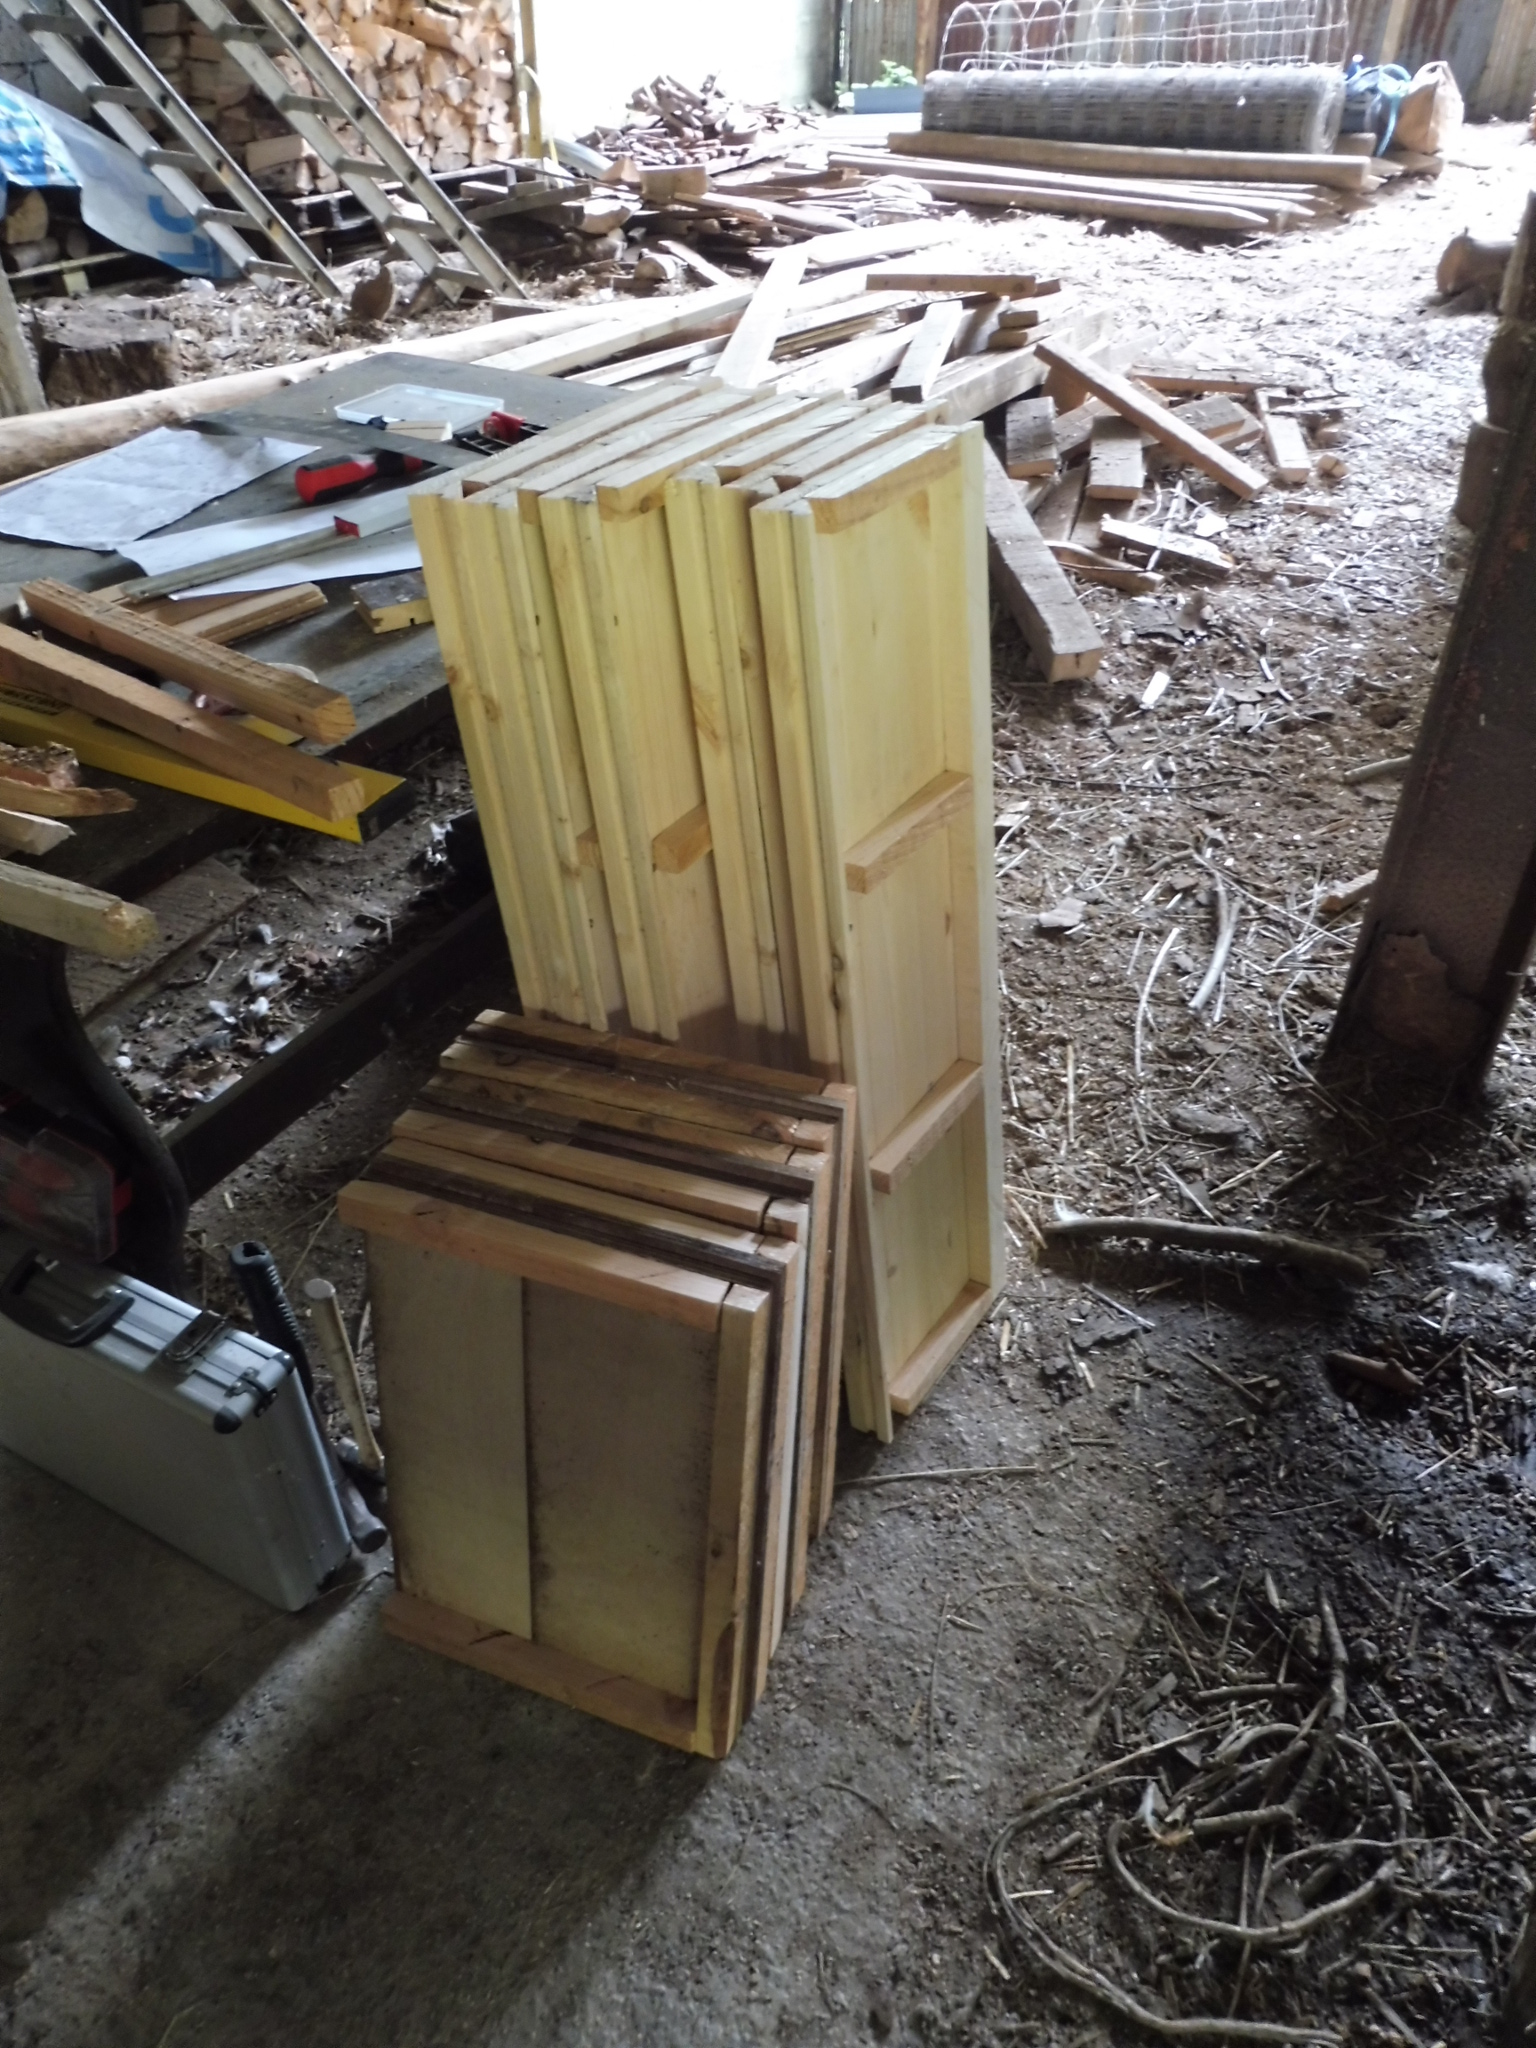
I was also able to upcycle sides from my Rose hives (with a little trimming). Altogether, I wanted three hives so that was a fair number of panels to assemble: once I got going it was not hard, though.
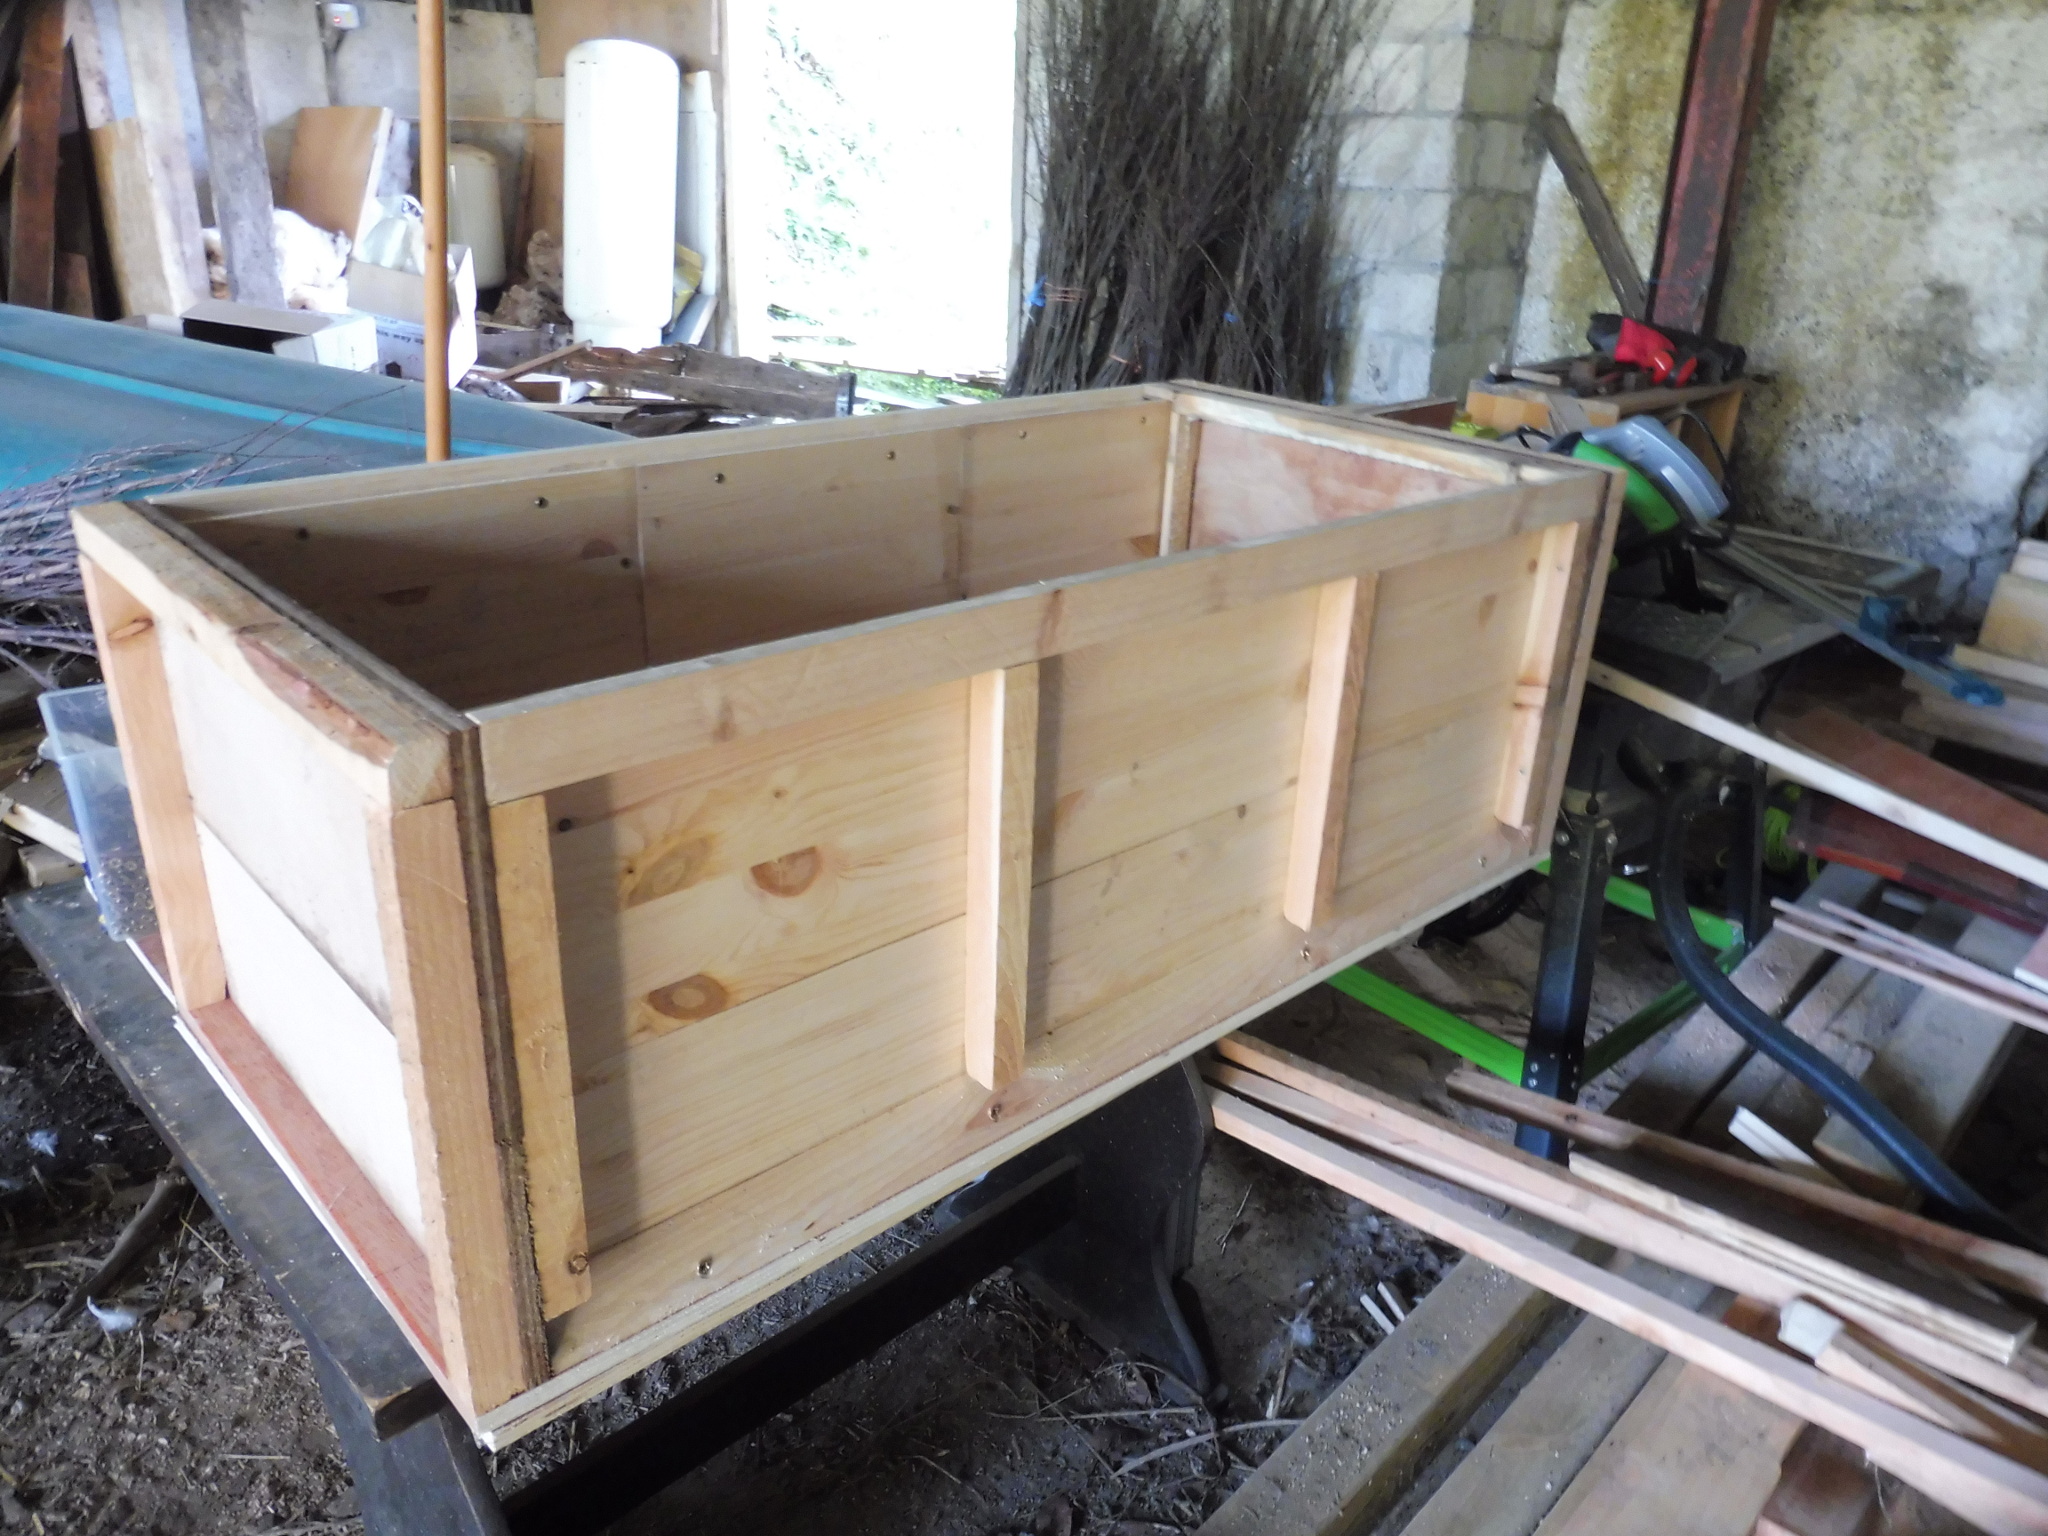
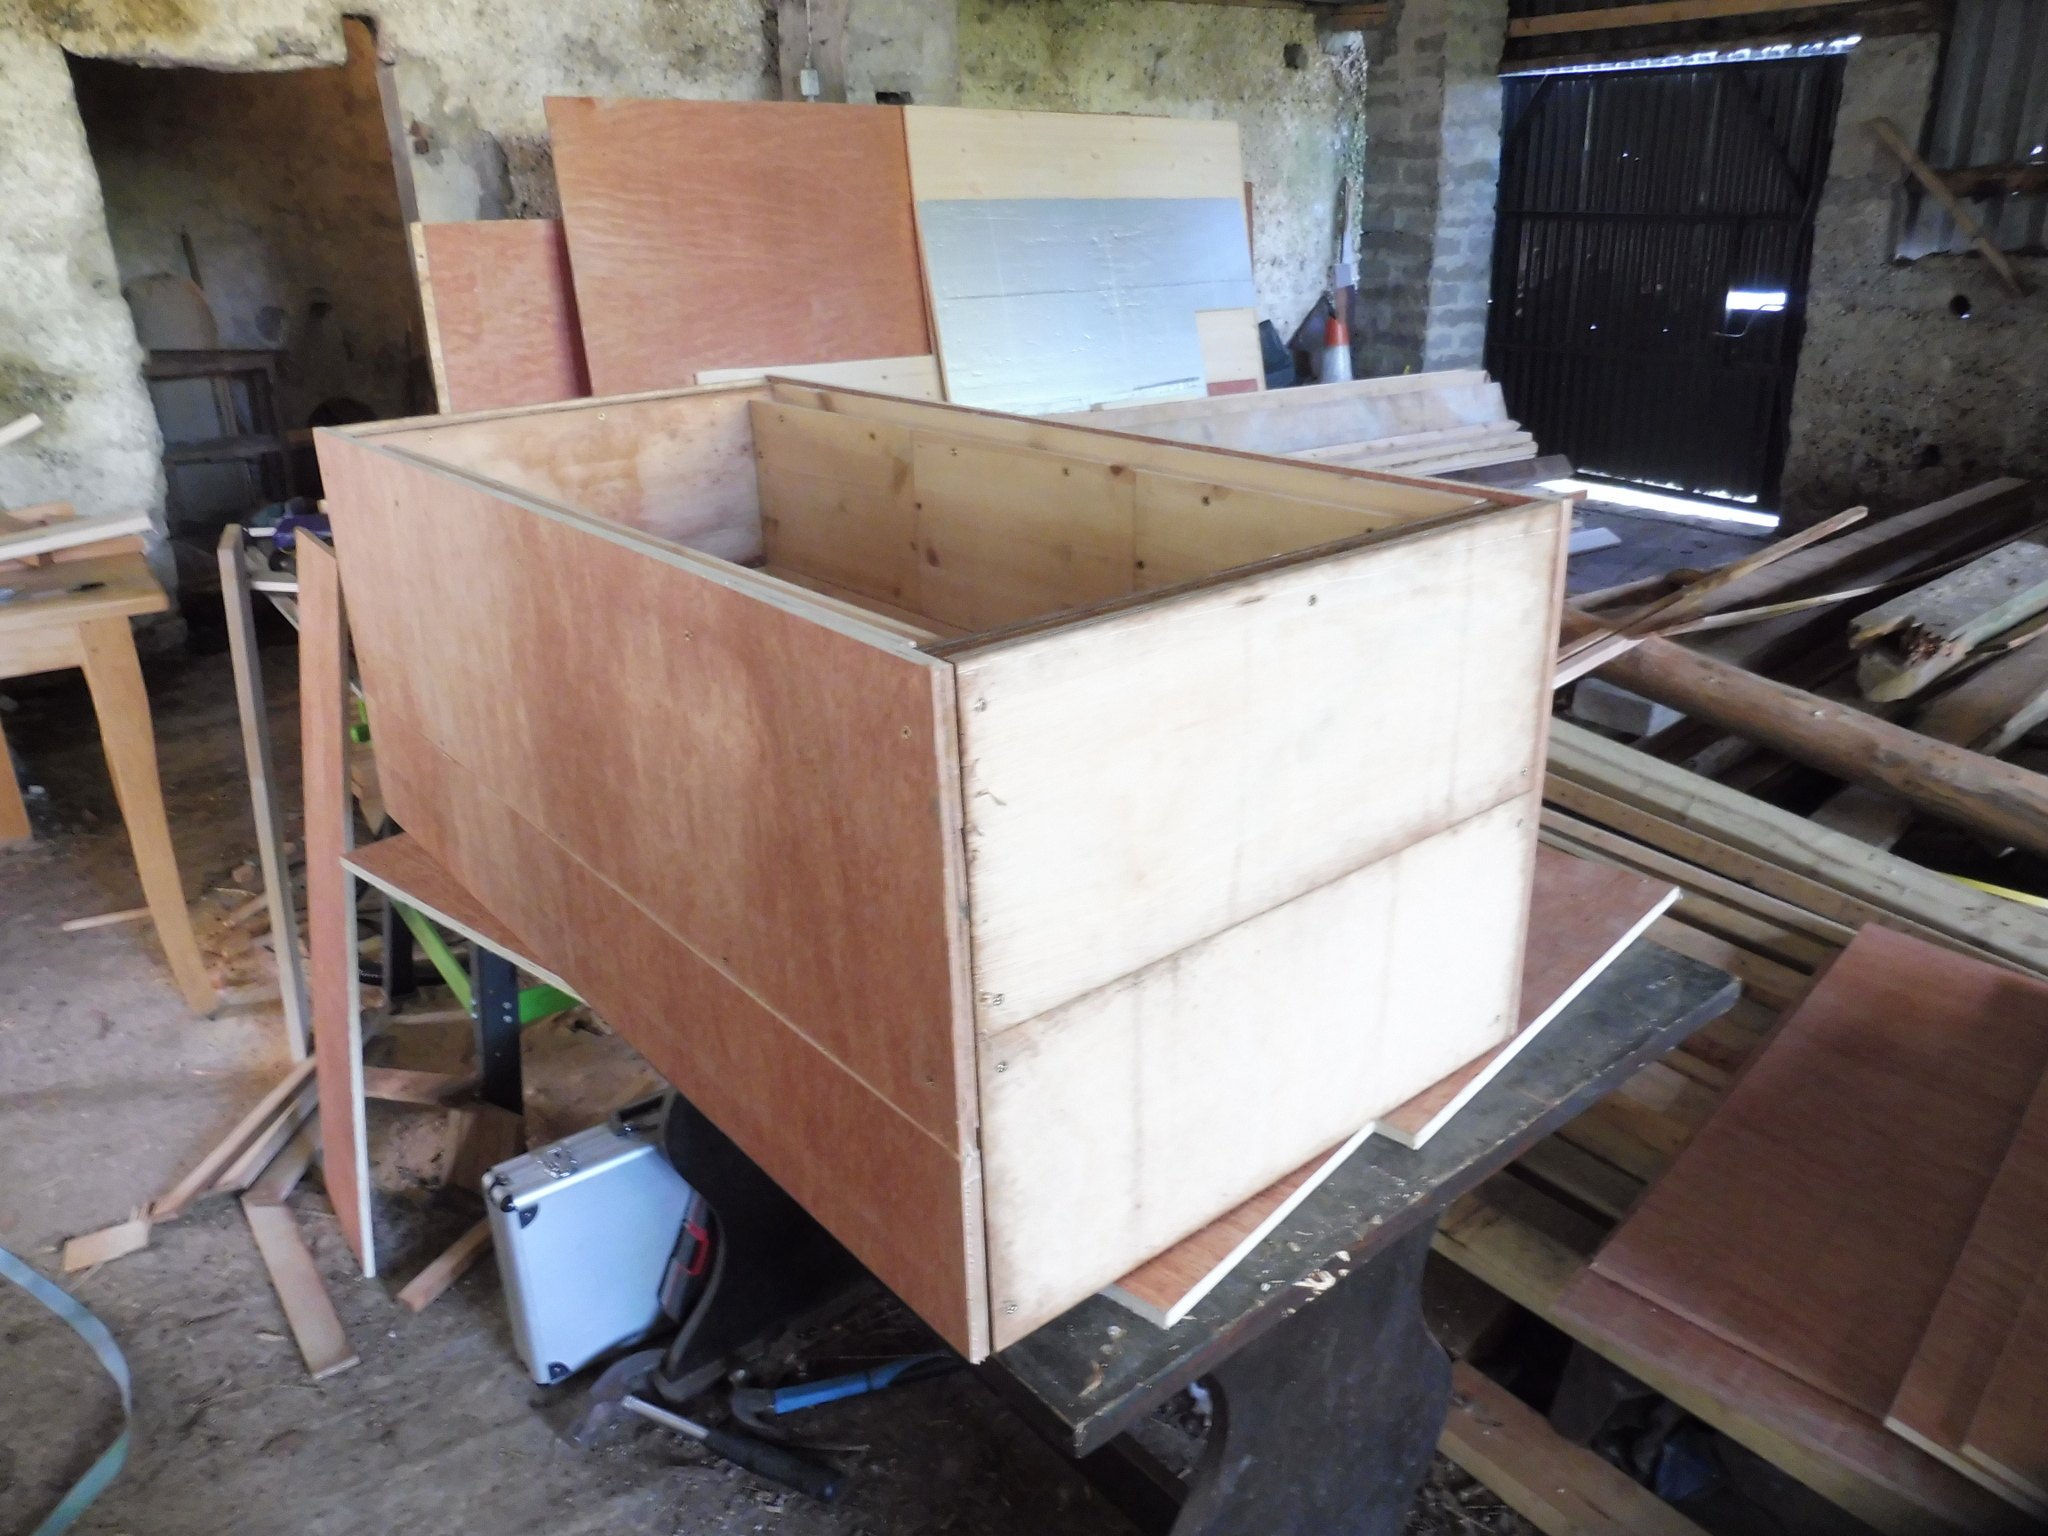
Assembling the panels into boxes required some care with right angles, but was straightforward. I used a ridiculous number of screws on this project and I have no regrets. :o)

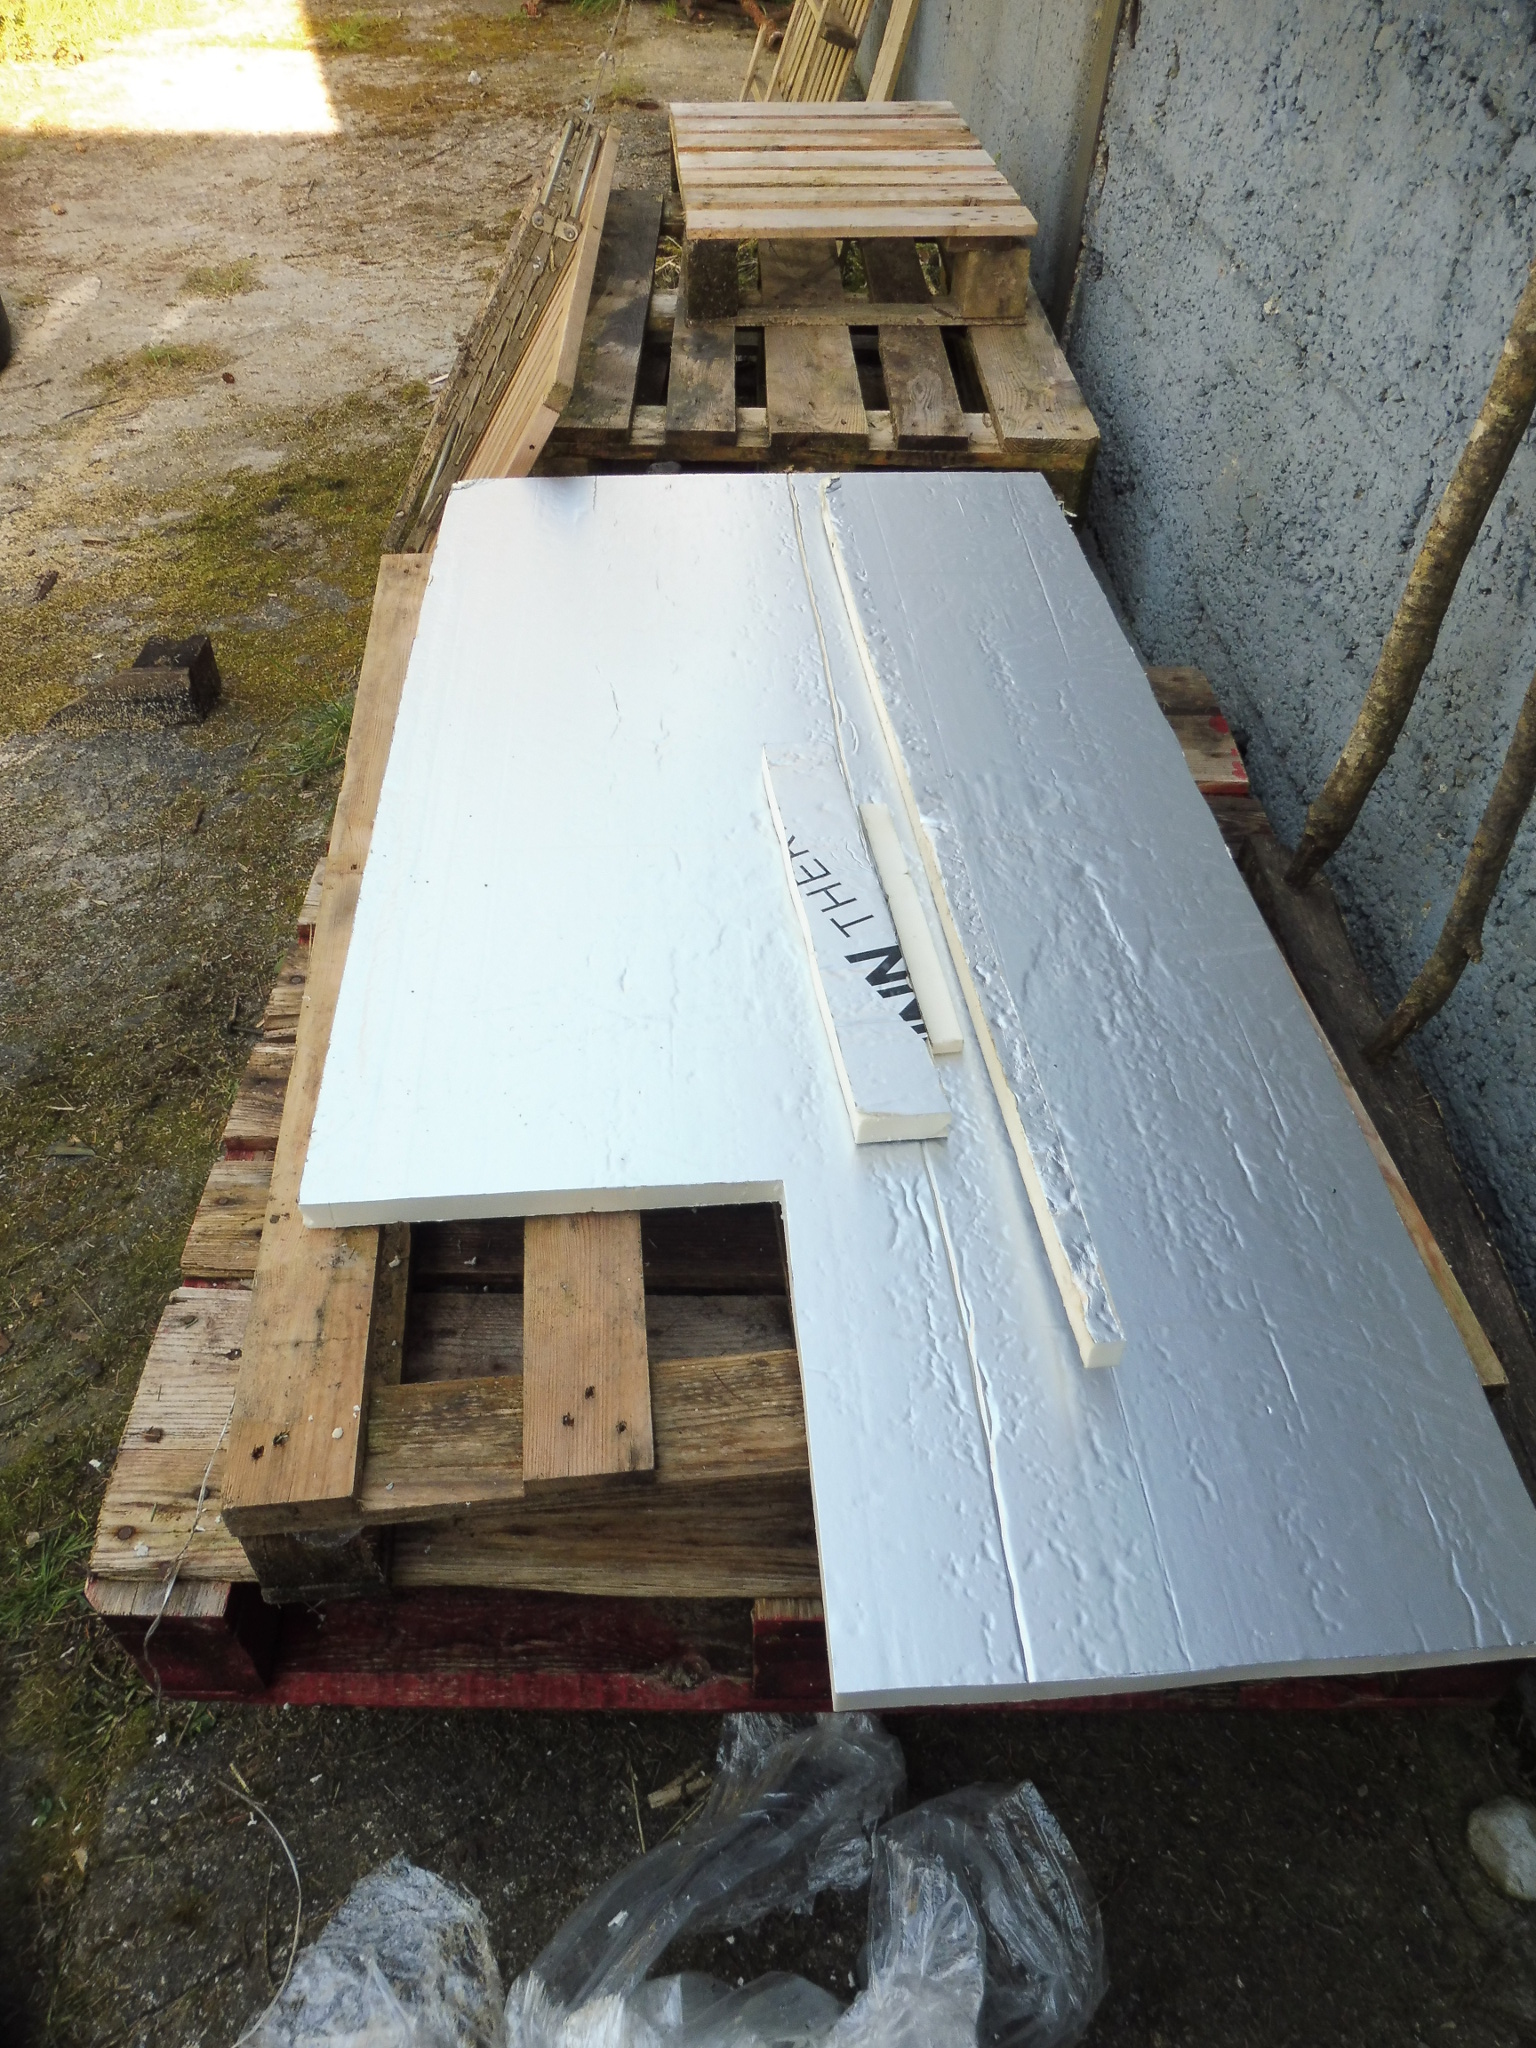
This 25mm insulation - a “sandwich” of foil and foam - was a pleasure to work with.
My beautiful assistant is a bin-packing genius, so generally if I can get her advice on cut lists I have the minimum of awkward off-cuts.
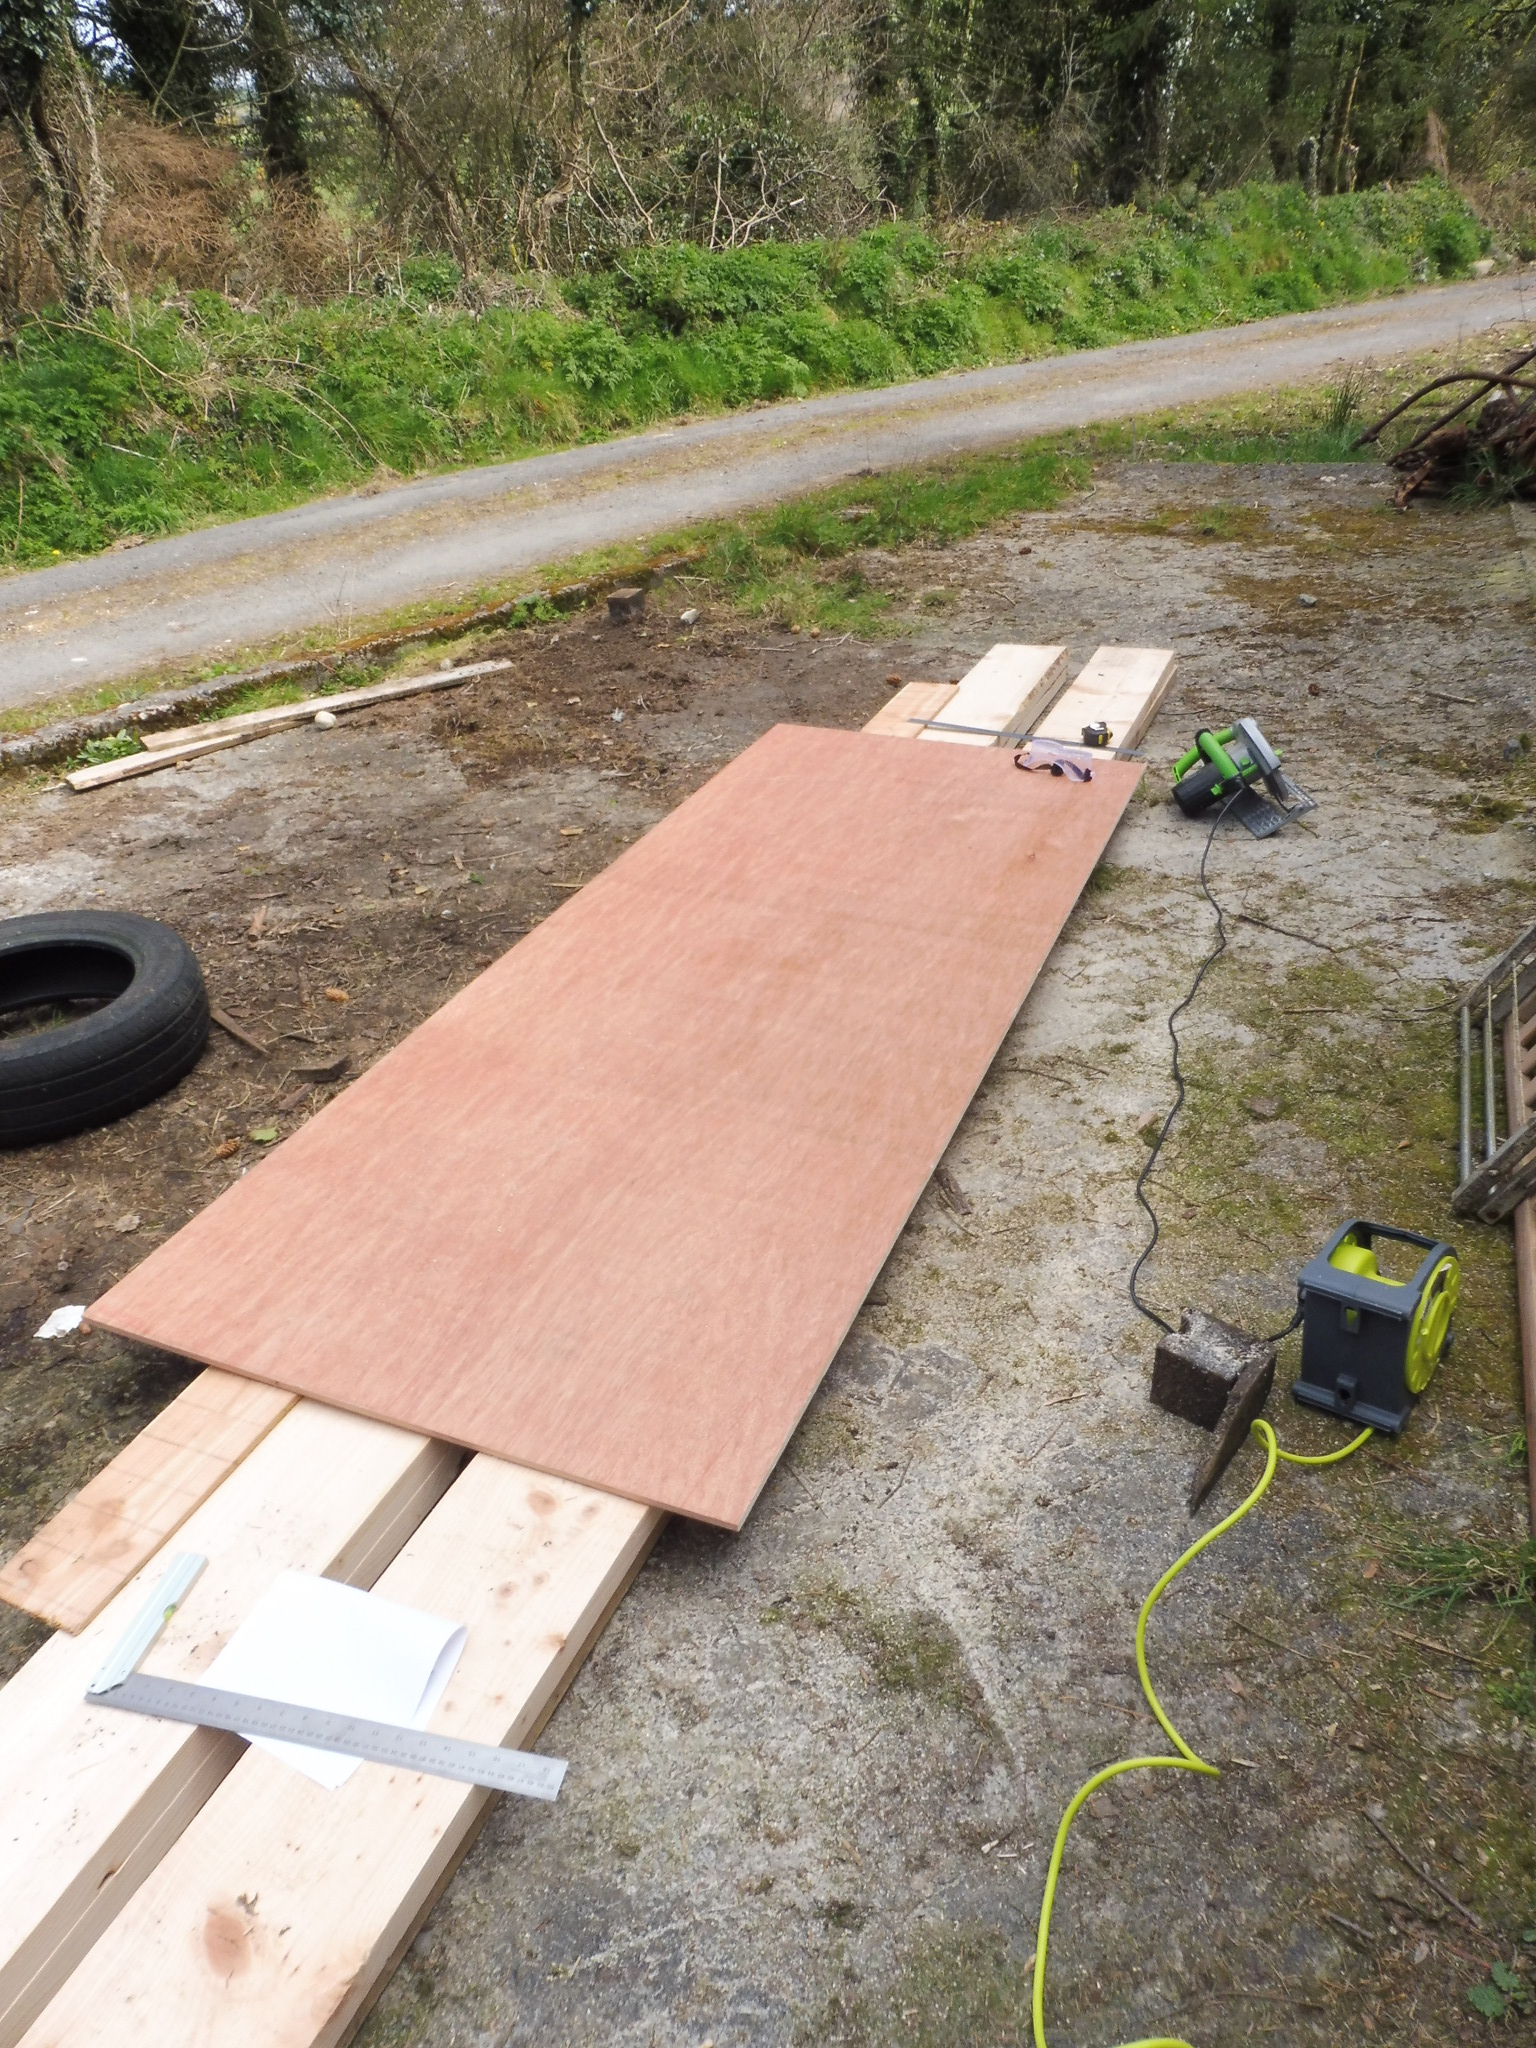
My least favourite of pretty much any project is breaking down large boards, which I do here with a circular saw. Having taken advice from my local Internet shed nerds, I am going to invest in a tracksaw after this project.
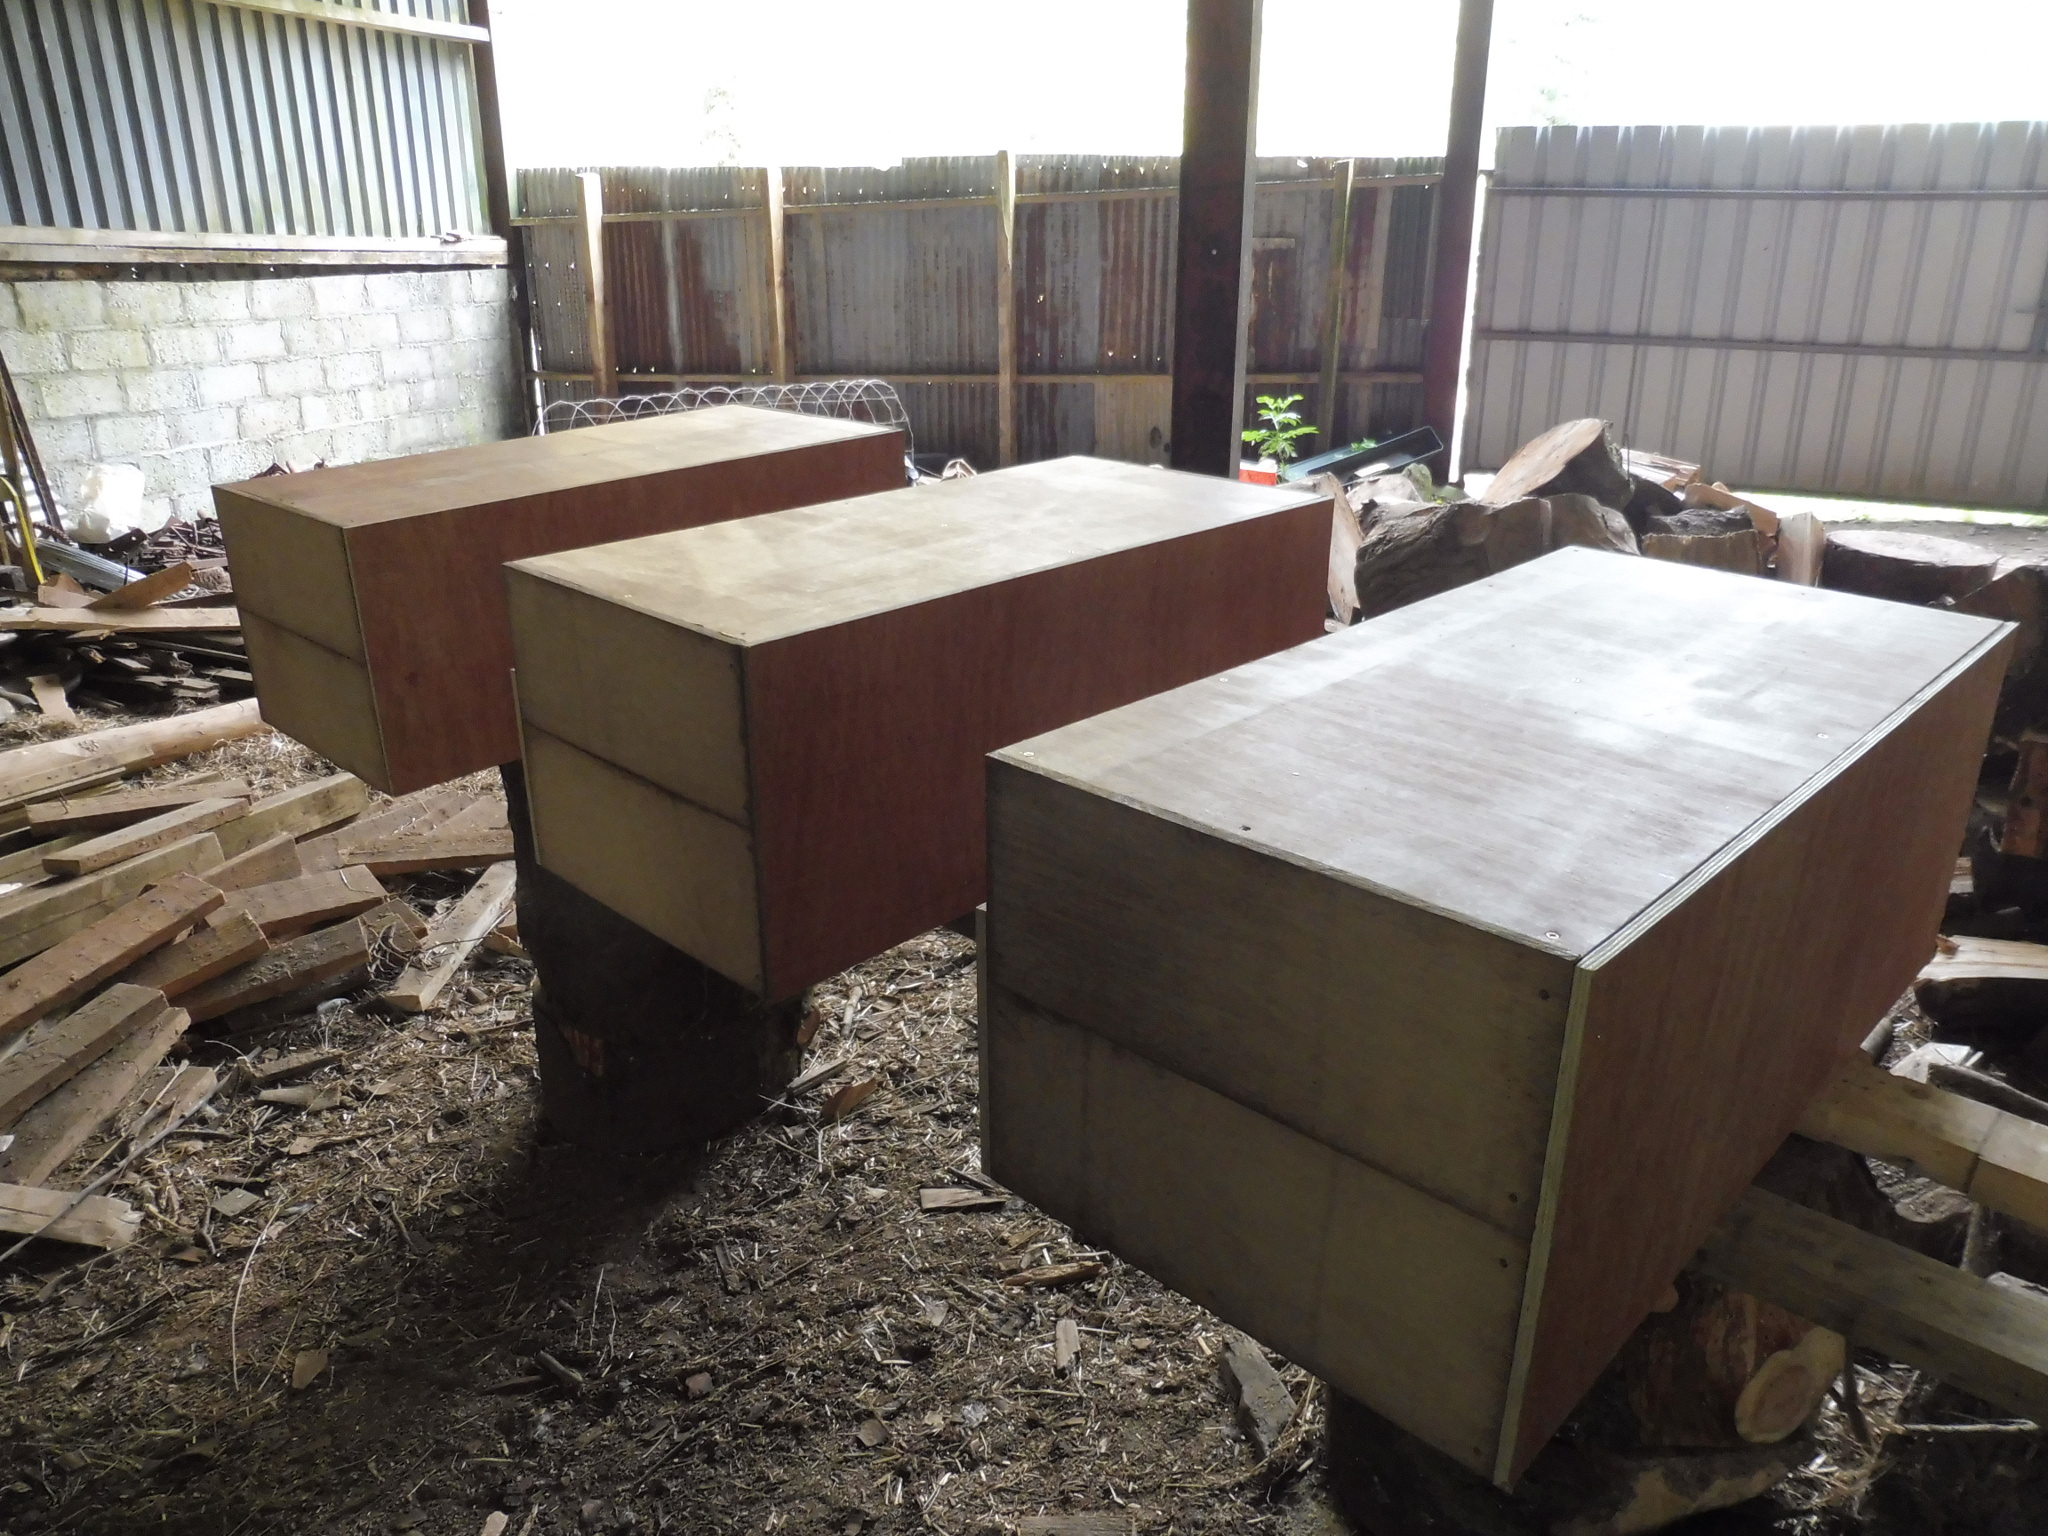
With the insulation applied, I cut out some spaces where entrances would be later and filled them with wood (so I could later drill right through), and clad the whole thing. A happy accident here was that the full depth of the hive was exactly two Rose side panels - so I was able to use those on the sides.
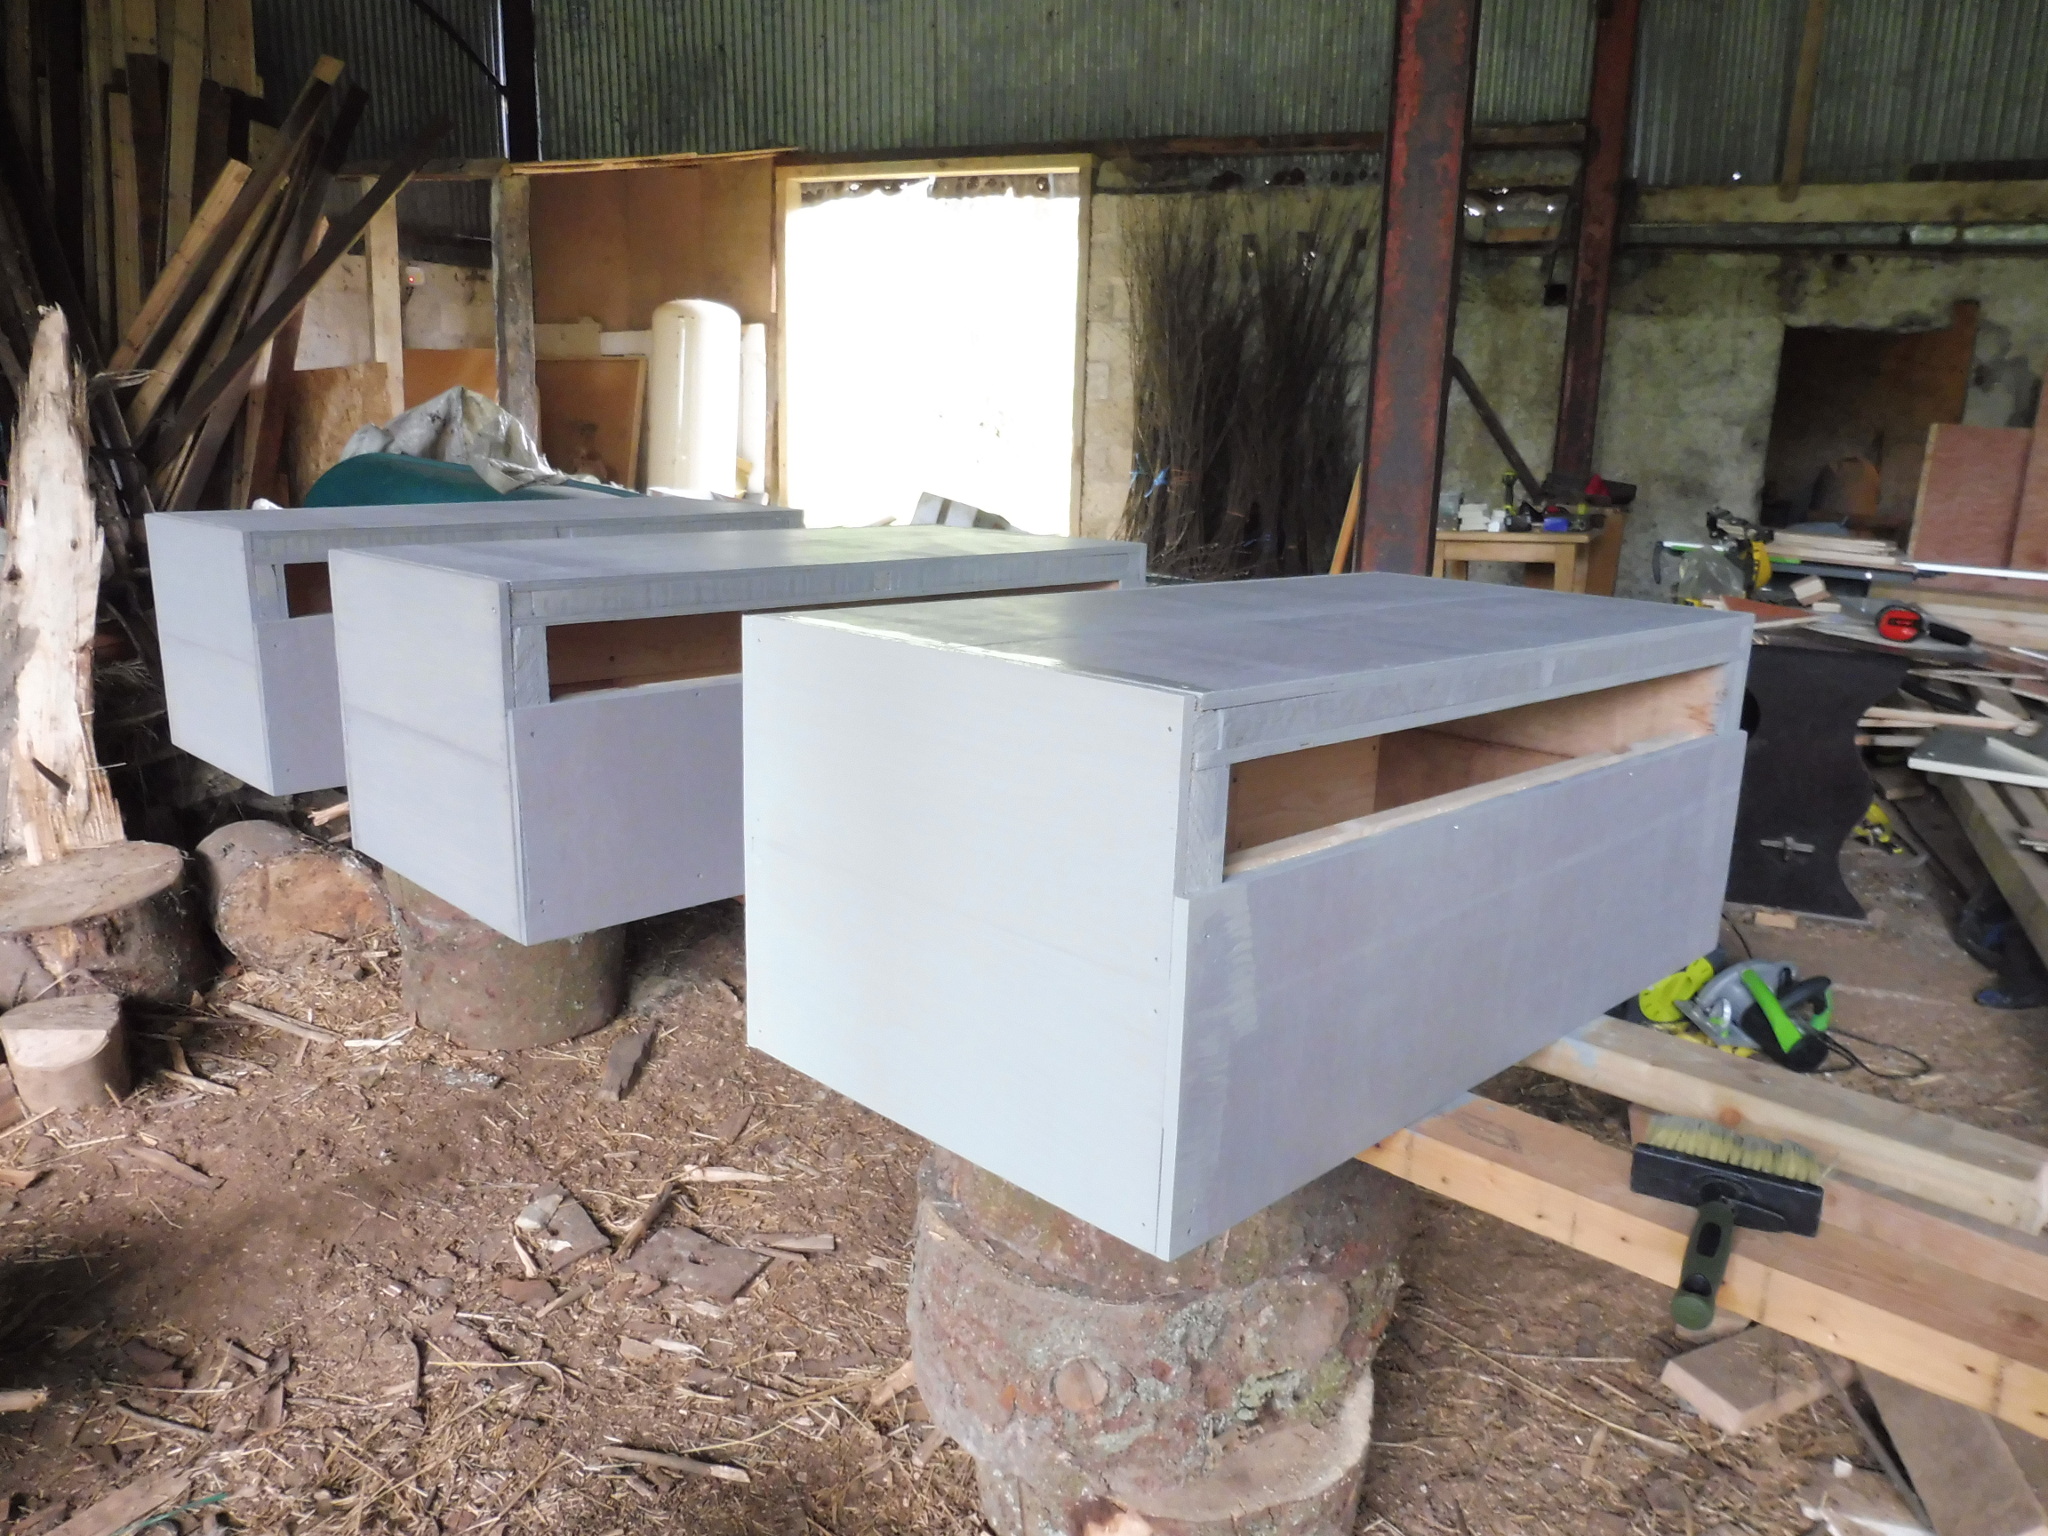
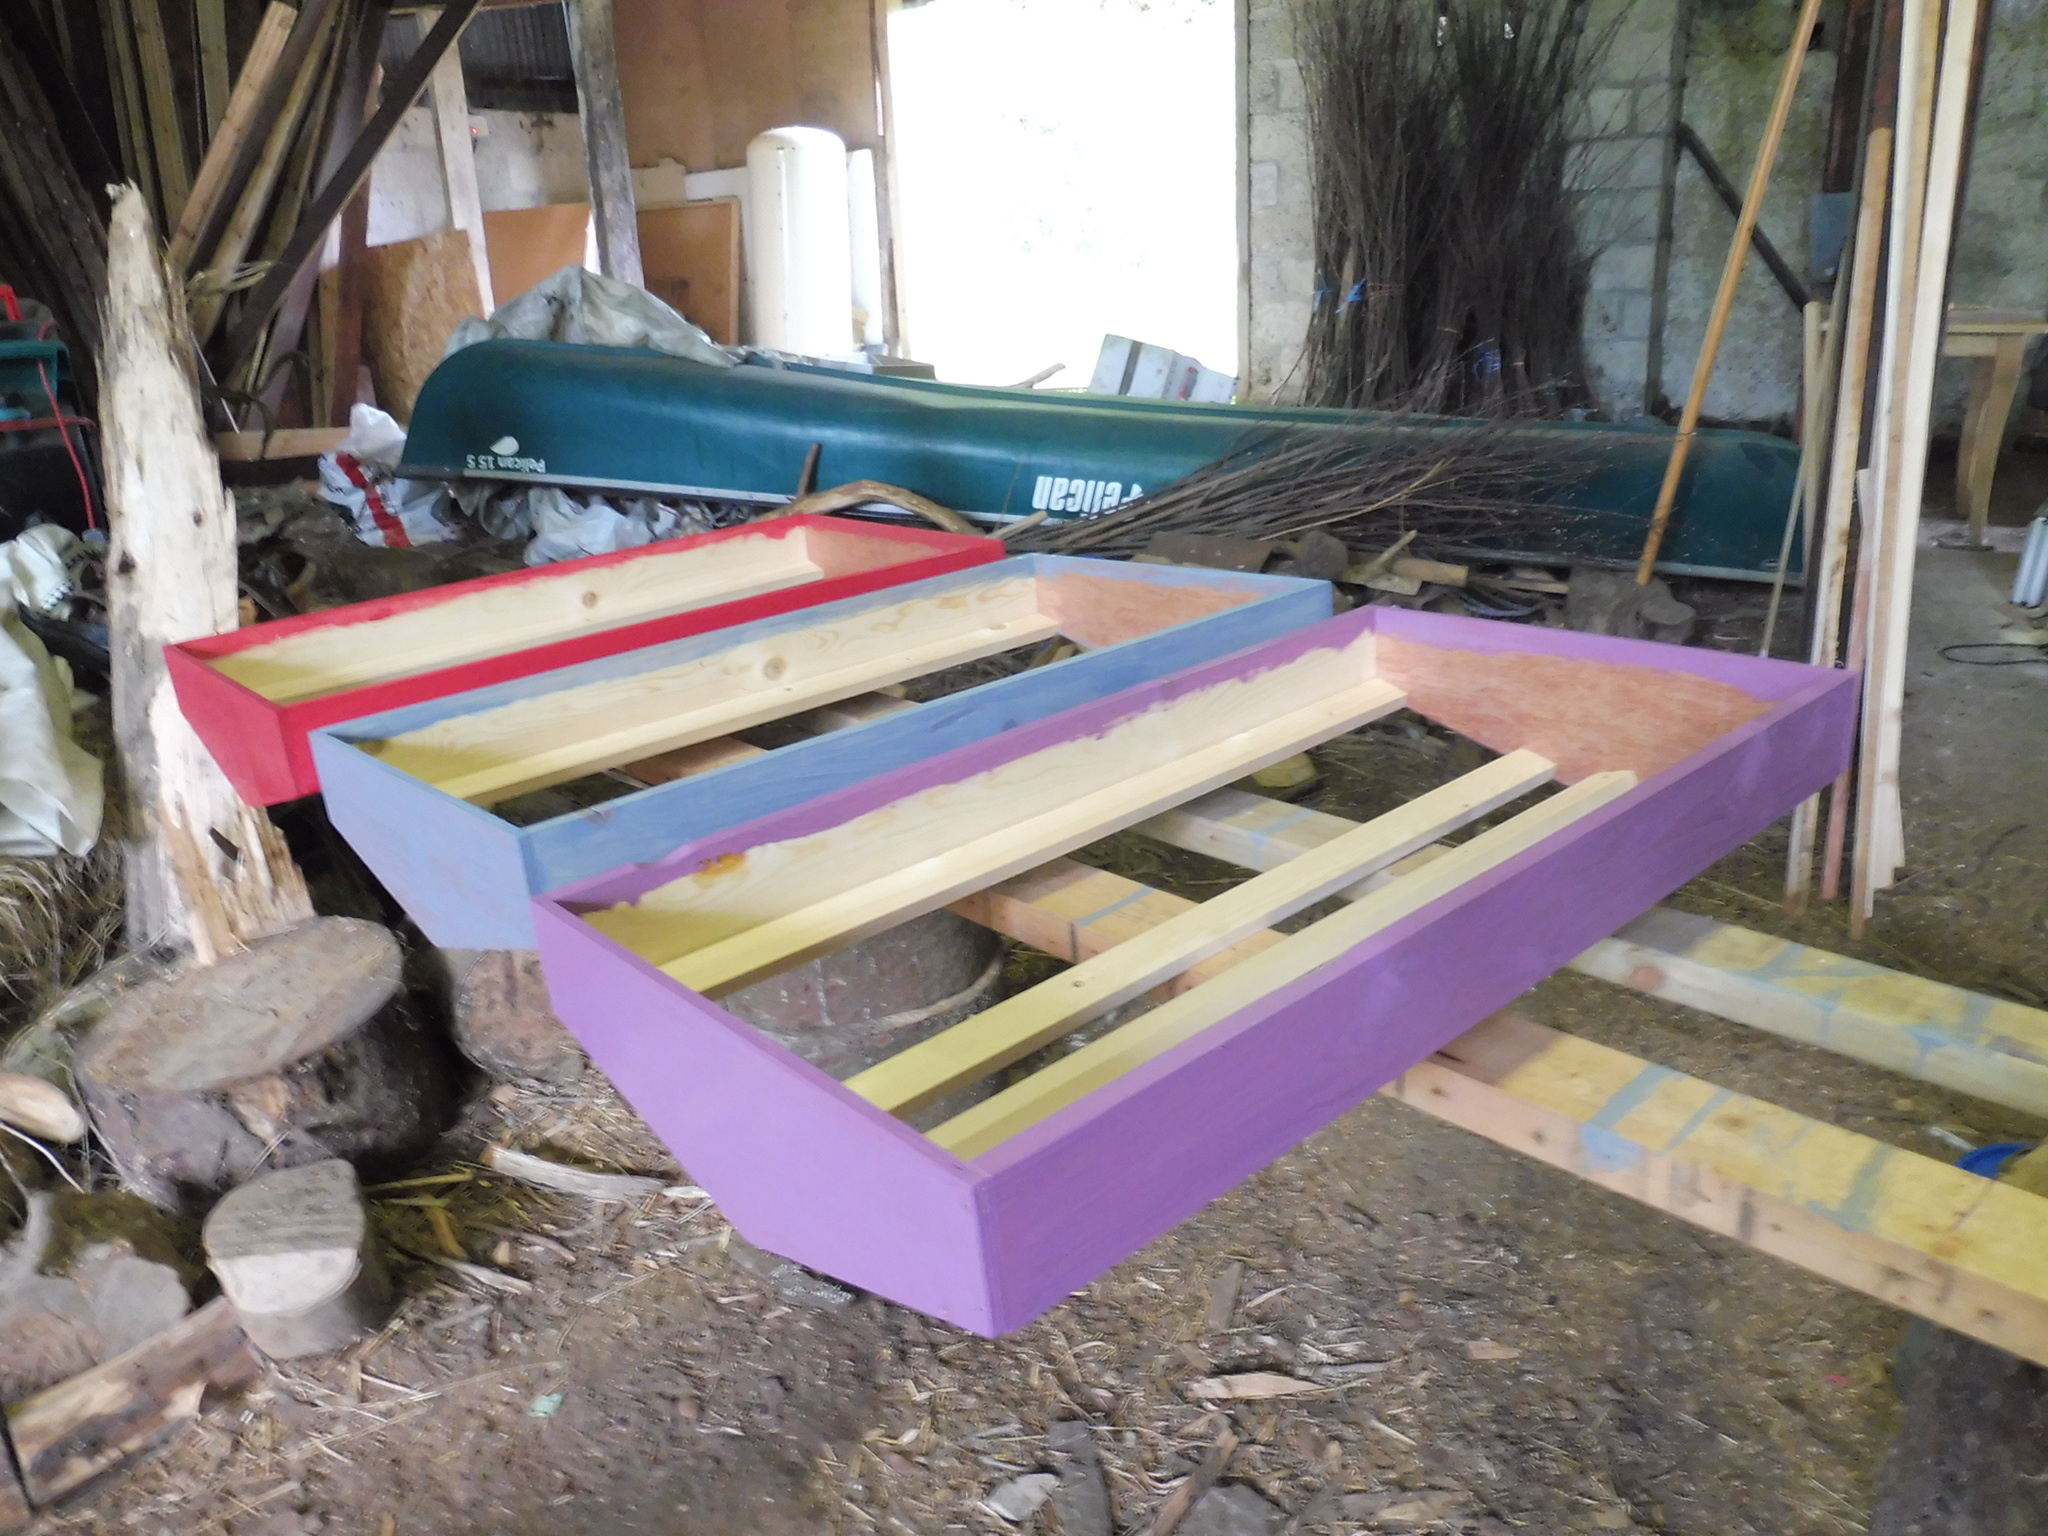
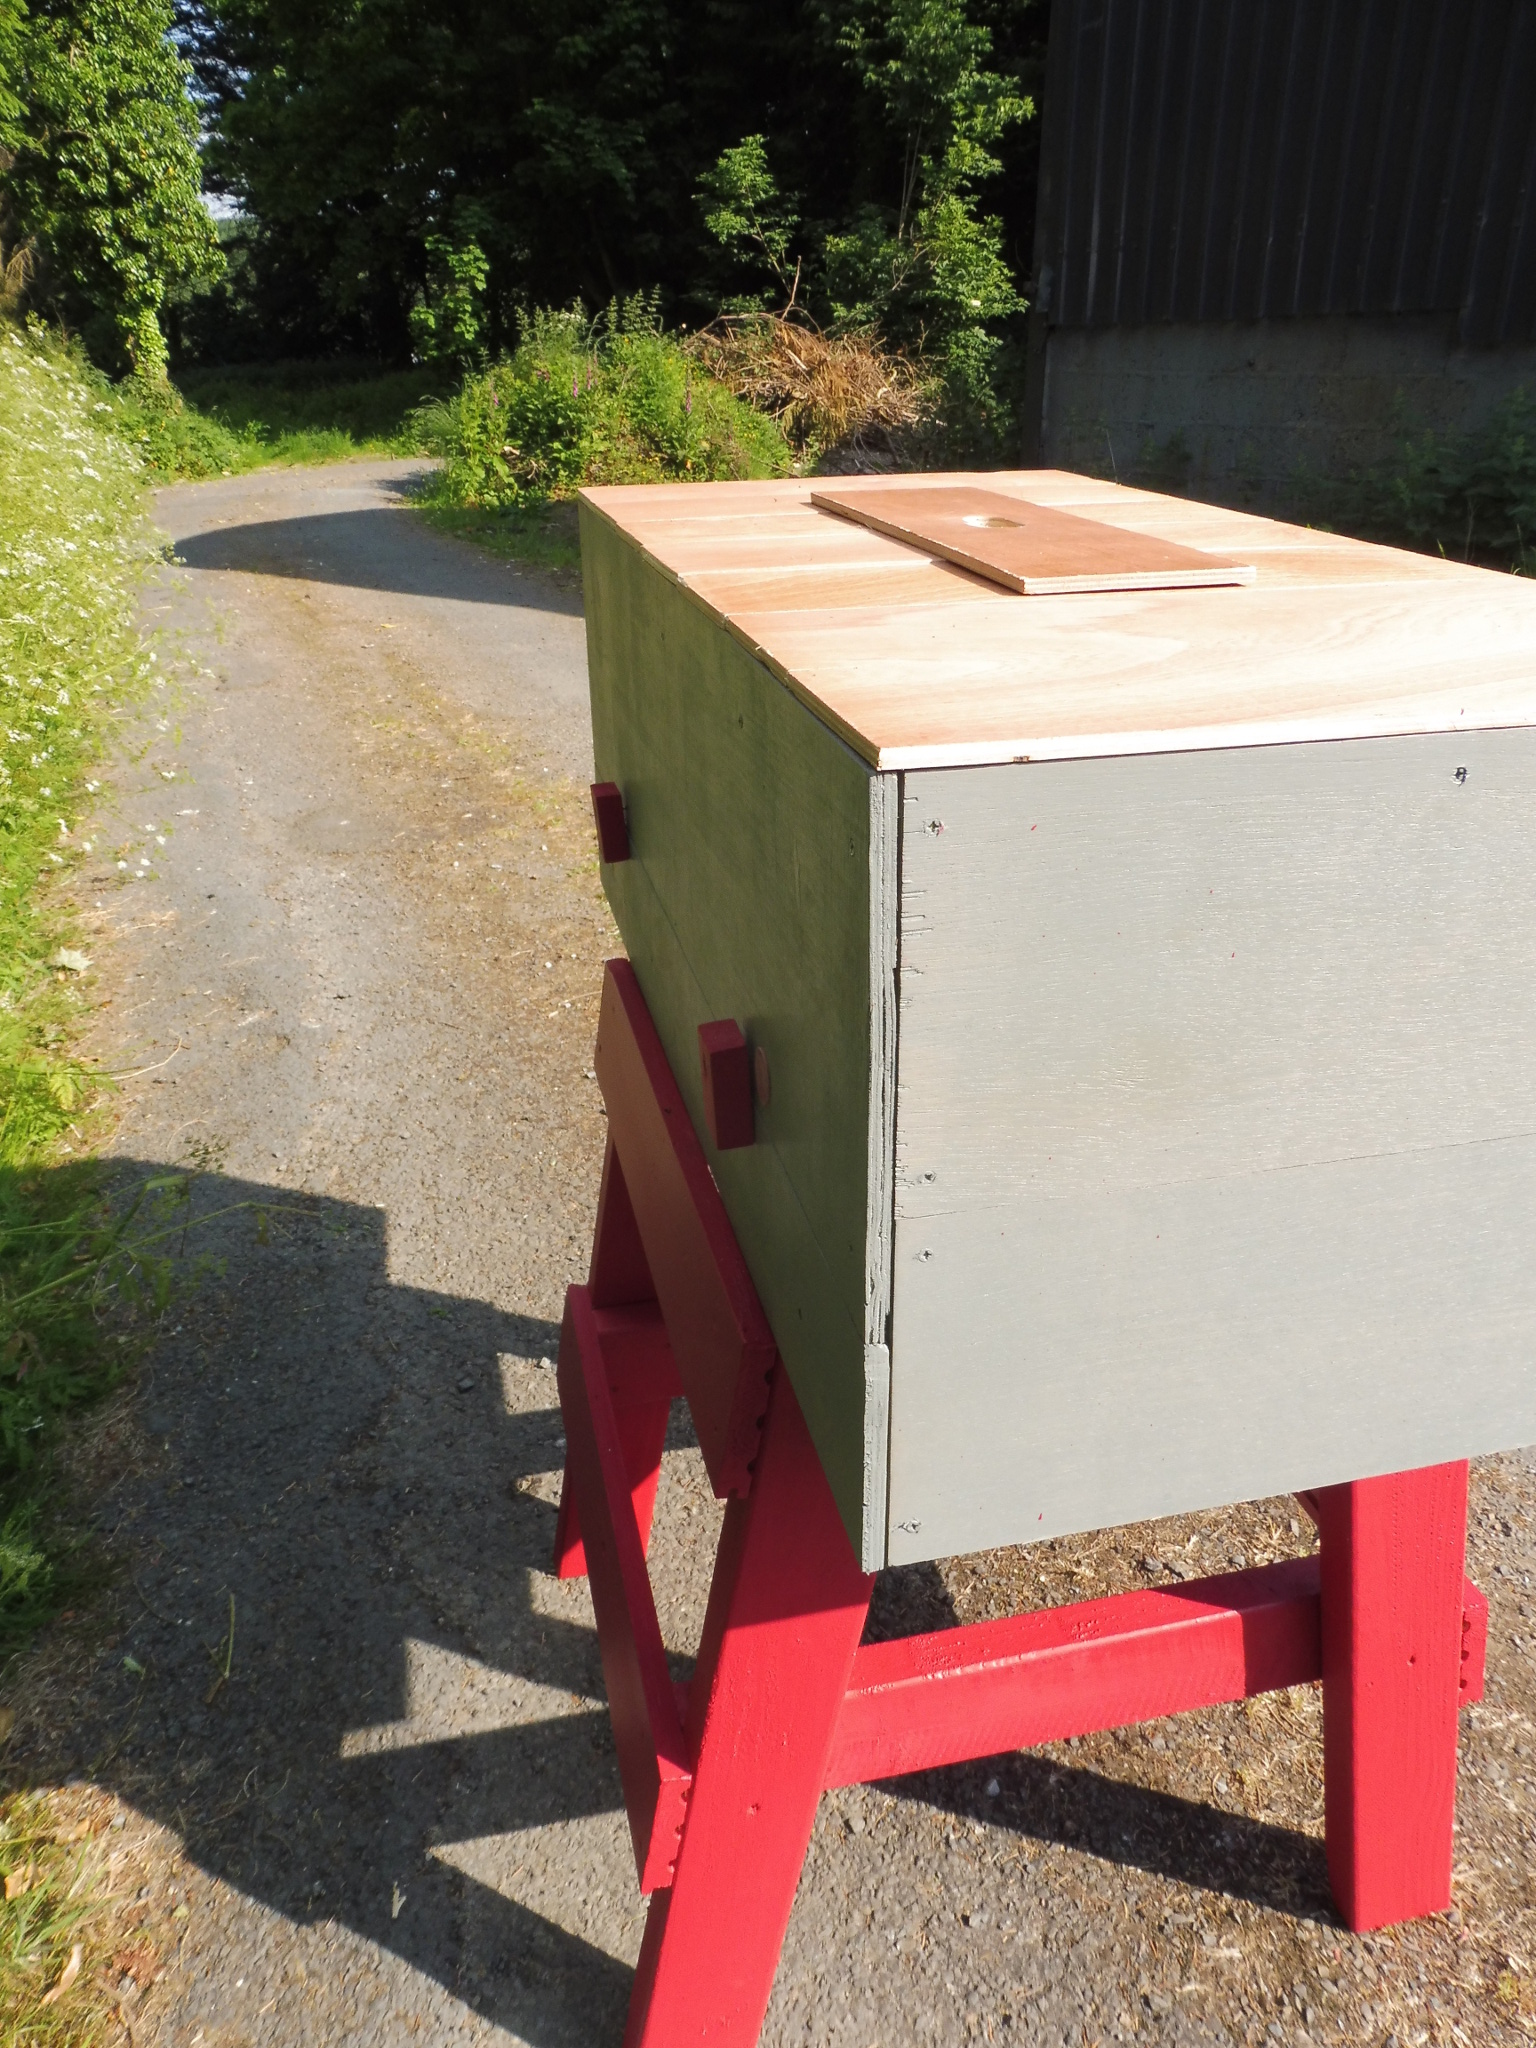
Finally, I painted each of the hives with a fairly neutral base colour. I like to decorate with bright colours on the roof, stand, etc.
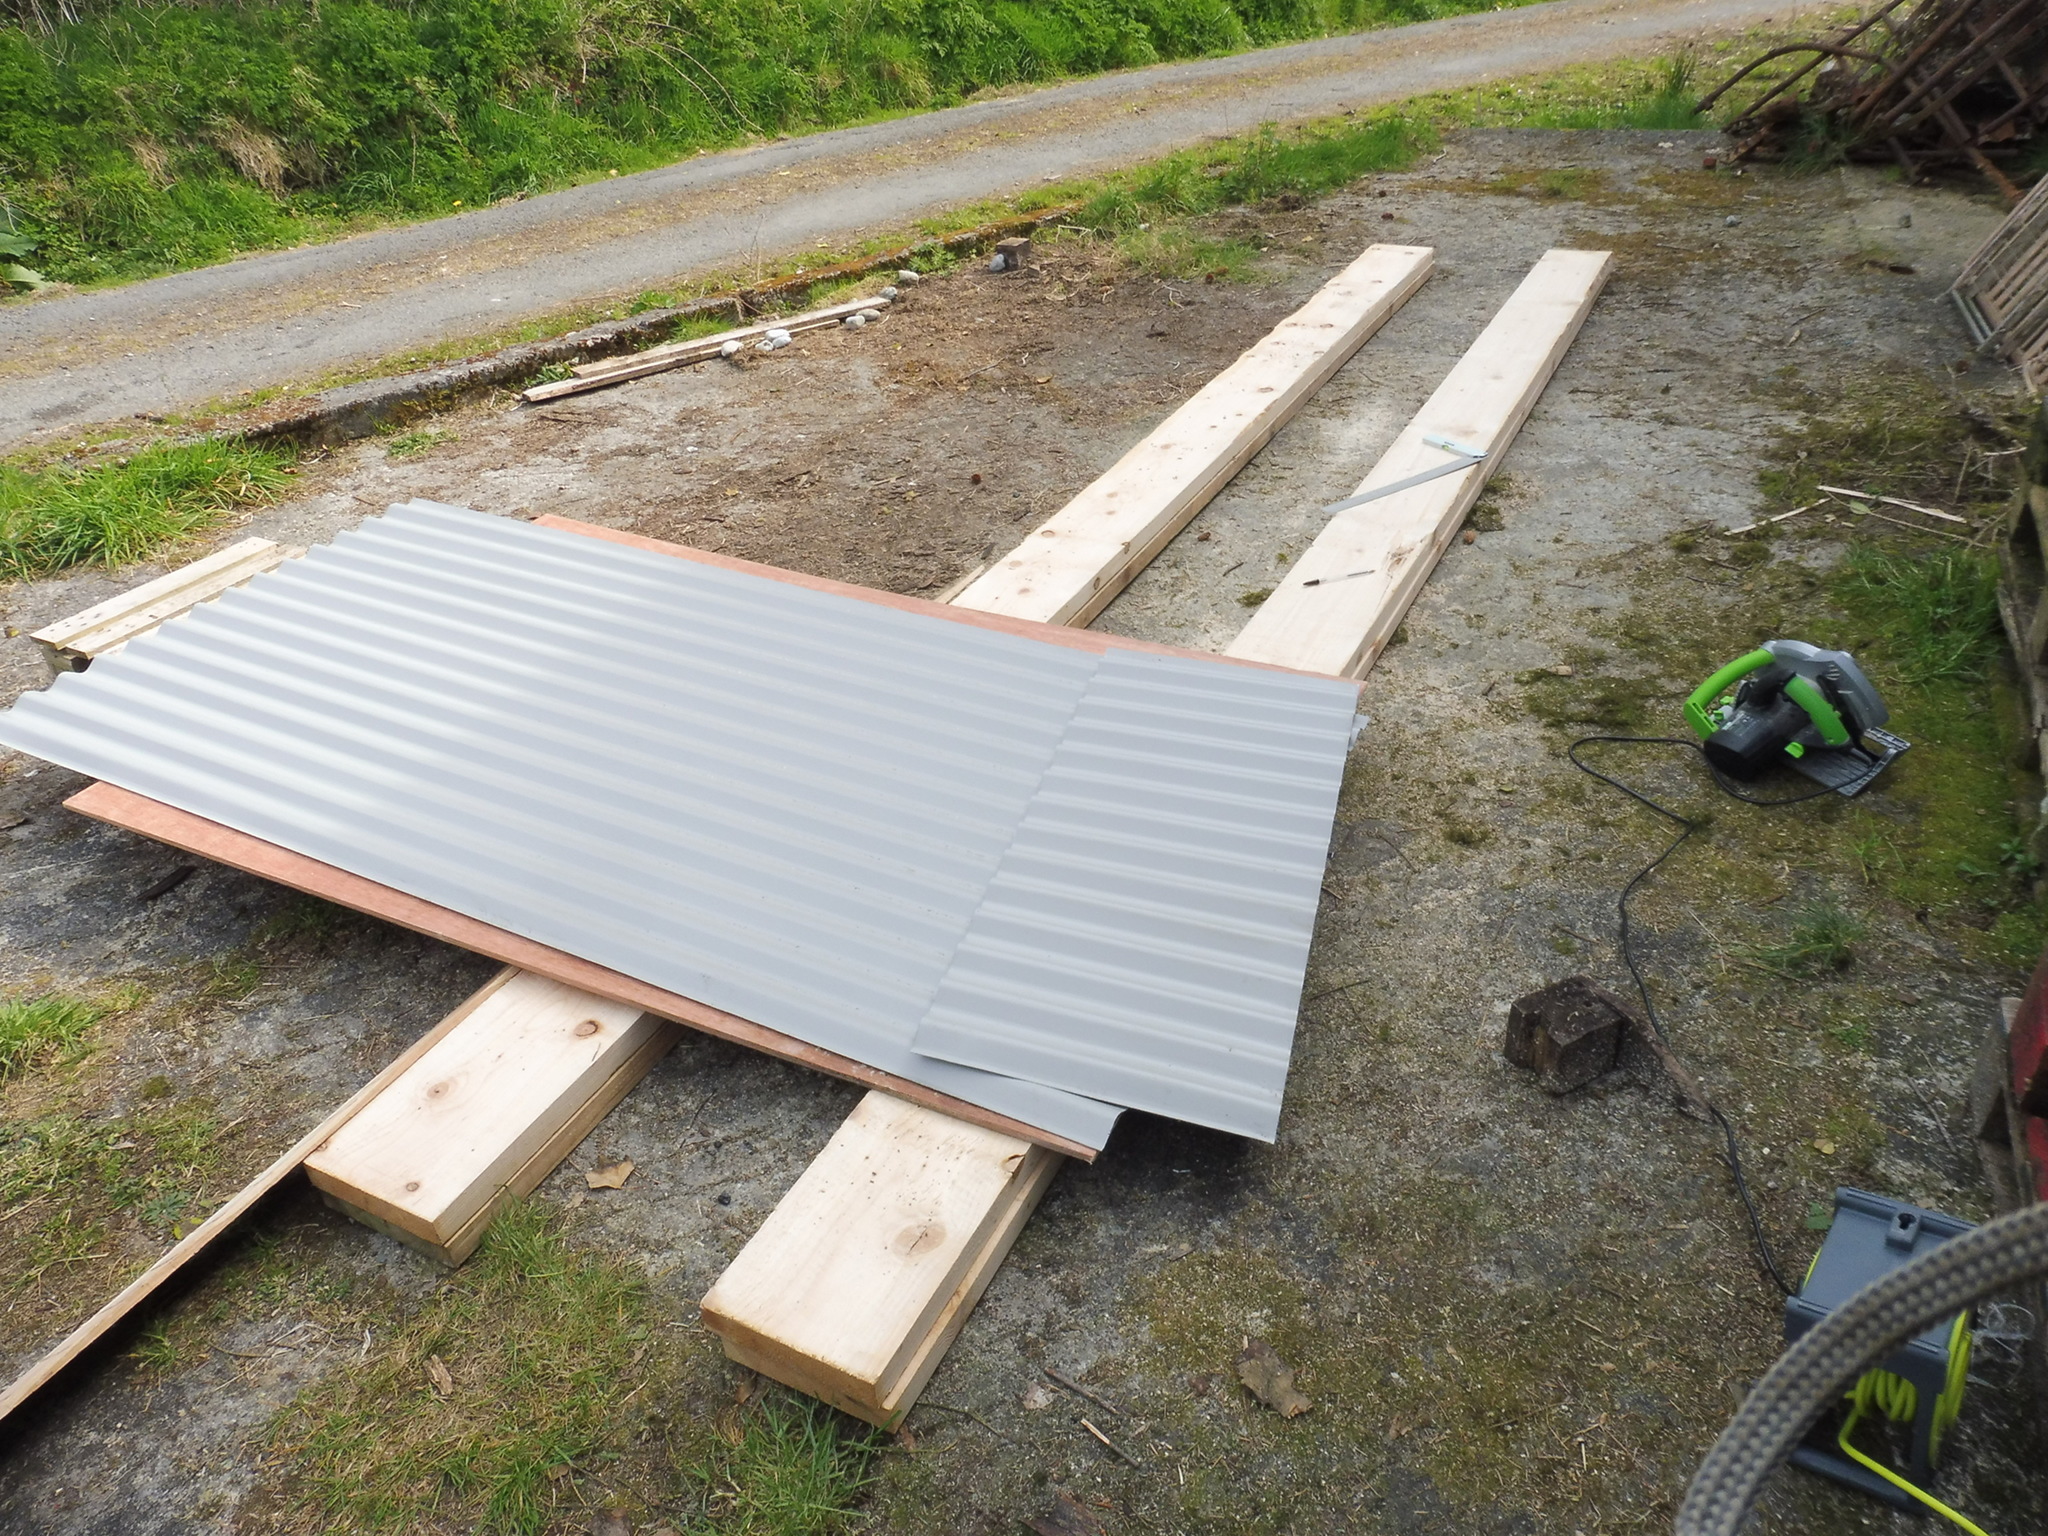
I like gabled roofs. We had some corrugated roofing left over from a previous project, so I was able to break it up easily to fit these roofs. There was enough that we decided to make the overhang at the eaves long; we might trim that later if they catch too much wind.
The three hives I will transfer to these already have these colours in place, so I thought it would be nice to use the same scheme for this project.
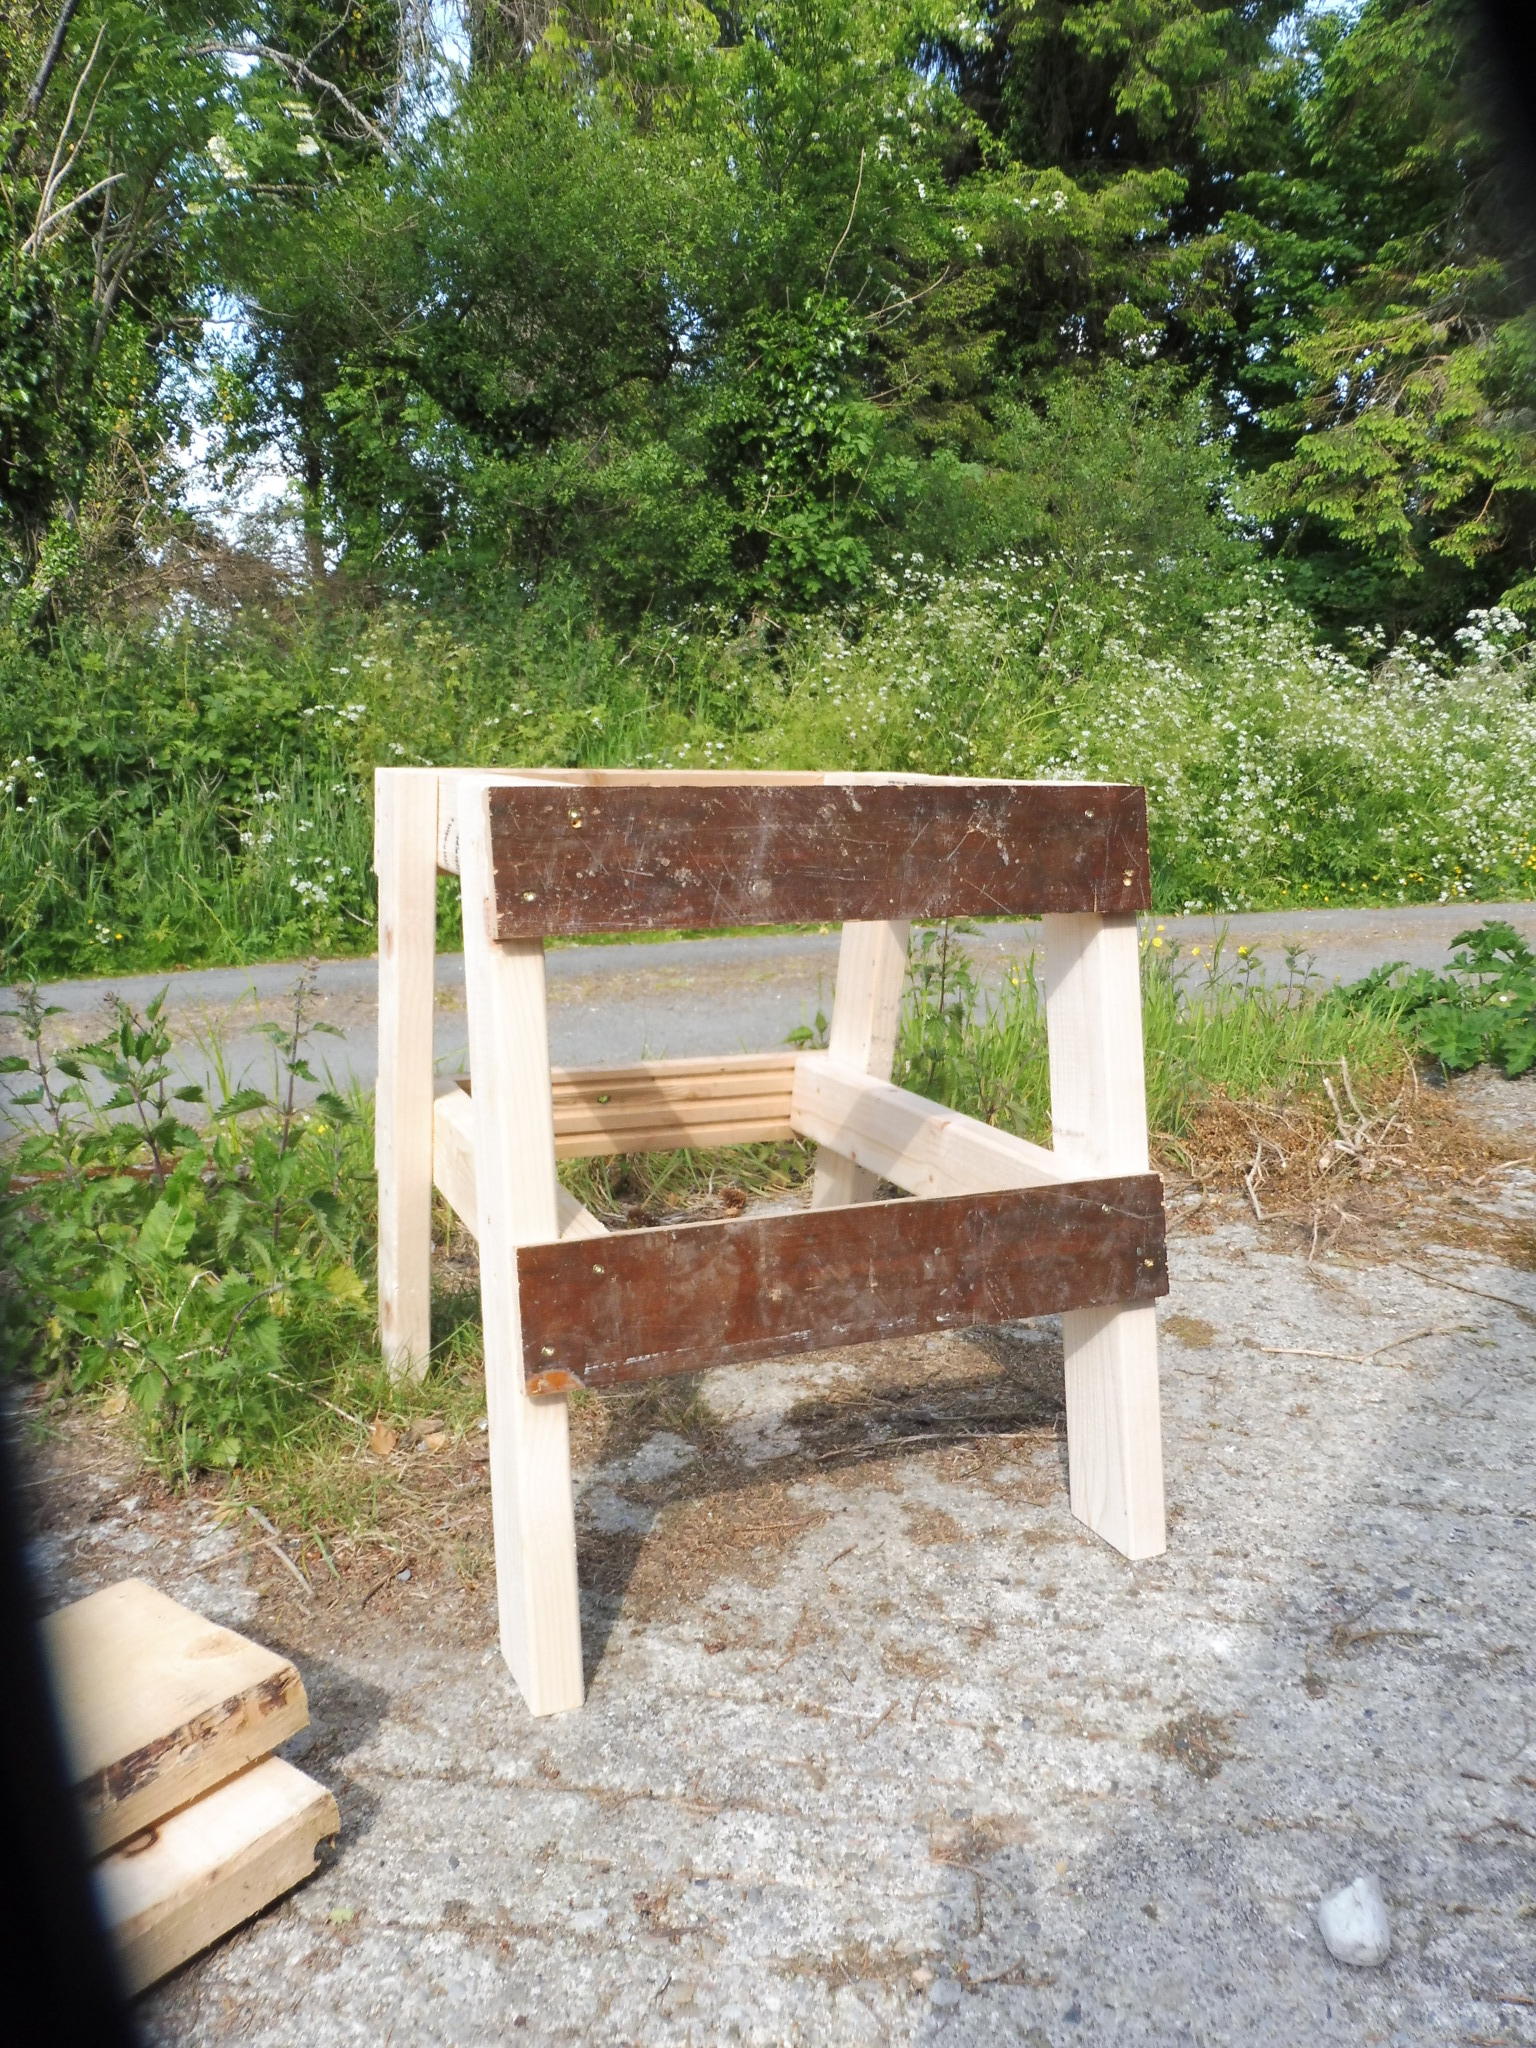
I wanted to lift the hive bodies up high enough that the top of the frames would be at my elbow. This will make manipulating frames a rather relaxing thing, compared to bending over a hive on a low stand.
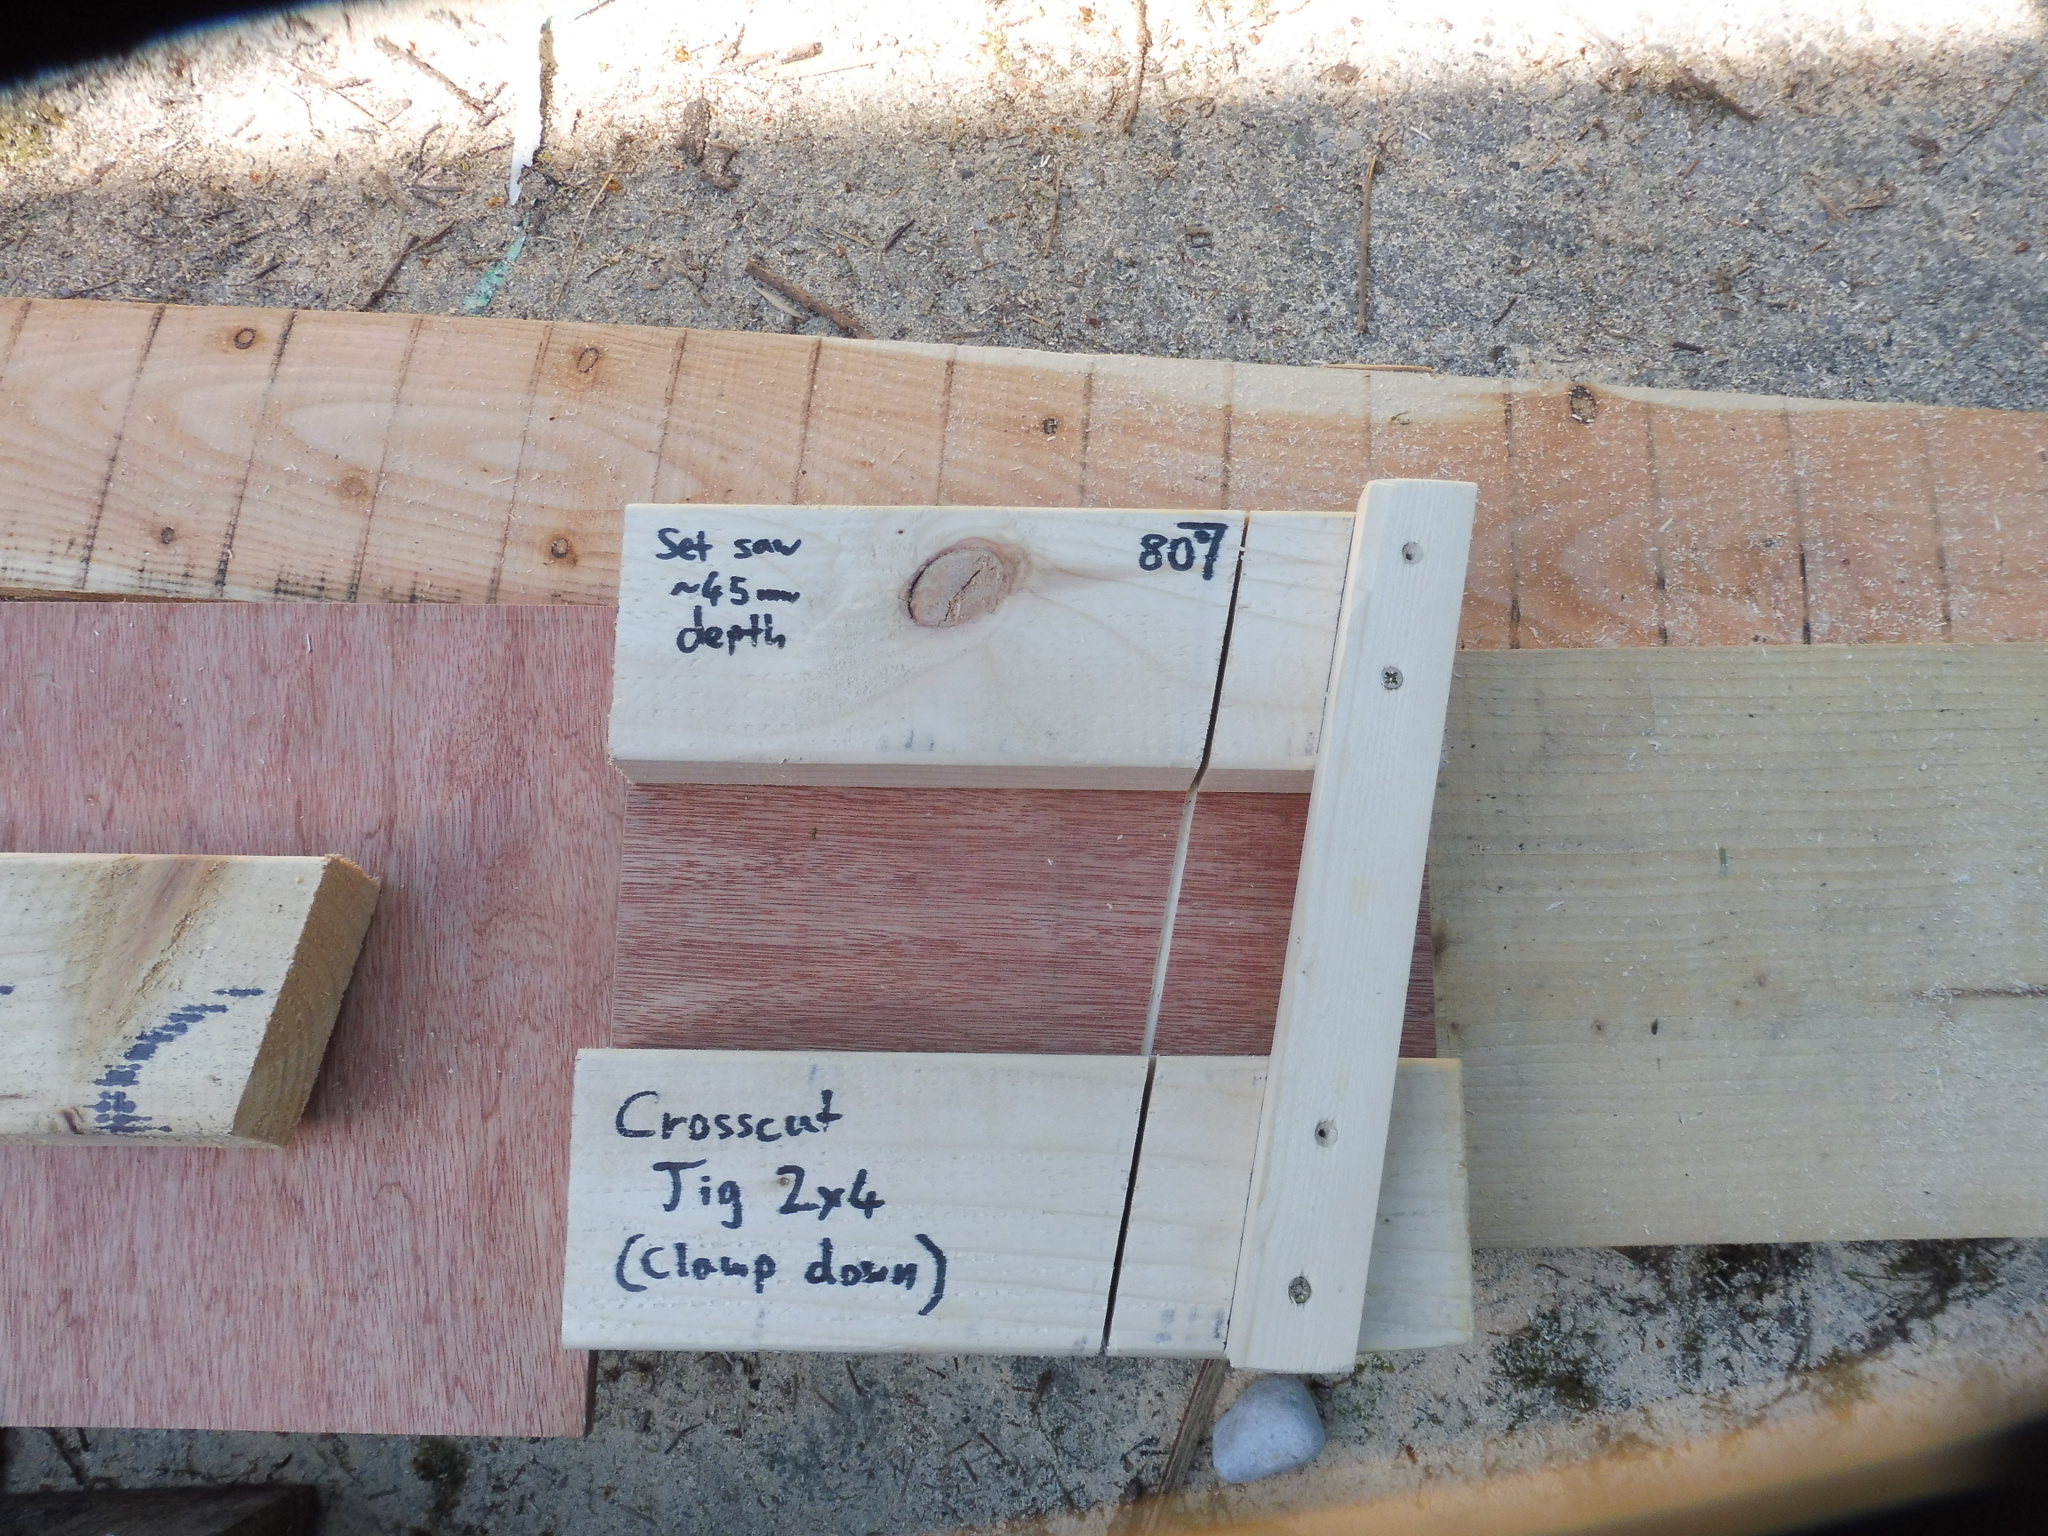
The stand design I came up with had a lot of 80 degree angles in two-by-fours, so I made a simple jig that worked out great.
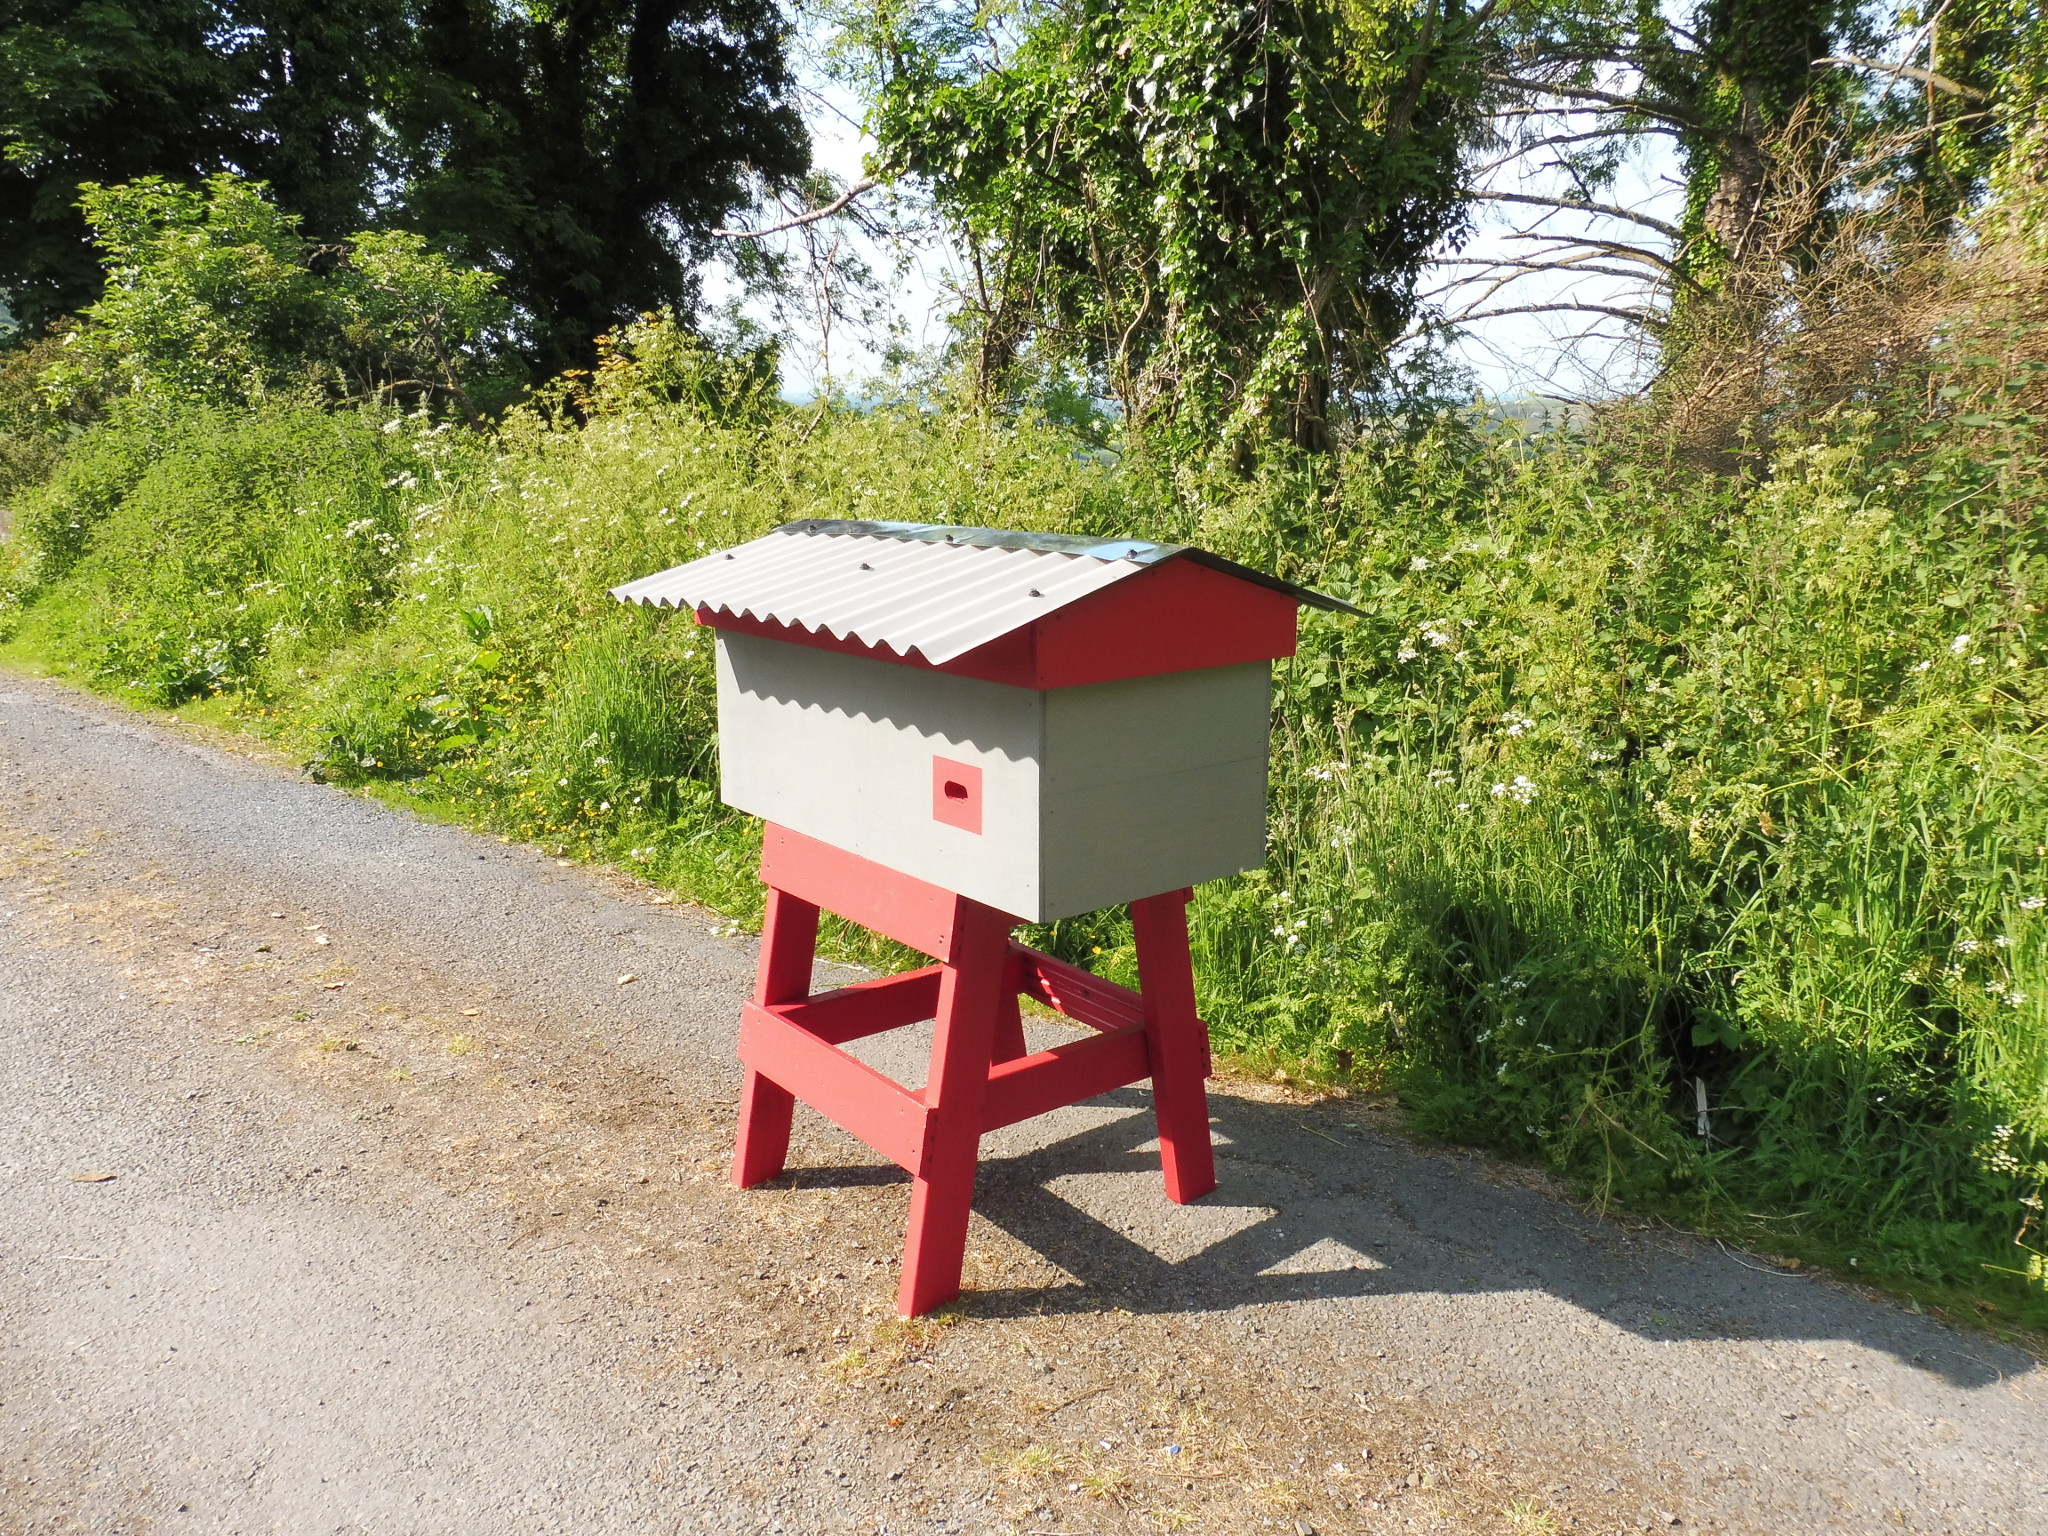
The hive is just under a metre long, with the entrance is at about 95cm. I’m really pleased with how it looks.
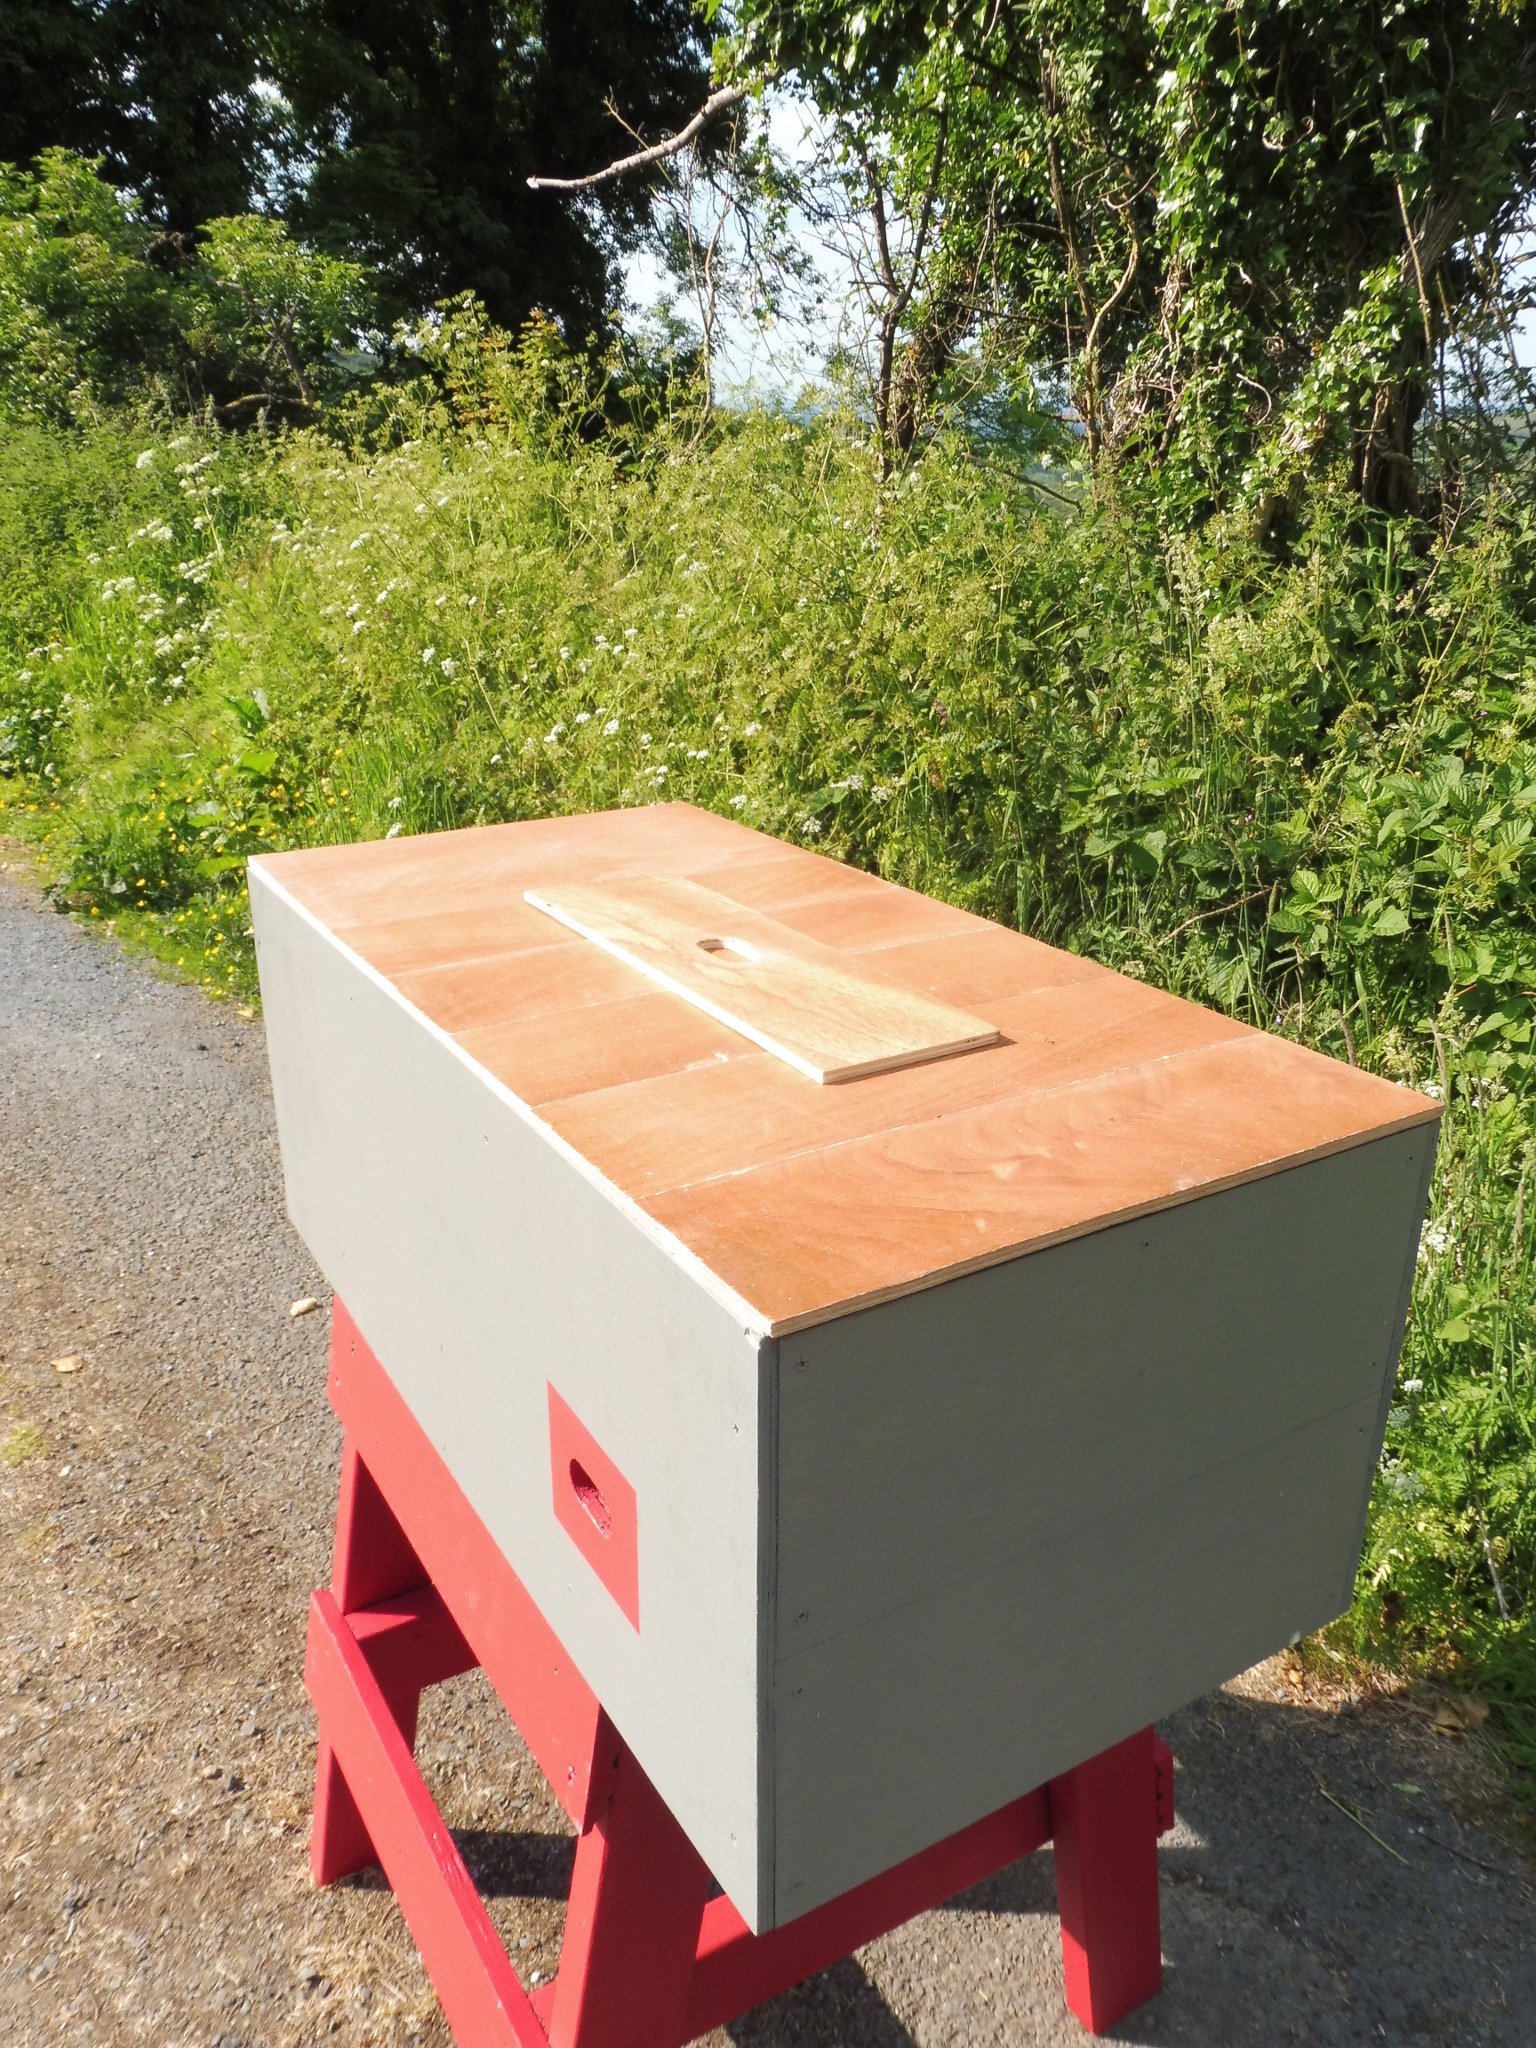
With the roof off, you can see the hive is covered with small panels. I can, for example, take one off quietly at the “back” of the hive - away from the entrance - to check how many frames of honey the bees have filled, without causing much consternation for the hive as a whole.
The roof space will be filled with insulation - likely a sack full of wood shavings.
At the rear, there’s access to the bottom space under the hive to clean it out, replace moisture-soaking material, or check for Varroa drop.
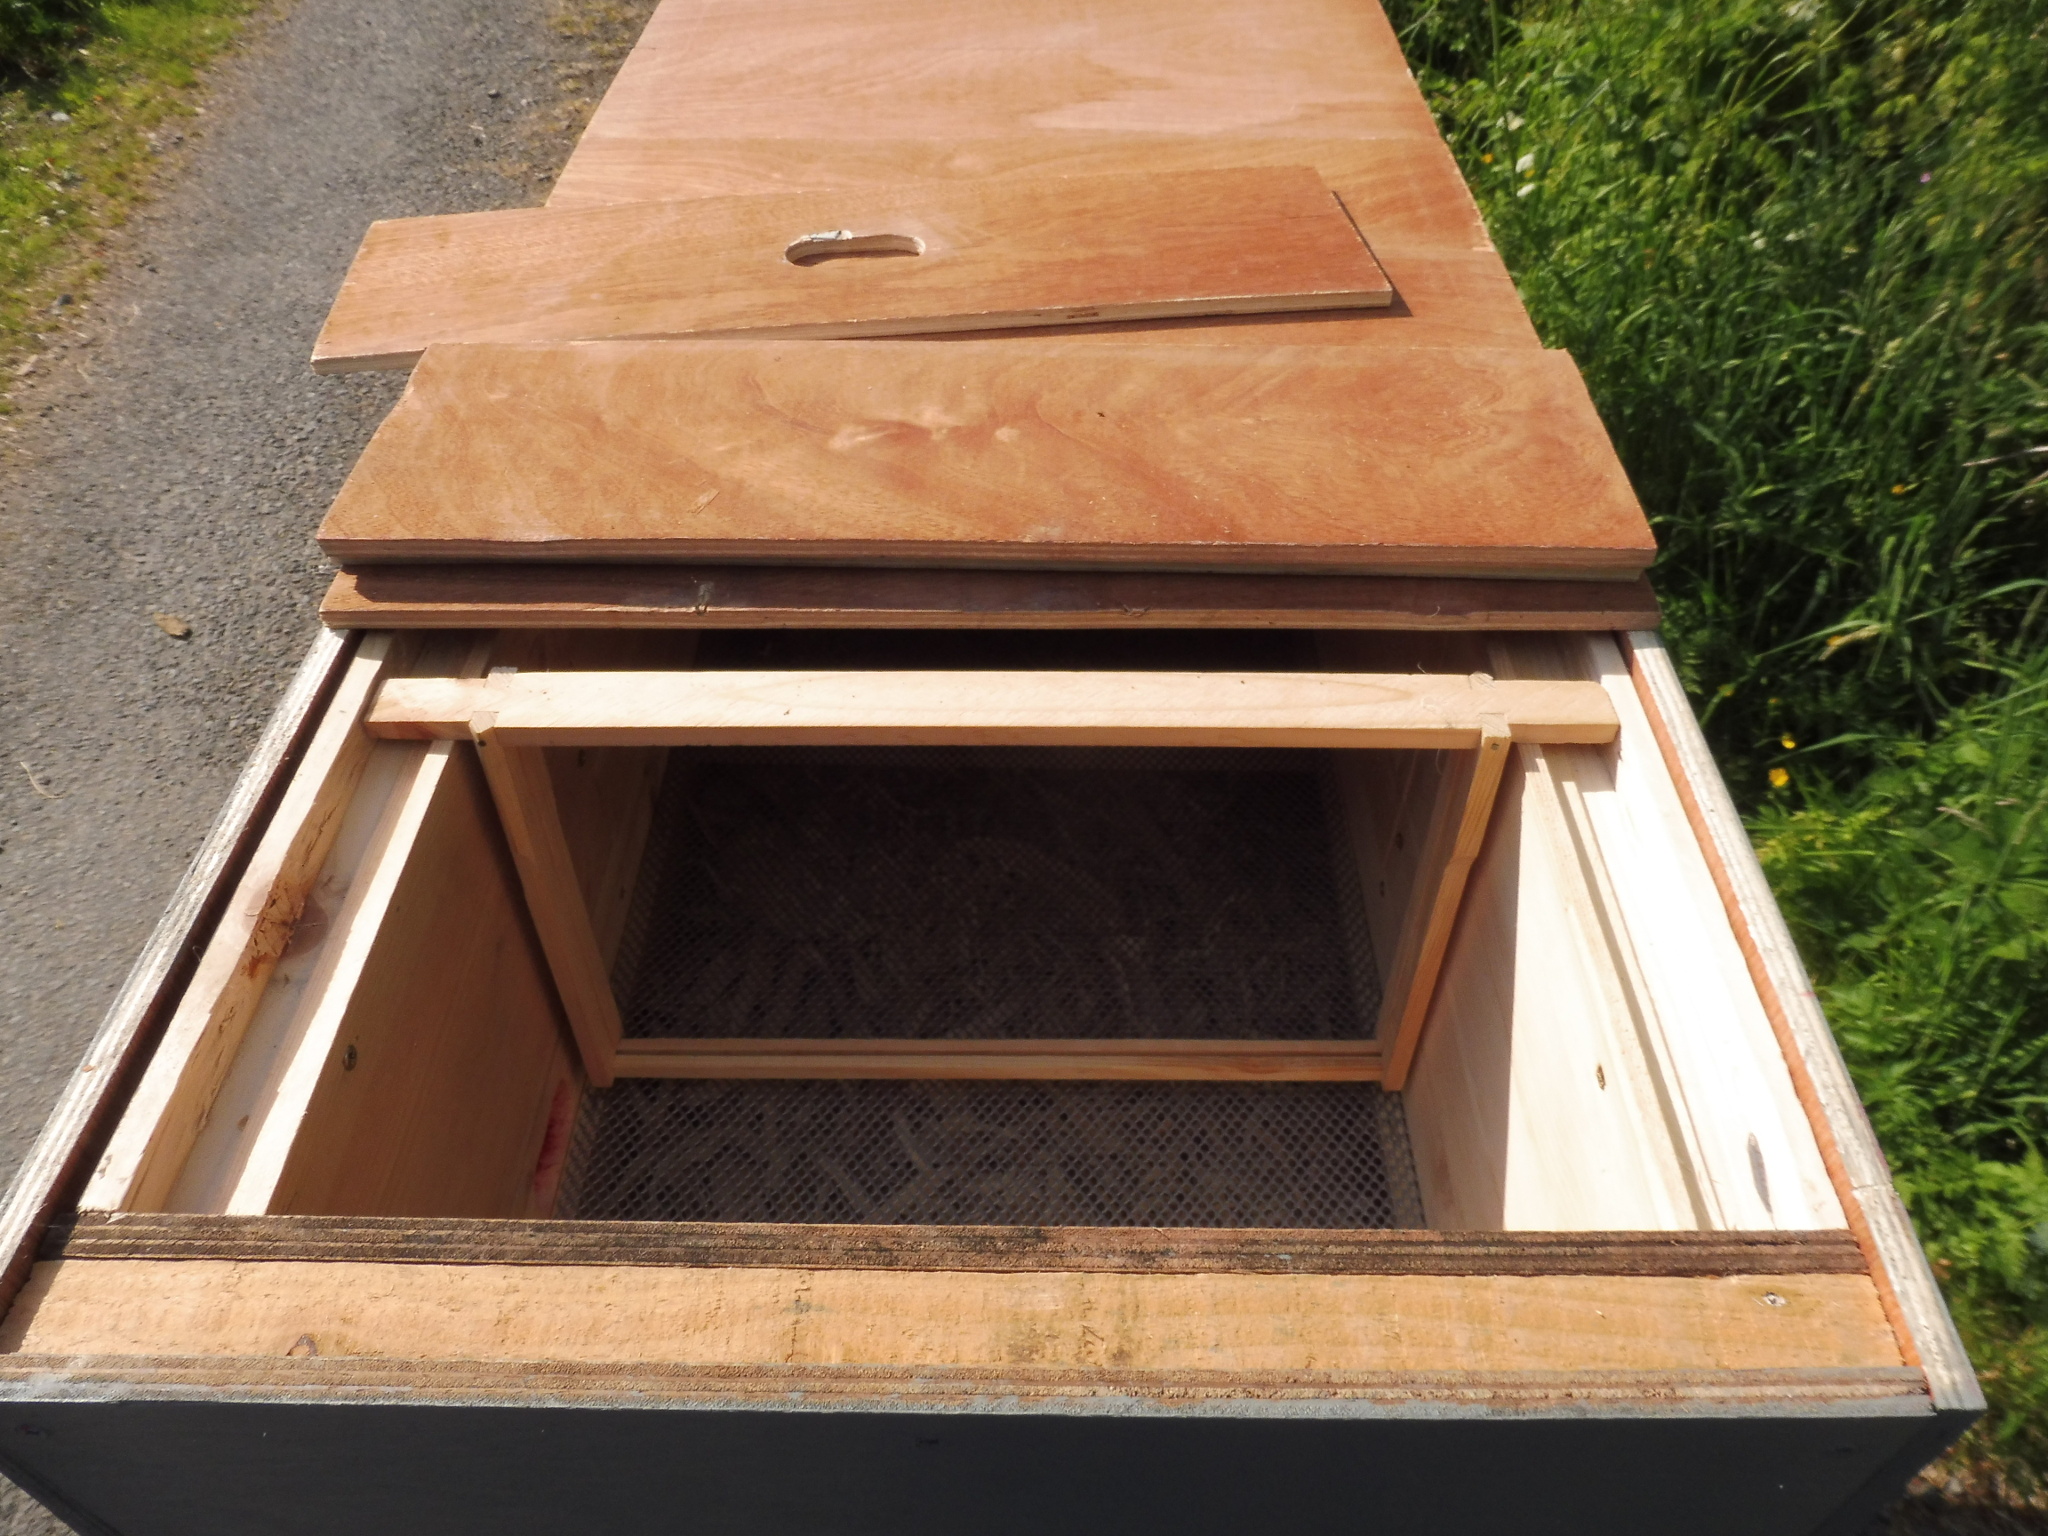
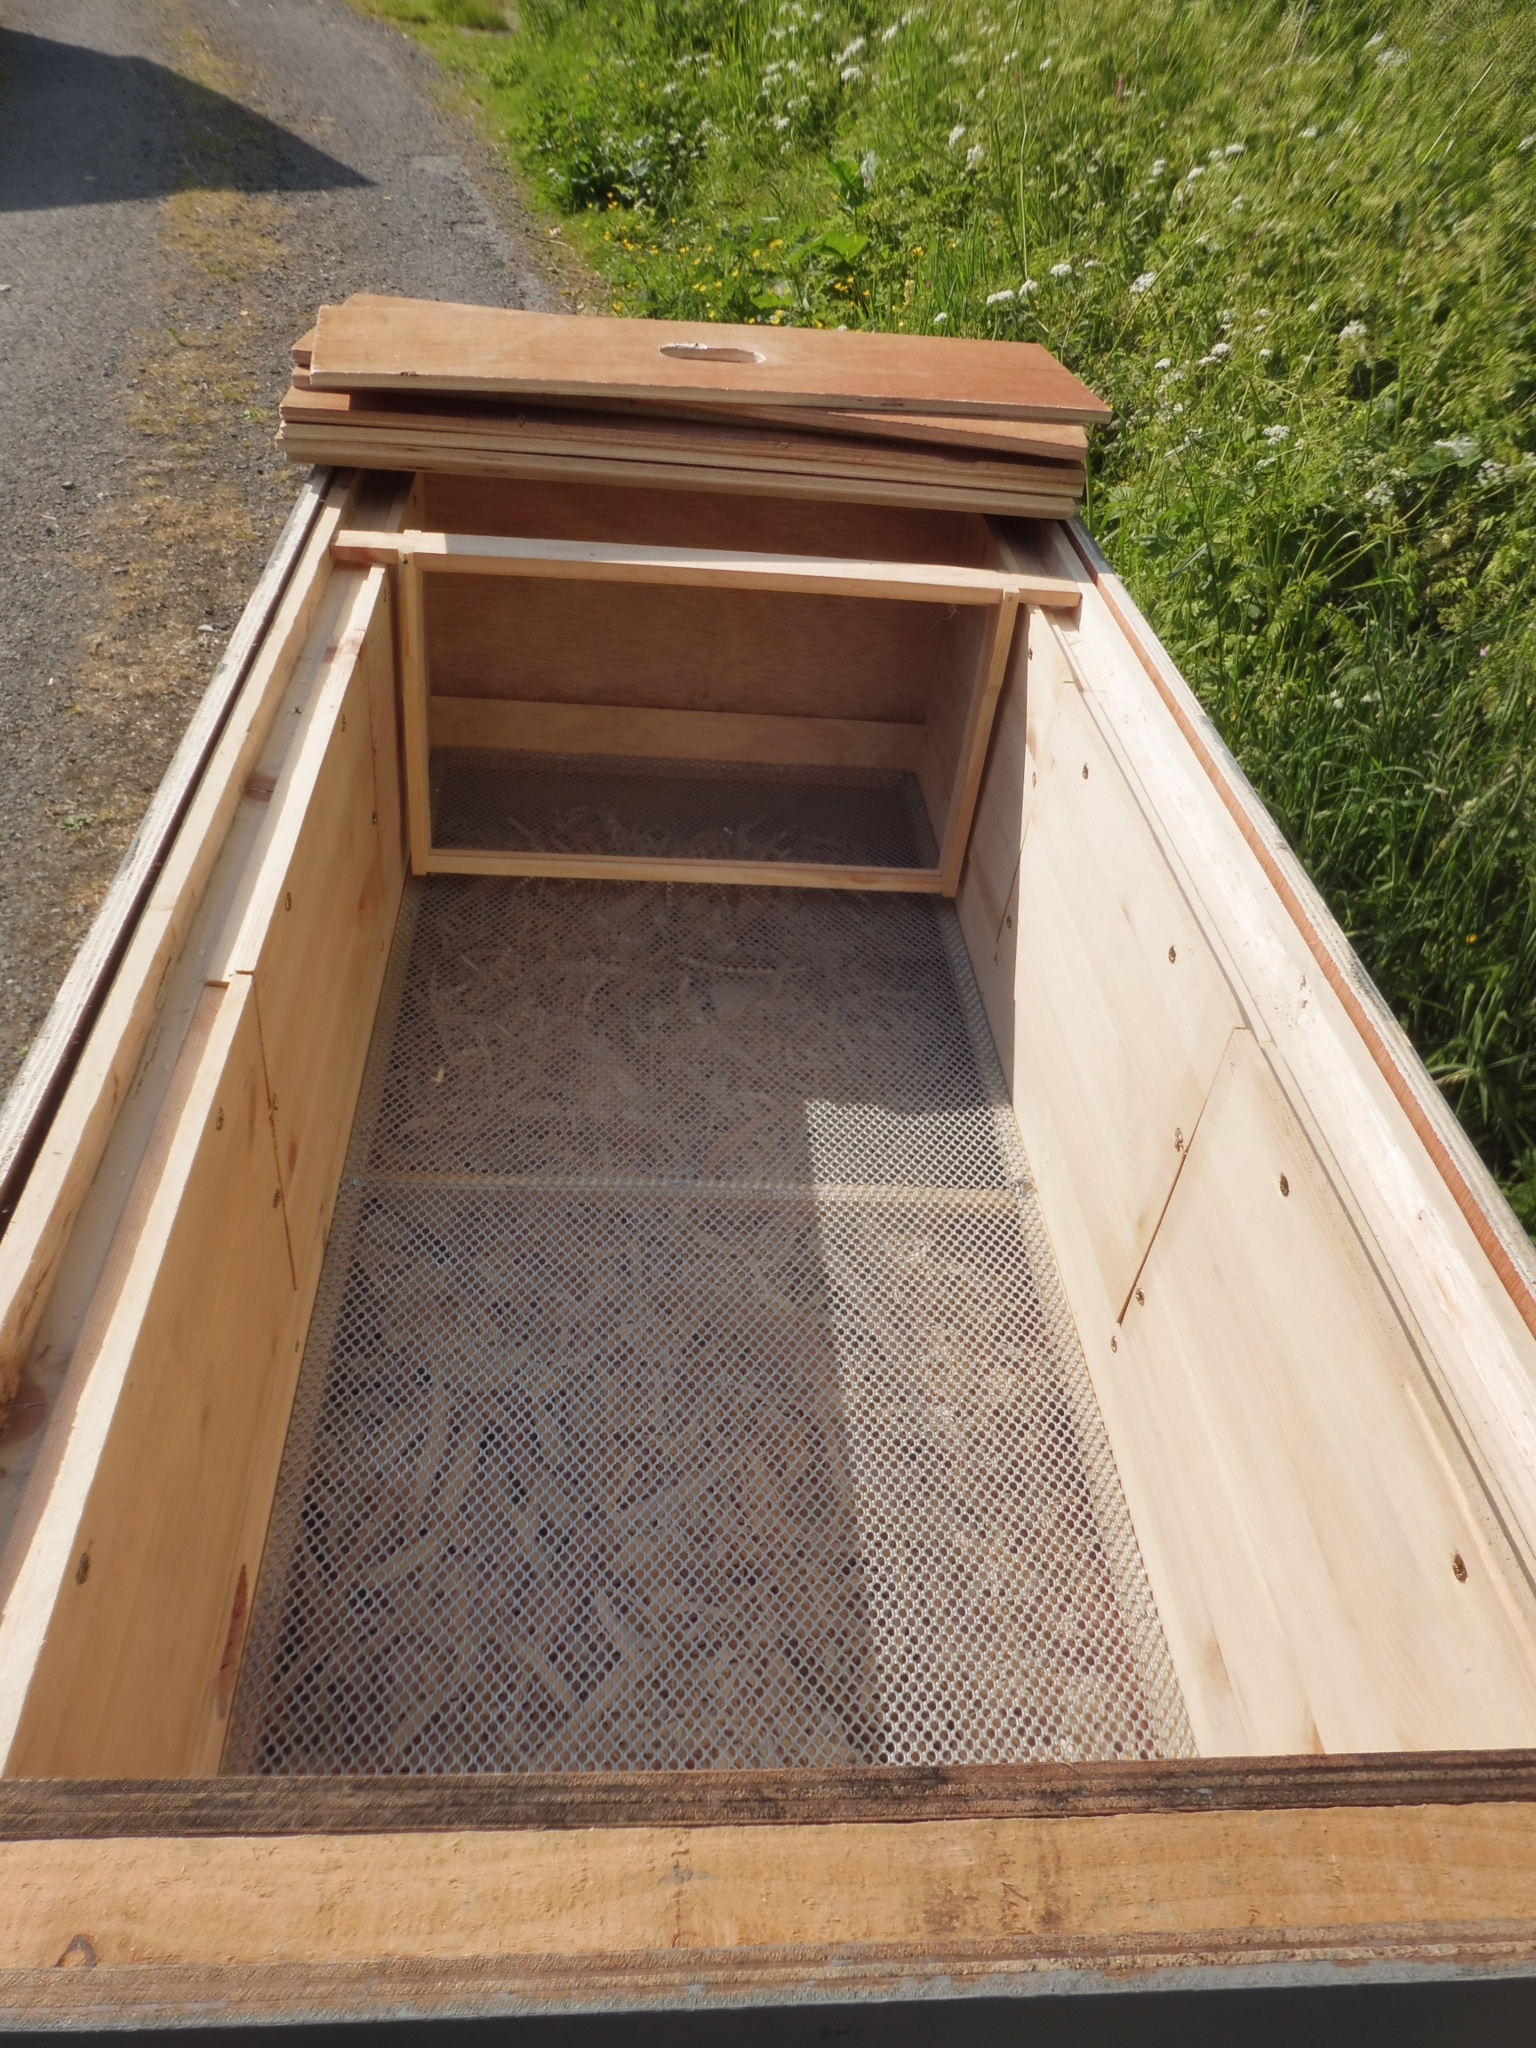

Looking inside the hive, we can see the mesh floor and the open space below it filled to about half depth with wood shavings from my brother’s workshop. This will absorb moisture from the “condensing” colony above.
And there you have it! Let me know if you have any questions or comments. <3